
Pressure Washer Servicing: A DIY Maintenance Checklist
Pressure washer servicing is five checks: oil and fuel on gas models, inlet filter, pump, hoses and nozzles. Here is the season-by-season checklist, with winterizing steps.
Curtis Boone
October 13, 2026 · 8 min read
Pressure washer servicing comes down to five checks: engine oil and fuel (gas models), the water inlet filter, the pump, hoses and fittings, and the nozzles. Do them at the start of each season, and drain the pump before freezing weather. Always follow your owner's manual for intervals and parts, and disconnect power or the spark plug wire before you touch anything.
This guide gives you a season-by-season checklist, step-by-step instructions for each part, and a simple way to decide between servicing it yourself, using a repair shop, or renting a unit while yours is out of action.
What pressure washer servicing covers
A pressure washer has four systems that wear: the power source (an electric motor or a gas engine), the pump, the water path (inlet filter, hoses, gun, wand), and the nozzles. Servicing means inspecting each one, cleaning what can be cleaned, and replacing what is worn.
Electric models have fewer service points. There is no engine oil, fuel or spark plug, so the job is mostly the inlet filter, hoses, nozzle, power cord and storage. Gas models add oil, fuel, air filter and spark plug, and the manual lists each one.
Tools and supplies to gather
- Your owner's manual (look up the model number if you lost it)
- Replacement inlet filter and spare O-rings or seals sold for your model
- Nozzle cleaning tool or a straightened paperclip
- Clean rags, a small brush, and a bucket
- For gas models: the engine oil grade and spark plug named in the manual, plus fuel stabilizer
- Pump protectant made for pressure washers, for winter storage
Safety setup before any service work
Pressure washers combine electricity or fuel with high-pressure water, so handle servicing as real work with a short safety routine.
- Power off and disconnect. Unplug electric units. On gas units, switch the engine off, let it cool, and disconnect the spark plug wire.
- Release trapped pressure. Turn off the water supply, then squeeze the trigger until the spray stops.
- Work outdoors or in a ventilated space when fuel or exhaust is involved, away from open flames.
- Wear eye protection and gloves when handling fuel, oil or a nozzle that may still hold pressure.
- Keep electrical parts dry. Use a covered outdoor outlet, and ask a licensed electrician about outlet or extension cord questions.
If a repair involves the pump internals, the motor windings or the fuel system, and you are unsure, hand it to a qualified service technician.
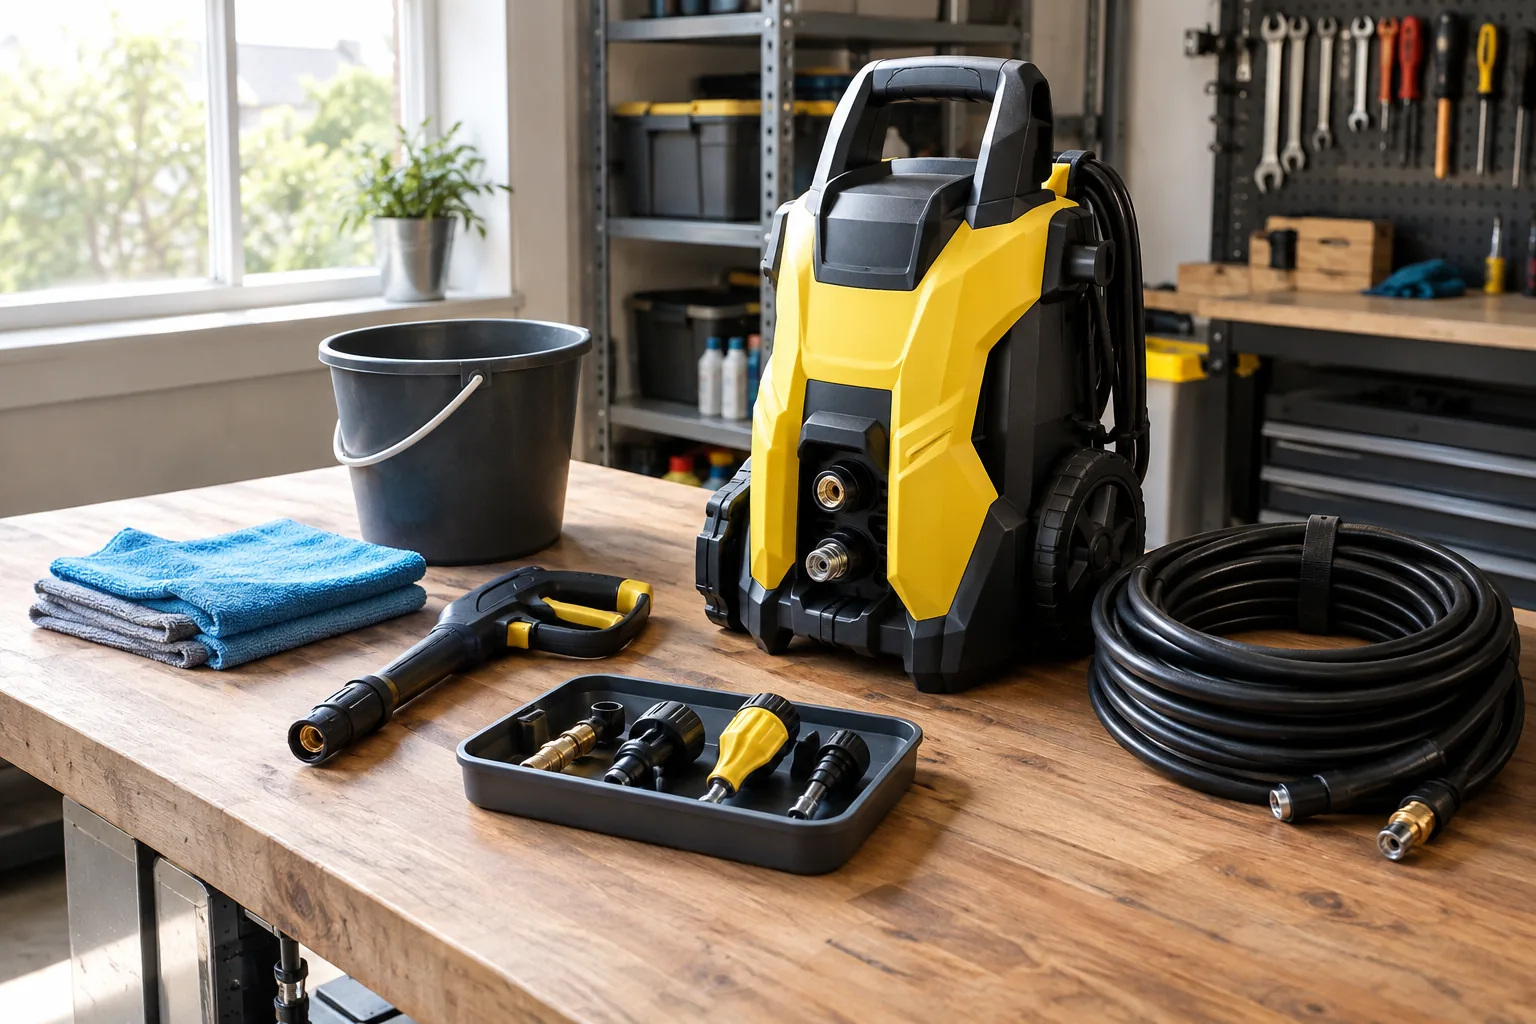
Pressure washer servicing checklist by season
Spreading the work across the year keeps each session short. Use this table as a template and swap in the intervals from your manual.
| Season | Task | Applies to |
|---|---|---|
| Spring (first use) | Inspect hoses, gun and O-rings; clean or replace inlet filter; check nozzles; run clean water through the pump before adding detergent | All models |
| Spring (gas only) | Check oil level, replace stale fuel, inspect air filter and spark plug | Gas models |
| Summer (in season) | Rinse the inlet filter after gritty jobs; wipe down the unit; check connections for drips; flush detergent through the system after each use | All models |
| Fall (end of season) | Change oil per manual; add fuel stabilizer or run the fuel system as the manual directs; clean nozzles; inspect cord and hoses | Gas models and all general checks |
| Winter (before freezing) | Drain the pump and hoses; add pump protectant if the manual calls for it; store indoors, coiled loosely | All models |
Write the date of each service on a strip of tape on the unit or in a notebook. When something starts acting up, that log shows what changed.
Step-by-step: the parts that matter most
1. Inlet filter
The inlet filter is a small mesh screen where the garden hose connects. It catches grit before it reaches the pump, so a clogged or torn screen is the first thing to inspect when a unit sputters or loses pressure.
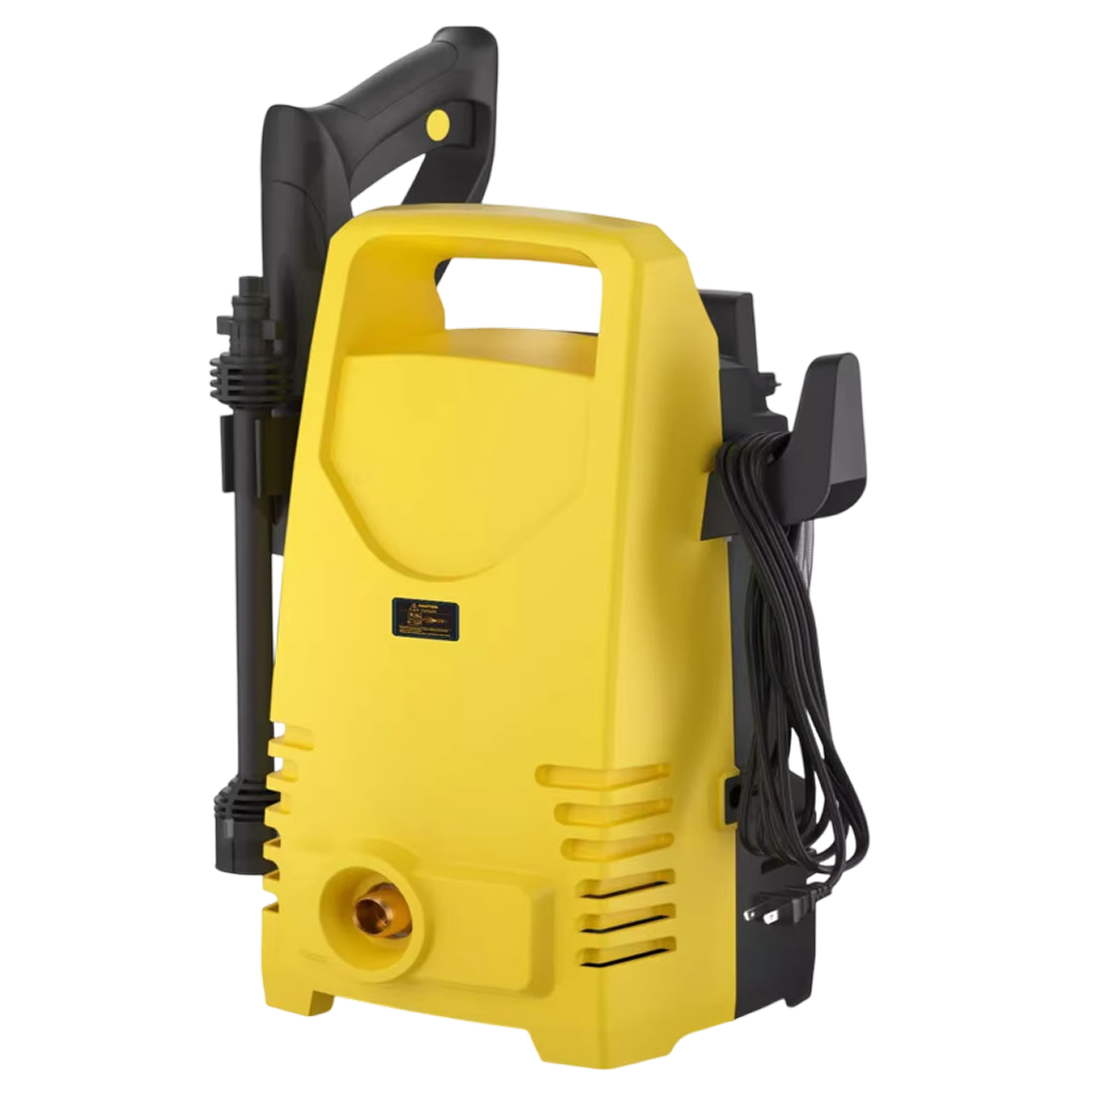
Disconnect the hose, remove the filter, and rinse it under running water. Hold it to the light. If the mesh is torn, bent or caked with mineral deposits, replace it. Some units, such as the WashForge, have a built-in, replaceable mesh filter behind the M22 inlet, so the filter is the part to swap when it needs attention.
2. Pump
Most home pumps are sealed units with little you can open. What you can do is protect them: always connect water and let it flow through the gun before starting the motor or engine, so the pump does not run dry. Check for leaks around the pump housing and fittings, and watch for pulsing spray or unusual noise. Those point to a worn seal, air in the line, or a blocked inlet, and the manual's troubleshooting page is the next stop.
 In this guideWashForge$179.99View
3. Hoses, gun and fittings
Run your hand along the high-pressure hose, looking for bulges, kinks, cuts or exposed braid. Replace a damaged hose rather than taping it. Check that quick-connect or M22 fittings seat fully and that O-rings are intact and slightly lubricated. A brass trigger gun fitting should thread on smoothly with no cross-threading.
Know which parts your unit includes so you can inspect each one. The JetPulse Pro, a home-use power washer, comes with a 2 m water inlet pipe, an inlet filter, a 7 m high-pressure outlet hose, a trigger spray gun, an extension wand rod and a short rotary nozzle. Those are the pieces to look over each season, along with the quick connector and faucet adapter.
4. Nozzles
A partly blocked nozzle gives an uneven, lopsided spray and puts extra strain on the pump. Remove the nozzle with the machine off and the trapped pressure released, then clear the orifice with a nozzle cleaning tool or a straightened paperclip. Flush it from the front with water. On adjustable lances, such as the 1° to 180° lance on the WashForge, twist through the full range and confirm the pattern changes smoothly.
5. Power cord or engine
On electric units, inspect the cord and plug for cuts, scorch marks or a loose fit. Do not use a damaged cord. On gas units, follow the manual for oil type and fill level, and replace the spark plug and air filter when they look worn or dirty.
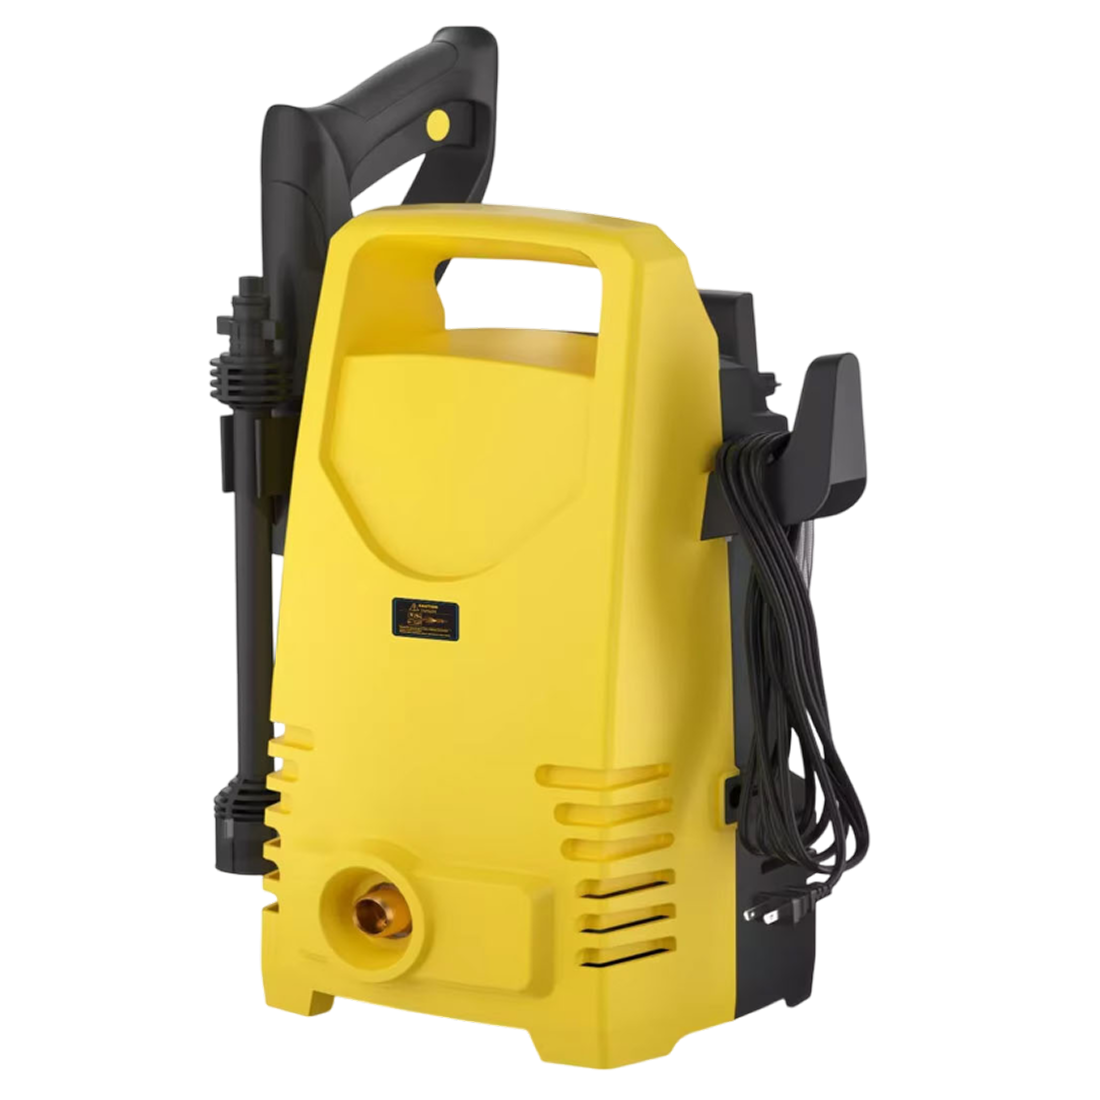 In this guideJetPulse Pro$199.99View
Field note
Before you plug in or start the machine, turn the water on and squeeze the trigger until the stream is steady. Then follow your manual's start-up steps.
Gas models: oil and fuel
If your washer has an engine, handle it like any small-engine tool. Check the oil level on flat ground before each use, and change the oil on the schedule in the manual. Use the grade the manufacturer names, not a guess.
Fuel is the other common culprit. Gasoline left in the tank and carburetor over the off-season can leave residue that clogs small passages. At the end of the season, either add a fuel stabilizer and run the engine briefly as the manual directs, or drain the fuel into a container made for fuel, outdoors. Store fuel only in containers made for it, away from heat sources.
Electric units skip this section entirely, so go straight to the winterizing steps below.
Winterizing: protecting the pump from freezing
Water left inside a pump or hose can freeze and expand, cracking parts. Winterizing is the most important entry on the checklist for anyone who lives where temperatures drop below freezing.
- Shut off the water and disconnect the garden hose.
- Squeeze the trigger to release pressure, then remove the high-pressure hose, wand and nozzle.
- Drain water from the inlet, the outlet and the hoses. Tilt the unit as the manual allows so remaining water runs out.
- If the manual calls for it, add pump protectant through the inlet as directed on the product label.
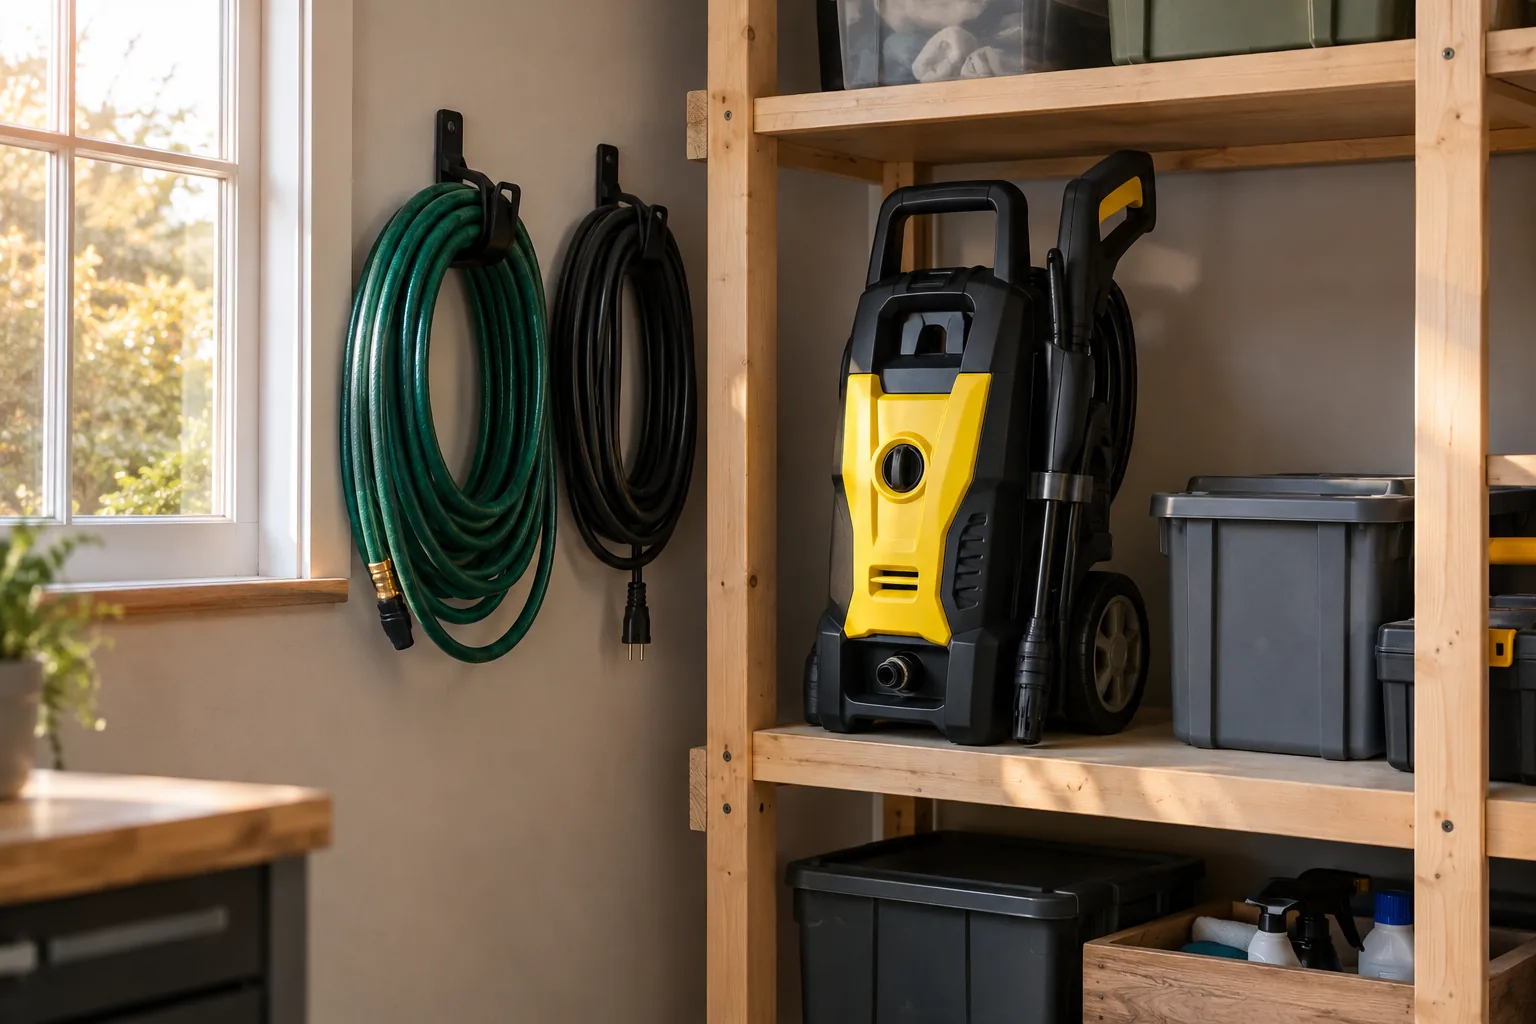
- Clean the inlet filter, dry the accessories, and coil the hose and cable loosely. Built-in storage hooks, where your unit has them, give the hose and cable a place to hang.
- Store the machine indoors, away from freezing air and out of reach of children.
A garage shelf is fine as long as the space does not drop below freezing. If it does, move the unit into a heated space.
DIY, repair shop or renting: how to decide
Basic upkeep is well within reach for most owners: filters, nozzles, hoses, oil and winter storage. Pressure washer services from a repair shop make sense when the pump leaks internally, the motor will not start after you have checked the basics, or the engine needs carburetor work.
| Situation | Your move |
|---|---|
| Weak or uneven spray | Clean nozzle, check inlet filter, check hose for kinks |
| Pulsing spray | Bleed air through the gun, check inlet connections, then consult the manual |
| Water dripping from pump housing | Stop use and book a service technician |
| Engine will not start | Check fuel, oil level and spark plug; otherwise see a small-engine shop |
| Damaged cord or exposed wiring | Stop use; have a qualified technician repair it |
For a one-off job such as a large deck while your own unit is in the shop, renting a pressure washer from a local equipment yard can cover the gap. Ask the rental counter for a short walkthrough of the connections, and check the hose and nozzle before you leave. If you find yourself renting a pressure washer often, owning a compact unit and keeping it serviced may suit you better. Browse the Pressure Washing, Snow & Weed Control collection to see what we stock.
Common servicing mistakes
- Starting the machine before water flows. A pump running dry can be damaged.
- Skipping the inlet filter. Running without it, or with a torn one, sends grit into the pump.
- Leaving water in the system over winter. Freezing can crack the pump and fittings.
- Using the wrong oil or old fuel. Follow the manual for grade and stabilizer.
- Poking a nozzle while the machine is pressurized. Turn off, release pressure, then clean.
- Taping a damaged hose. Replace it with a part that matches your model.
- Storing the unit with kinked hoses. Coil loosely to avoid creases.
Keep the manual, the service log and a spare inlet filter together in one bin, and the next round of pressure washer servicing starts with everything in one place.