Ceramic Media for Rock Tumbler: What It Does and How Much
Ceramic media fills the barrel and cushions stones between grit stages. Learn when to add it, which size to pick and how much to load.
The Quindrel Team
October 26, 2026 · 6 min read
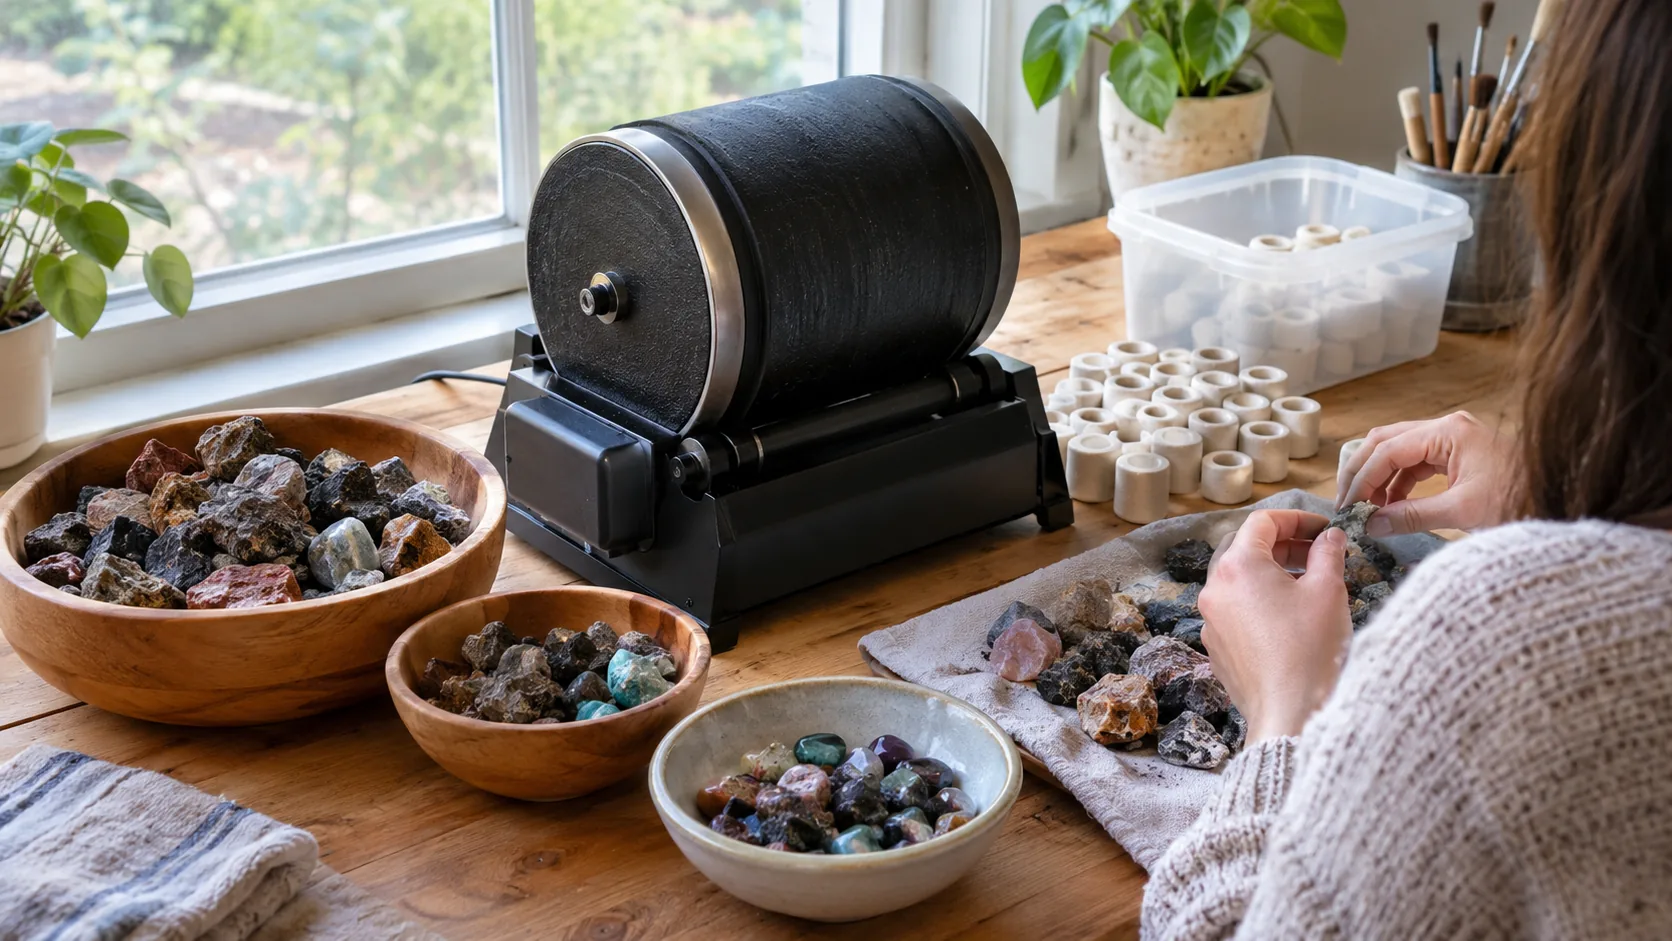
Ceramic media for a rock tumbler is a filler of small ceramic cylinders or pellets that you load into the barrel alongside the stones and grit. It adds volume when your stone batch is small, and it cushions the stones as they tumble. Fill the barrel to about two-thirds to three-quarters of its height with stones and media combined, and keep the water level just below the top of the load.
This guide covers what the media does, when to add it, which sizes to choose, how much goes in each barrel, and what to check when your stones come out dull.
What ceramic tumbling media is
Ceramic tumbling media is made of fired, non-abrasive ceramic shaped into small cylinders, often with an angled cut on the ends. The angle cut helps the pieces move through the load instead of packing flat against the barrel wall. Ceramic can be washed and reused across batches.
It is not a grit. Grit does the grinding and polishing. Media is a carrier and spacer that sits between the stones, so it does not replace any grit stage.
What ceramic media does inside the barrel
- It fills empty space, so a small handful of stones still makes a full, rolling load.
- It cushions stones, so they meet each other with less direct contact while the barrel turns.
- It spreads the grit slurry through the load, so the abrasive reaches more surfaces.
- It adds weight and mass to the load in rotary barrels.
- It can ride along in the polish stage when you tumble softer stones that scratch easily.
In a vibratory tumbler the media does similar work. You can run a mix of small and large pieces so the smaller ones reach the gaps between stones.
When to use ceramic media for rock tumbling
Add media when the stones alone cannot fill the barrel to the right level. A barrel that is only half full lets stones drop and strike each other, which can chip edges. Media makes up the difference.
Add media when
- You have only a few stones, or a mix of very different sizes.
- You are tumbling softer stones or glass, where hard impacts chip edges. Our guide to tumbling glass in a rock tumbler covers grit and timing for that case.
- You are on the final polish stage and want the load cushioned.
Skip media when
- The barrel is already full of stones at the right level.
- Your kit's guide says to run a particular stage without it.
- Your only media still carries coarse grit from an earlier stage.
Sizes and shapes to choose from
Media is sold as small, large or mixed cylinders. Match the size to the barrel and the stones, then check the manual for your tumbler.
| Media type | Where it fits | Note |
|---|---|---|
| Small cylinders | Small rotary barrels, small stones, vibratory bowls | Reach into gaps between stones |
| Large cylinders | Larger barrels, bigger stones | Add bulk to a thin load; skip in tight small barrels |
| Mixed small and large | General filler for rotary or vibratory | Smaller pieces settle between the larger ones |
| Fresh, unused cylinders | Polish stage | Keep free of coarse grit |
Plastic pellets are sold as an alternative filler. Ceramic media for a rock tumbler can be washed and reused, so check what your manual lists before swapping.
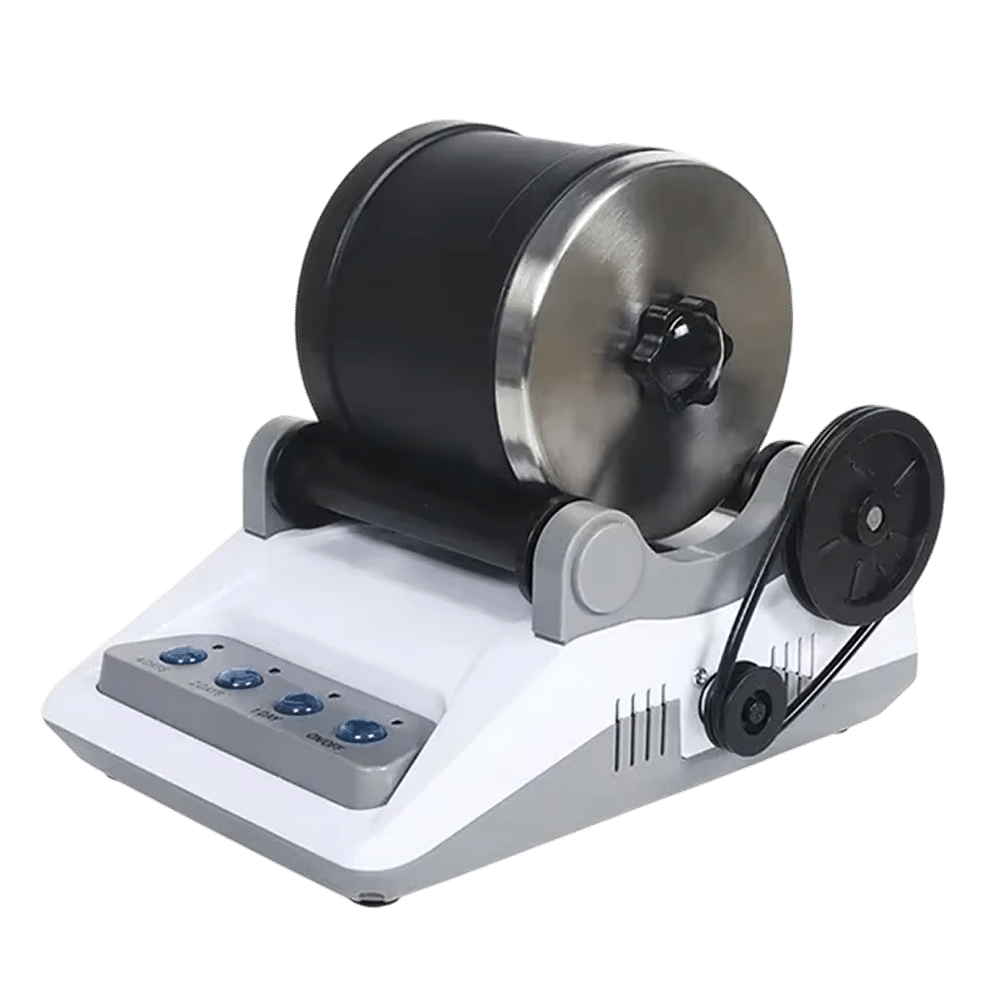 In this guideGemSpin Studio$119.99View
Ceramic media for rock tumbler barrels: how much to add
Think in barrel volume, not weight. Measure from the bottom of the barrel to the load line, then add stones first and media second.
| Situation | Stones | Media | Load line |
|---|---|---|---|
| Plenty of stones | Fill to the line | None needed | Two-thirds to three-quarters of barrel height |
| Half a load of stones | Roughly half the barrel | Add until the line is reached | Two-thirds to three-quarters |
| A few small stones | Whatever you have | Fill most of the volume | Two-thirds to three-quarters |
| Mixed hard and soft stones | Group by hardness | Add to reach the line | Two-thirds to three-quarters |
For a 1 lb barrel, the same rule applies: stones and media together reach the load line, then you add grit as the manual lists and water to just below the top of the load. Do not pack the barrel to the lid. A load with no room to move does not tumble.
Keep the same load height from stage to stage, so the tumbling action stays consistent as you move from coarse to polish.
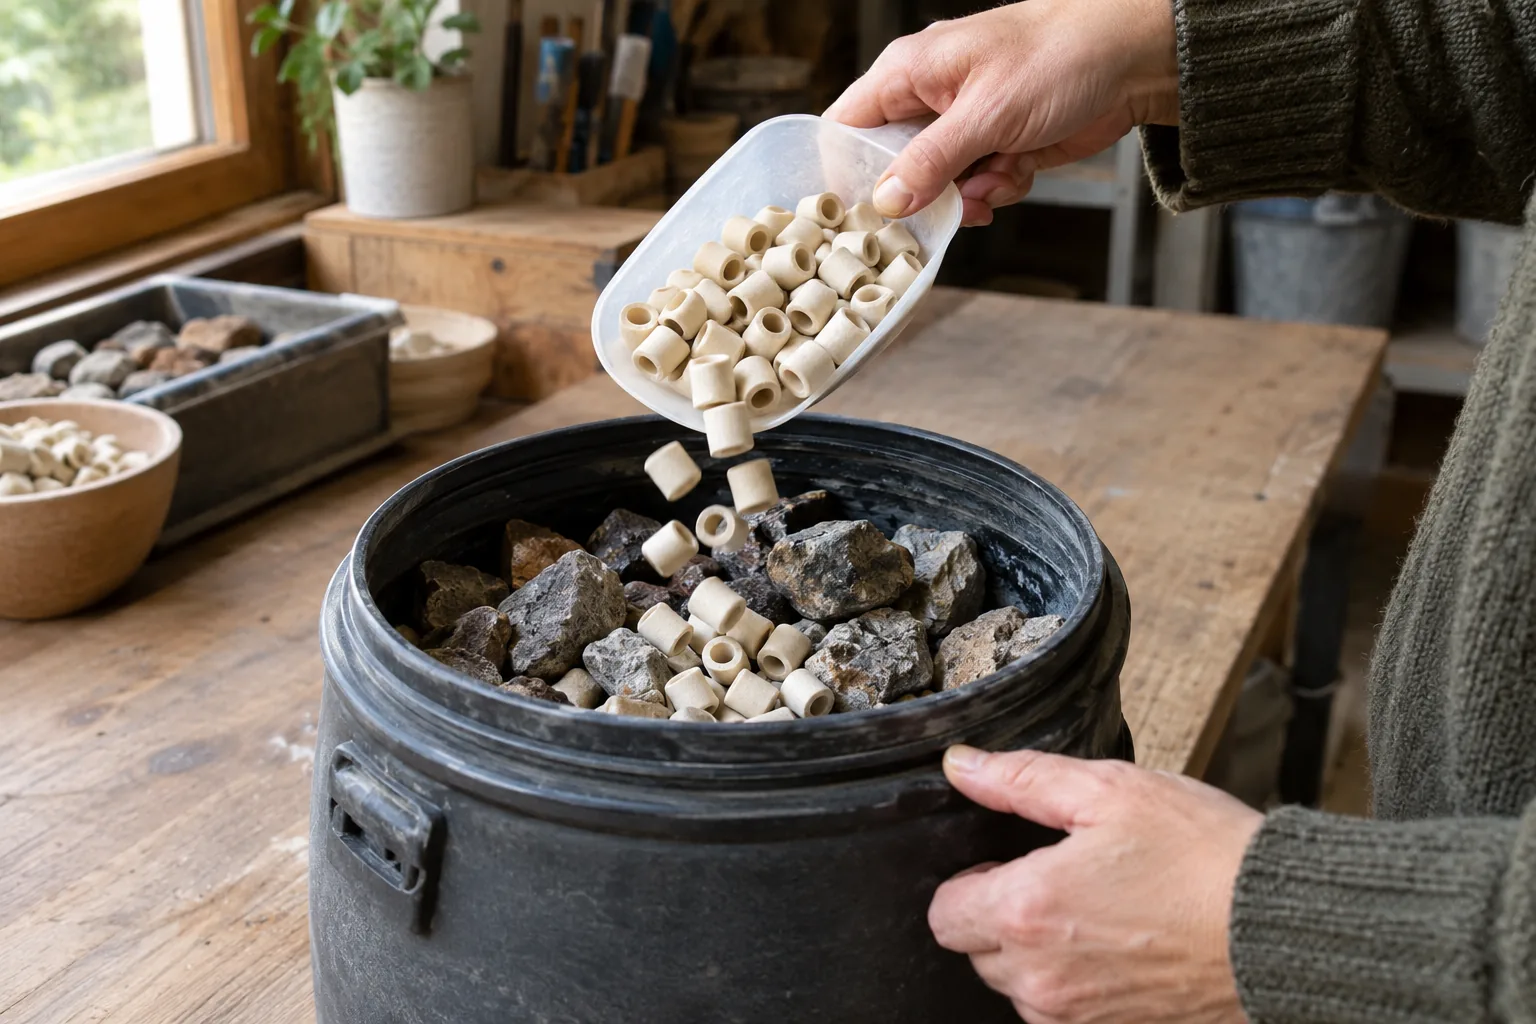
How to use ceramic media stage by stage
- Sort stones by hardness and similar size, and discard any with deep cracks.
- Load the stones into the barrel, then add media until the load reaches the line described above.
- Add the coarse grit as the manual lists, then water just below the top of the load.
- Seal the lid, set the barrel on the tumbler and run the coarse stage.
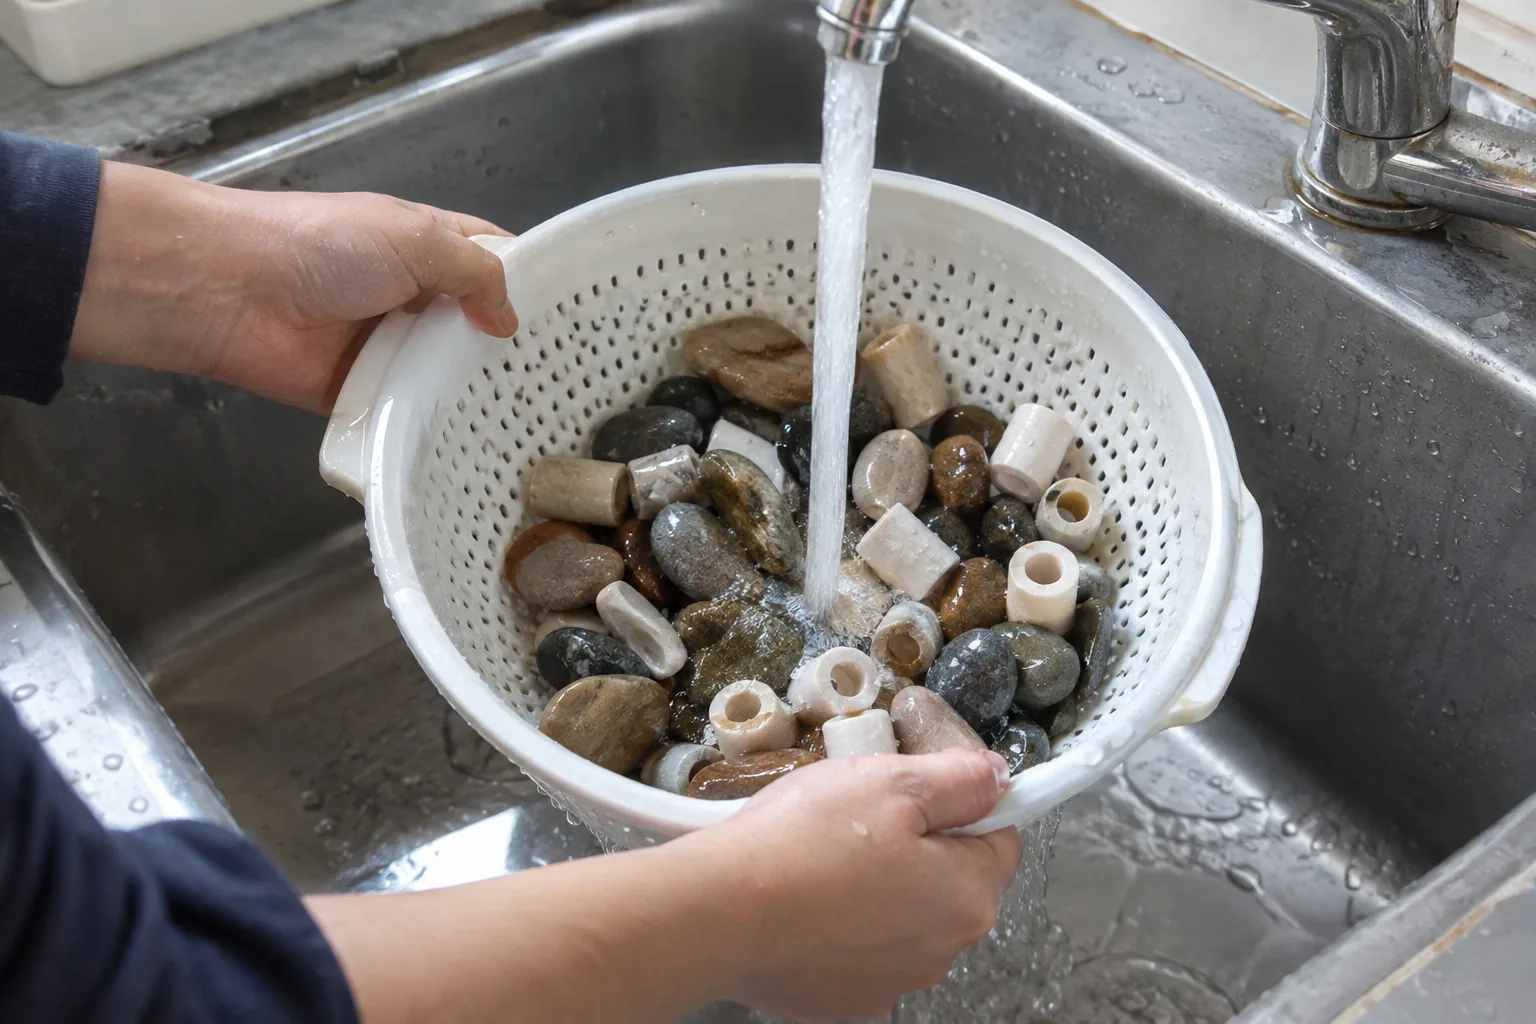
- Rinse the stones, the media and the barrel thoroughly before the next grit.
- Repeat through each finer grit in order, rinsing between every stage.
- Run the polish stage with clean media, then rinse the finished stones.
In a kit such as GemSpin Studio, the ceramic media goes into the barrel alongside the stones at each stage, and the guidebook covers which stones to load and how much grit to add. Follow your own tumbler's manual and unplug it before opening or moving the barrel.
Field note
Keep one batch of media aside for the polish stage only. Coarse grit trapped in used media can scratch stones at the end, even after a rinse.
Why tumbled rocks are not shiny
A dull finish traces back to a few causes. Check these before blaming the stones.
- Skipped or rushed stages. Scratches from a coarse stage remain if the next stage did not finish smoothing them.
- Carry-over grit. Residue on stones, media or barrel walls brings coarse particles into the polish stage. Rinse thoroughly.
- Overloaded or underloaded barrel. Too little load lets stones strike each other, and too much restricts the tumbling action. Use the load line.
- Mixed hardness. Soft stones wear differently from hard ones, so group them by hardness.
- Porous or fractured stones. Some material does not take a shine.
- Worn grit. Used slurry loses its cutting ability, so replace it between stages.
Grit for a vibratory tumbler
The stage order matches a rotary barrel: coarse, medium, fine, then polish. Some vibratory tumblers call for a finer starting grit than rotary barrels, so check the manual for your model. Media is part of the vibratory load, and it needs the same thorough rinse between stages.
Clean and reuse your media
After each stage, strain the media from the slurry with a sieve you reserve for the hobby, rinse it with running water and let it dry. Do not pour slurry down a drain; dispose of it as your local rules direct. When you reuse ceramic media for a rock tumbler, keep it sorted by stage.
- Label bags by stage: coarse, medium, polish.
- Check cylinders for chips and replace damaged ones with fresh cylinders.
- Wipe the barrel and lid seal before each stage.
If you are building a tumbling setup, browse our Hobby & Specialty Tools collection for related gear.