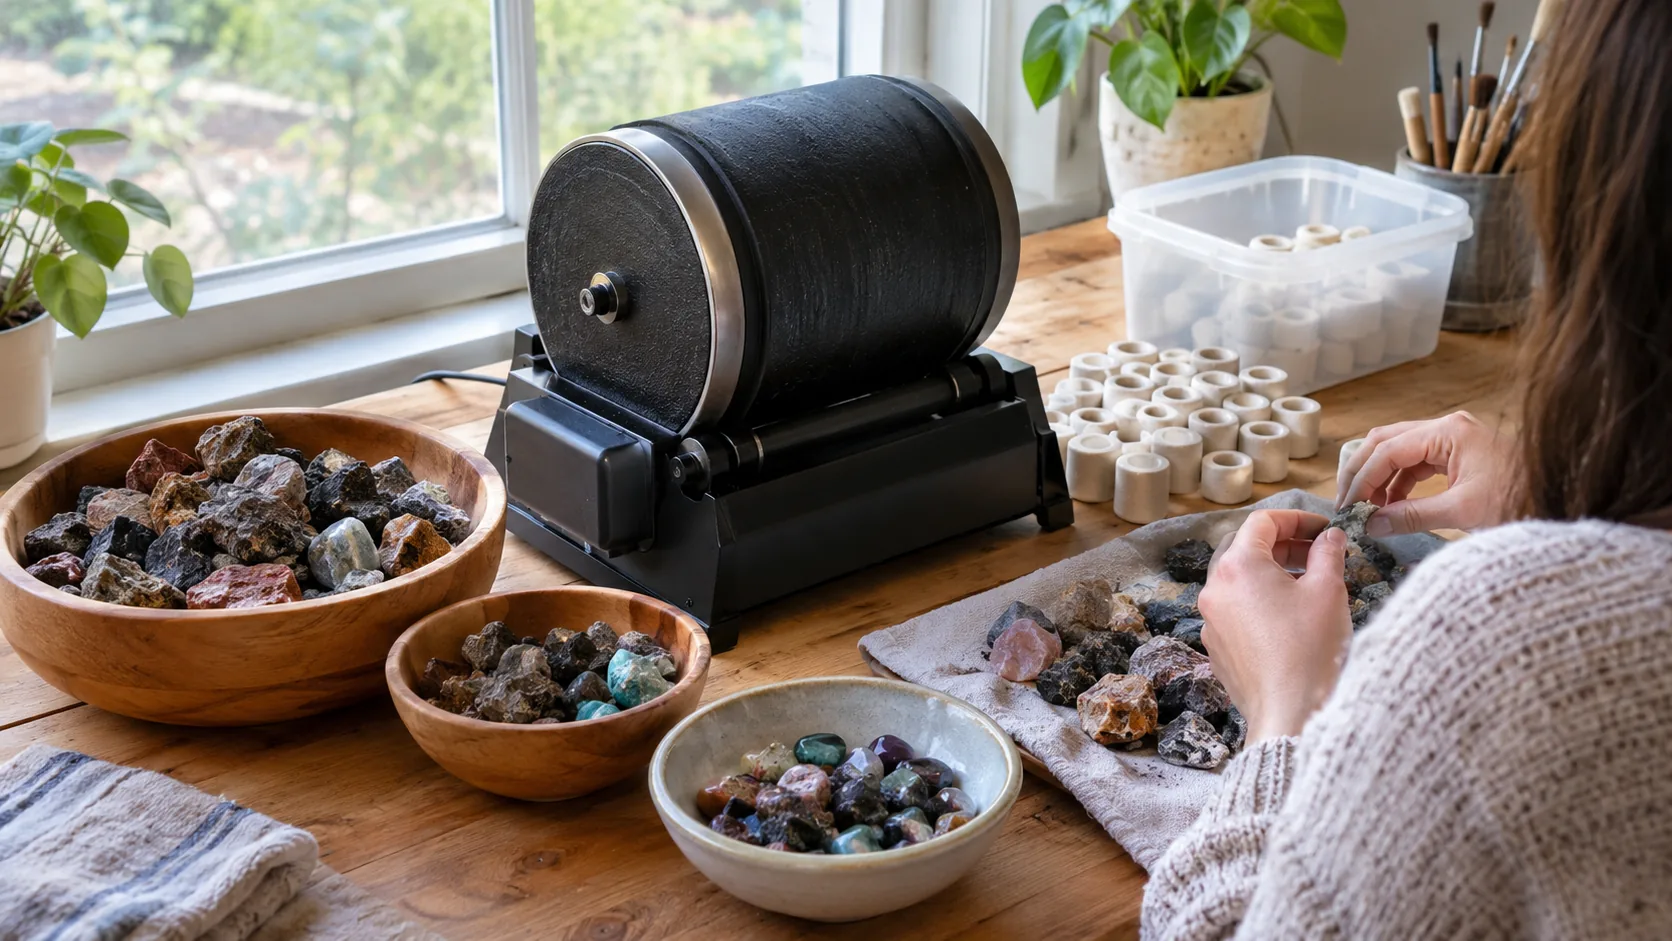
Tumbling Glass in a Rock Tumbler: Steps, Grit and Timing
Run cleaned glass through coarse, medium, fine and polish stages, rinsing between each, and cushion it with filler media. Here is the grit schedule with a check routine for each stage.
The Quindrel Team
October 25, 2026 · 8 min read
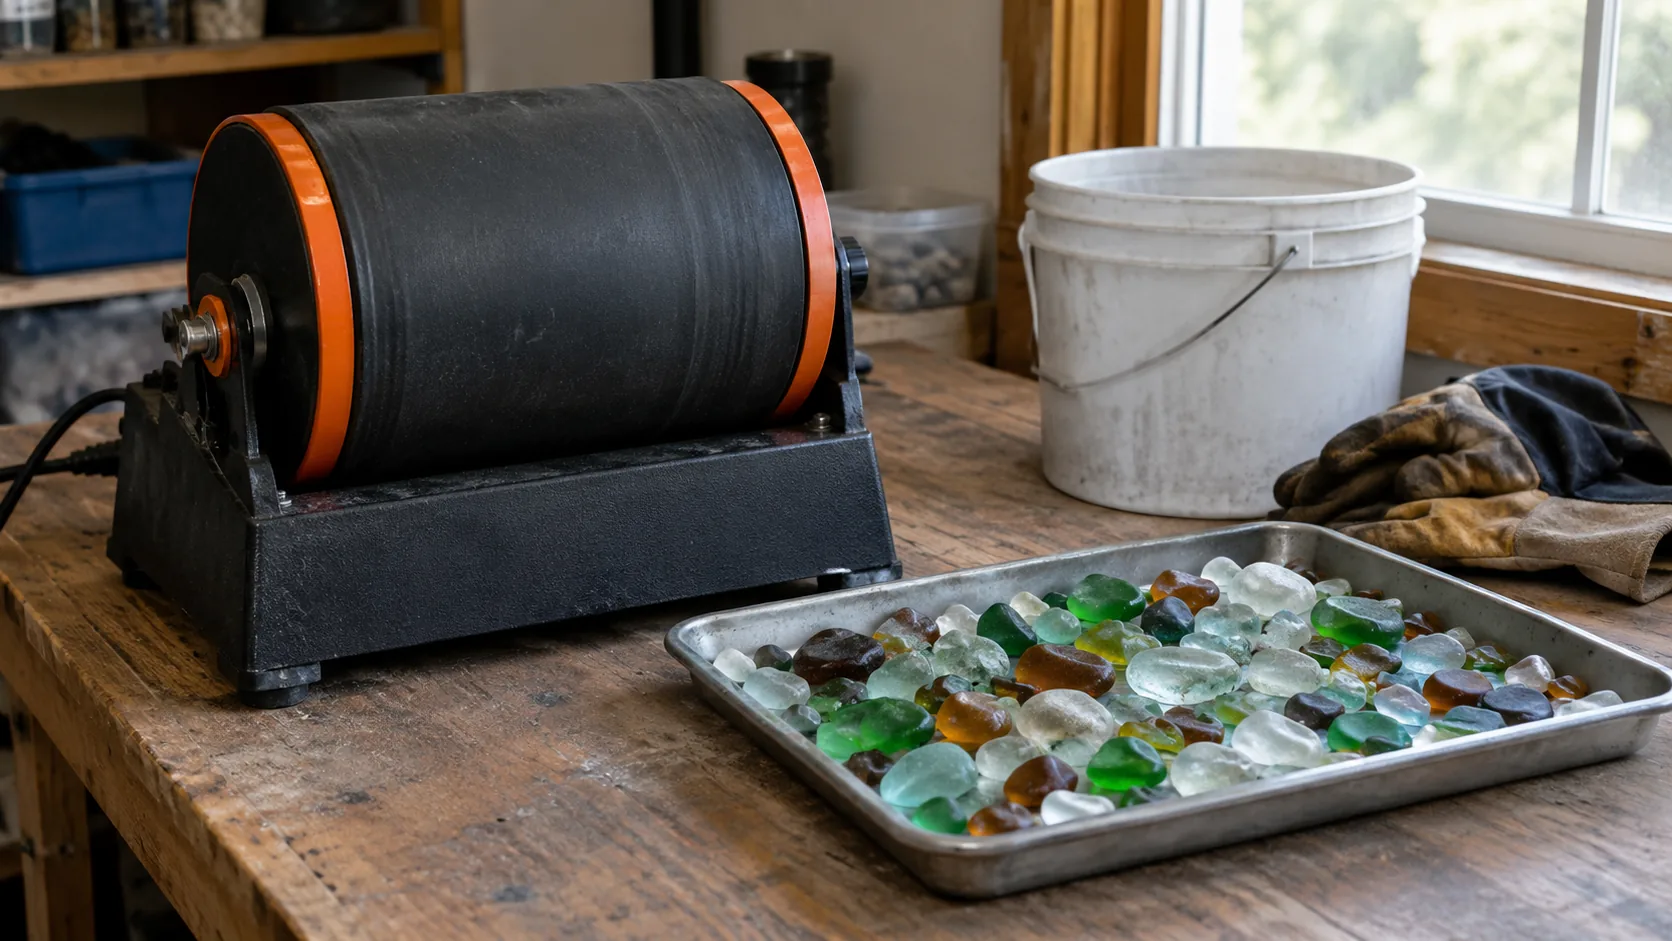
Tumbling glass in a rock tumbler works the same way as tumbling stones: load cleaned glass pieces, grit and water into a sealed barrel, then run coarse, medium, fine and polish stages in order, rinsing thoroughly between each one. Glass is softer than most rough stones, so check it often during the coarse stage and cushion the load with filler media. This guide gives a stage-by-stage grit schedule, a check routine for each stage and the handling steps that matter because broken glass has sharp edges.
Can you tumble glass?
Yes. Bottle glass, jar glass and sea glass pieces all smooth out in a rotary tumbler, and the finished pieces have a frosted or glossy surface depending on how far you take the stages. Glass does not behave like agate or jasper, though. It chips instead of grinding evenly, and thin or sharp shards can break into smaller pieces in the barrel.
Start with thick pieces, such as bottle bases and necks, and skip thin window glass and anything laminated or tempered. Sort by thickness and rough size so a small piece does not get lost among large ones. A mix of sizes helps fill gaps, but a very thin sliver will not survive the coarse stage.
Gear and prep before the first stage
You need a rotary tumbler with a sealing barrel, a grit set that runs from coarse to polish, filler media, a bucket, a strainer you do not use for food, and protective gear. Keep a separate set of tools for the hobby, because grit residue should stay away from kitchen items.
- Cut-resistant gloves and eye protection for sorting and breaking glass
- A towel-lined tray or box for sorting pieces
- Ceramic or plastic filler media to cushion the glass
- Clean water and a bucket for rinsing outdoors or in a utility sink
- A grit set where each stage is labeled by coarseness
Prepare the glass
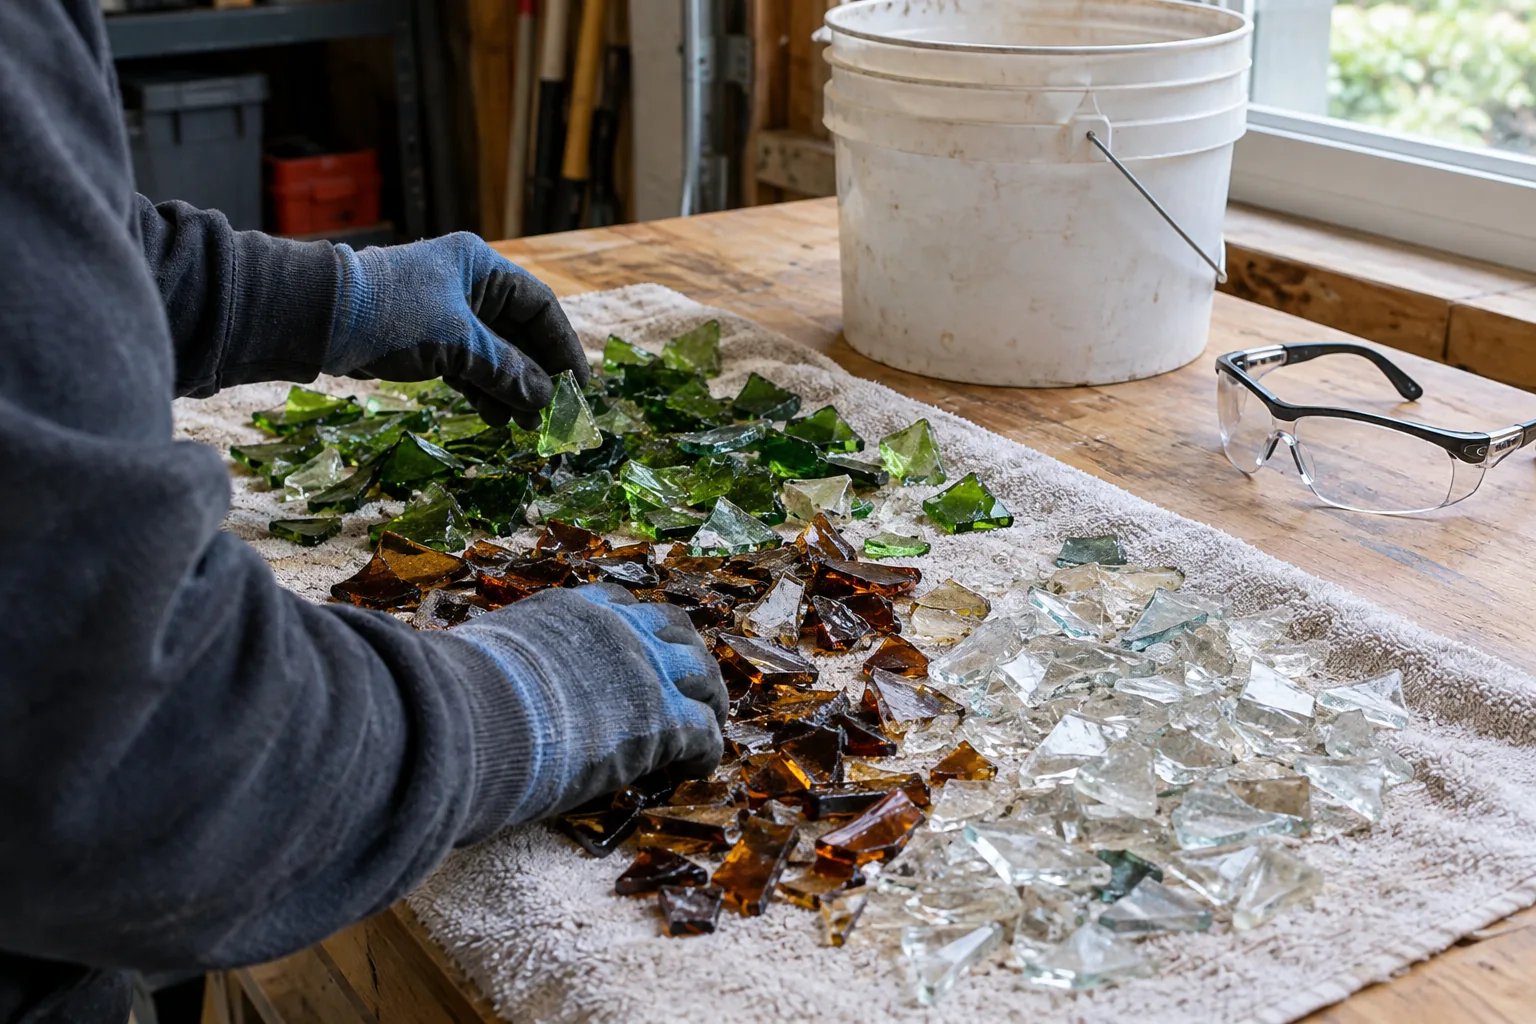
Wash the pieces to remove labels, glue and residue. Wear gloves and eye protection when you break large bottles into smaller chunks, wrap the bottle in a thick towel first, and sweep the area afterward. Check each piece and set aside any with long, thin shards.
Aim for chunks roughly thumb-sized or smaller, with a mix of shapes. Pieces with very sharp points will round off, but they can also chip the others, so knock off the worst points before loading.
Tumbling glass in a rock tumbler: grit schedule by stage
The table below is a starting point built on the four-stage sequence. Your kit's manual and grit labels come first, because grit sizes, barrel loads and cycle lengths differ between tumblers. Follow the manual's cycle length for each stage as the main rule, and keep the same order every time: coarse, medium, fine, polish.
| Stage | Grit type | Purpose | How often to check | Check before moving on |
|---|---|---|---|---|
| 1. Coarse | Coarse silicon carbide | Rounds sharp edges and corners | Every day or two of running | Edges and corners feel rounded, with no sharp points |
| 2. Medium | Medium silicon carbide | Replaces deep scratches from stage 1 with finer ones | Once partway and once at the end | Surface looks evenly frosted, with no pits |
| 3. Fine | Fine grit | Smooths the surface to a satin finish | Once partway and once at the end | Surface is evenly satin, with no deeper scratches or pits under bright light |
| 4. Polish | Aluminum oxide polish | Brings up the gloss | Once at the end of the cycle | Surface is glossy, with no cloudy patches |
Glass is softer than quartz-type stones, so open the barrel for a check during the coarse stage rather than waiting for the end. If every edge is already rounded, move on instead of running the full cycle the manual lists. These checks decide when to move on; they are not a promise of a result after a set number of days.
Stage 1: coarse grit
Fill the barrel about two-thirds to three-quarters full with a mix of glass and filler media. Add the coarse grit in the amount the manual lists, then add water until it just covers the load. The slurry should look like thin pancake batter, not soup.
Seal the lid, set the barrel on the tumbler and start the cycle. At each check, unplug the tumbler and open the barrel carefully, since pressure can build up inside. Point the lid away from your face and let air out slowly.
Stage 2 and 3: medium and fine
Rinse every piece, the filler and the barrel thoroughly before the next stage. Leftover coarse grit can leave scratches that show up in the polish. Use a strainer outdoors or a bucket, and do not pour slurry down an indoor drain, because grit can settle in the pipes.
Reload with the same glass, add the next grit and fresh water, and run the stage. Look at the pieces under bright light at the end of each stage. An evenly satin surface with no deeper scratches or pits means you are ready for the next grit.
Stage 4: polish
Use a barrel that has been washed twice. Load the glass with polish and water, and run the stage. Some hobbyists swap the filler for fresh, clean media for this step, because worn media carries old grit.
When the cycle ends, rinse the pieces in clean water and dry them with a towel. If the surface looks cloudy, rinse again and run the polish stage once more.
Load size, media and slurry
Aim to keep the barrel mostly full. Too little in the barrel lets glass fall and strike other pieces, which chips them. Too much keeps the load from tumbling over itself, and the pieces grind unevenly.
Filler media cushions glass and brings the barrel to a good fill level. Ceramic media works for this, and so do plastic pellets. Use clean filler at each stage and keep the stages separate, since mixed grit sizes scratch the surface.
Slurry thickness matters too. Water should just cover the load, and the grit should feel like a thin paste when you stir it. If it is watery, the grit is not contacting the glass; if it is thick like mud, the pieces cling together.
Choosing a tumbler for glass
Look for a rubber barrel with a sealing lid, a motor that turns the barrel steadily, and a grit set that matches your stages. A larger barrel holds more glass per batch, and if you are comparing the largest rock tumbler you can find, remember that a bigger load needs more grit, more filler and a bigger rinse setup at every stage.
For a first batch, a small barrel holds fewer pieces to unload and check. Two kits we stock are built around a four-stage grit sequence like the one in the table.
GemForge
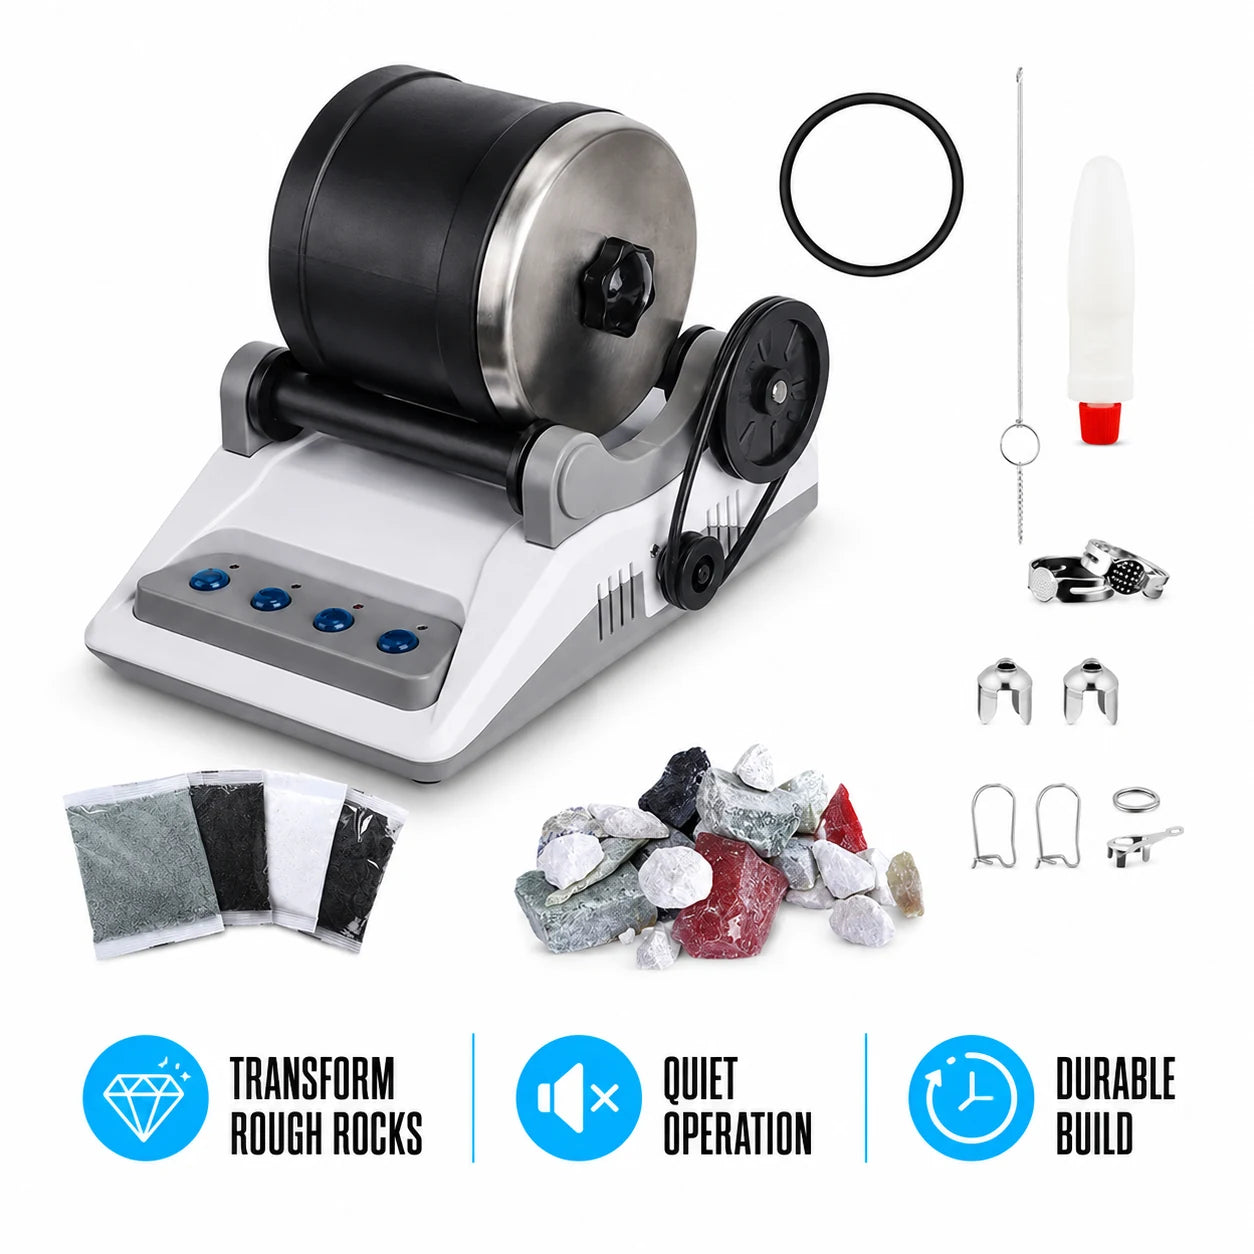
GemForge has a rubber barrel with a 1 lb capacity, a four-stage polishing grit set, and a one-button timer with built-in shut-off. You load the barrel, seal it and press the button, and the tumbler ends the set cycle on its own. Check the instruction guide for what the grit set is meant for before adding glass.
 In this guideGemForge$149.99View
GemSpin Studio
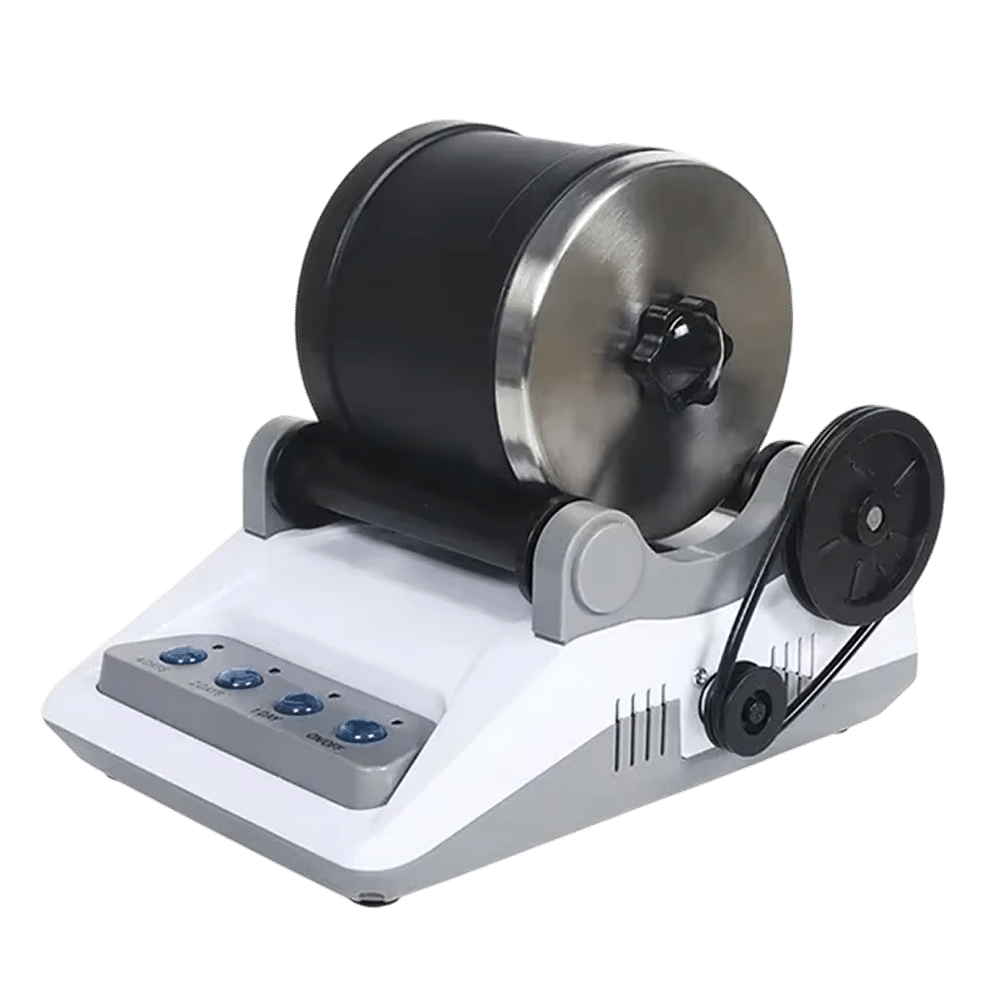
GemSpin Studio uses a direct-drive motor with no drive belts and a rubber barrel with a sealing lid. It comes with four grinding and polishing grits from coarse through fine, plus ceramic media that goes into the barrel alongside the load at each stage. The guidebook covers how much grit to add.
 In this guideGemSpin Studio$119.99View
Common mistakes and fixes
| Problem | Likely cause | Fix |
|---|---|---|
| Pieces look cloudy after polish | Grit left over from an earlier stage | Rinse the barrel and glass again, then repeat the polish stage |
| Chips and fresh cracks | Barrel underfilled or glass too thin | Add filler media and remove thin pieces |
| Pits that remain after fine grit | Coarse stage ended too early | Go back to the coarse or medium stage for another run |
| Pieces cling together | Slurry too thick | Add water in small amounts |
| Barrel lid pushes out when opened | Pressure built up during the run | Open slowly, pointed away from you |
Do not skip a stage to shorten the schedule. A glass piece with deep scratches from stage 1 needs the medium and fine stages to work them out, and the polish cannot do that job alone.
Field note
Unplug the tumbler before you open the barrel, wear gloves and eye protection while you unload, and pour glass pieces onto a towel-lined tray instead of reaching in blindly.
Finishing, cleanup and care
Rinse the finished glass in clean water and dry it with a towel. Run a gloved fingertip along the edges of each piece; any piece that still has a chipped point can go back for another coarse run.
Wash the barrel, lid and seal with warm water after each stage. Check the lid seal for grit before closing it, since trapped grit can let slurry leak. Store grit in labeled, closed containers, one per stage.
For finished pieces, the GemForge kit includes jewelry settings and findings along with gem glue, so you can mount polished pieces in necklaces, bracelets or display pieces. Browse more tools in the Hobby & Specialty Tools collection.
Setup checklist
- Wash, sort and gently break glass into thumb-sized pieces while wearing gloves and eye protection.
- Load the barrel two-thirds to three-quarters full with glass and filler media.
- Add coarse grit and water, seal the lid and run the first stage, checking the load every day or two.
- Rinse everything thoroughly, then repeat with medium and fine grit, checking partway and at the end.
- Run the polish stage in a clean barrel with clean filler.
- Rinse, dry and inspect each piece before you handle or mount it.
Follow this order each time you start tumbling glass in rock tumbler barrels, and adjust the checks to the thickness of your pieces.