How to Change a TPMS Sensor and Reset the System
Change a TPMS sensor by unseating the tire, swapping the sensor and seal kit, then running a relearn. Here are the steps, reset options and how to spot a dead battery.
Curtis Boone
October 14, 2026 · 9 min read
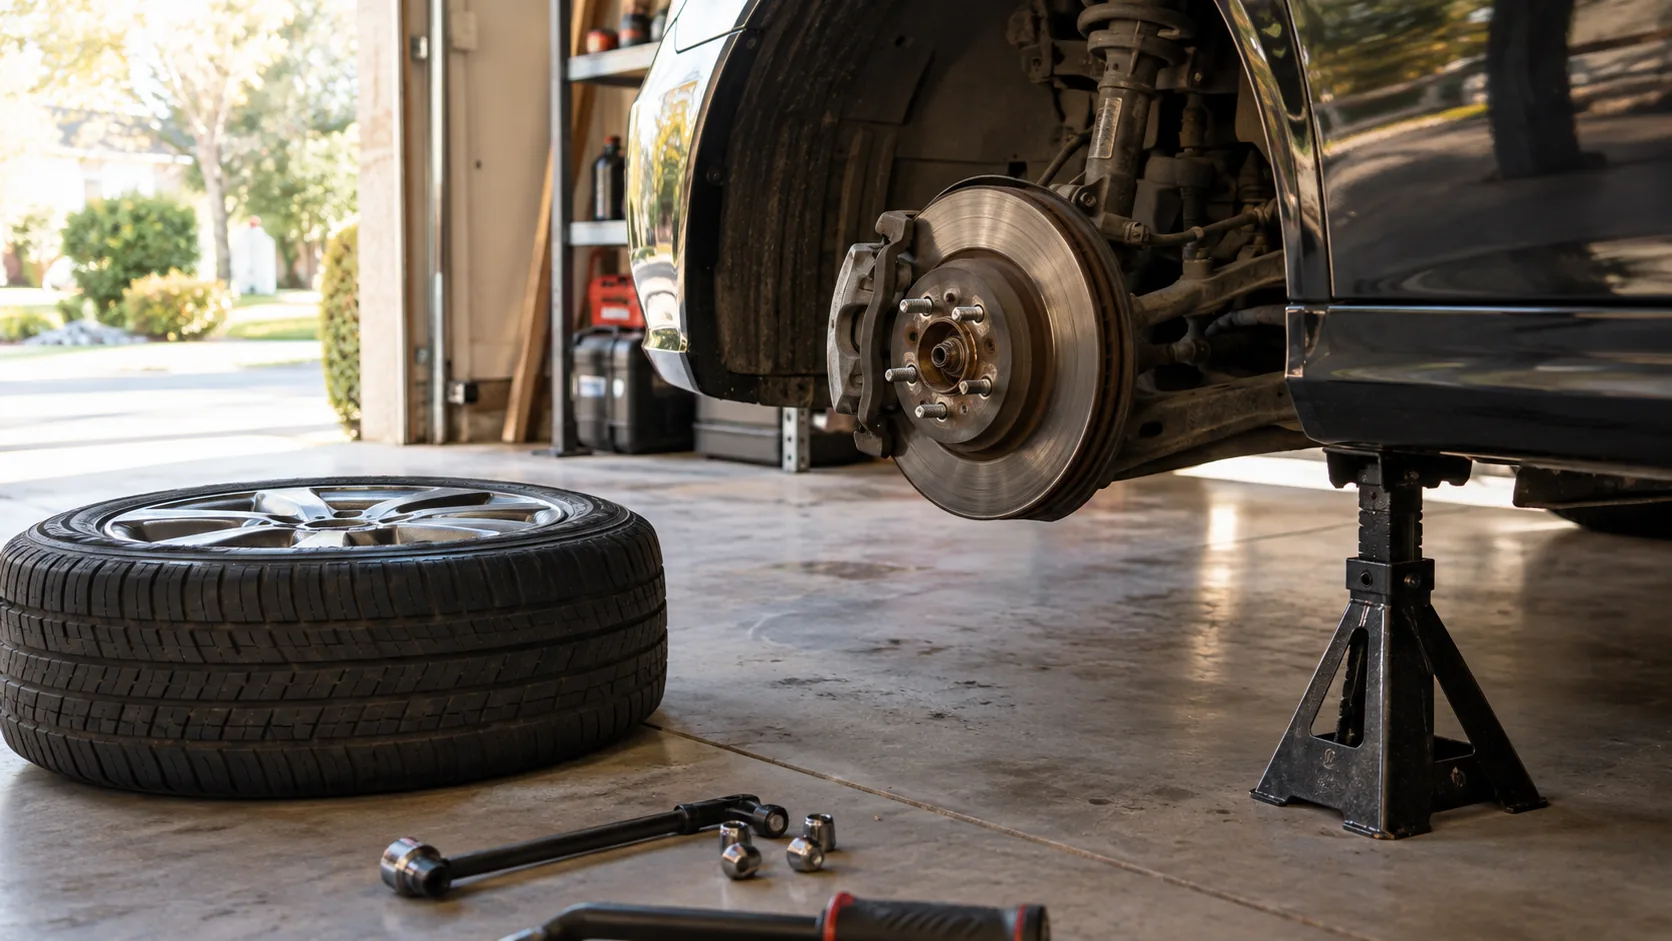
To change a TPMS sensor, deflate and unseat the tire bead, remove the old sensor from the wheel, fit the new one with a new seal kit, reseat and inflate the tire, then run the relearn procedure so the vehicle recognizes the new sensor ID. Most valve-stem-mounted sensors need a tire machine, so the swap is a shop job unless you have the equipment and experience to break and seat a bead yourself, following the tool's instructions.
Resetting is a separate step. The light will not clear just because the new sensor is in the wheel. This guide covers the swap, relearn options with and without a tool, and how to tell a dead sensor battery from a real fault.
Dead battery or sensor fault: how to tell
Each built-in TPMS tire sensor is a sealed unit with its own small battery, so it is not wired to the vehicle. When that battery runs down, the sensor stops transmitting. Many vehicles show this as a flashing warning light that turns solid, or as a missing reading for one wheel. Other vehicles show a plain warning light only.
Before you buy parts, rule out the simple causes. A tire that is actually low will light the warning too, so check pressure with a gauge first. Only then look at a possible sensor fault or malfunction.
| What you see | Likely cause | Next step |
|---|---|---|
| Light flashes at startup, then stays on | A sensor is not reporting, often a spent battery or a lost signal | Read sensor data with a scan tool, or compare each wheel on the dash display |
| One wheel shows no reading, others normal | That sensor is not transmitting or is damaged | Check for a bent stem or corrosion, then plan a swap |
| Light comes on after a tire rotation or new wheels | Sensor positions or IDs not relearned | Run the relearn procedure |
| Light is on and a tire is low | Real pressure loss | Inflate to the door-jamb number and look for the leak |
| Readings jump or drop out at random | Failing sensor, a damaged valve stem, or a receiver issue | Have the system scanned before replacing parts |
Telling which sensor is bad without a scanner
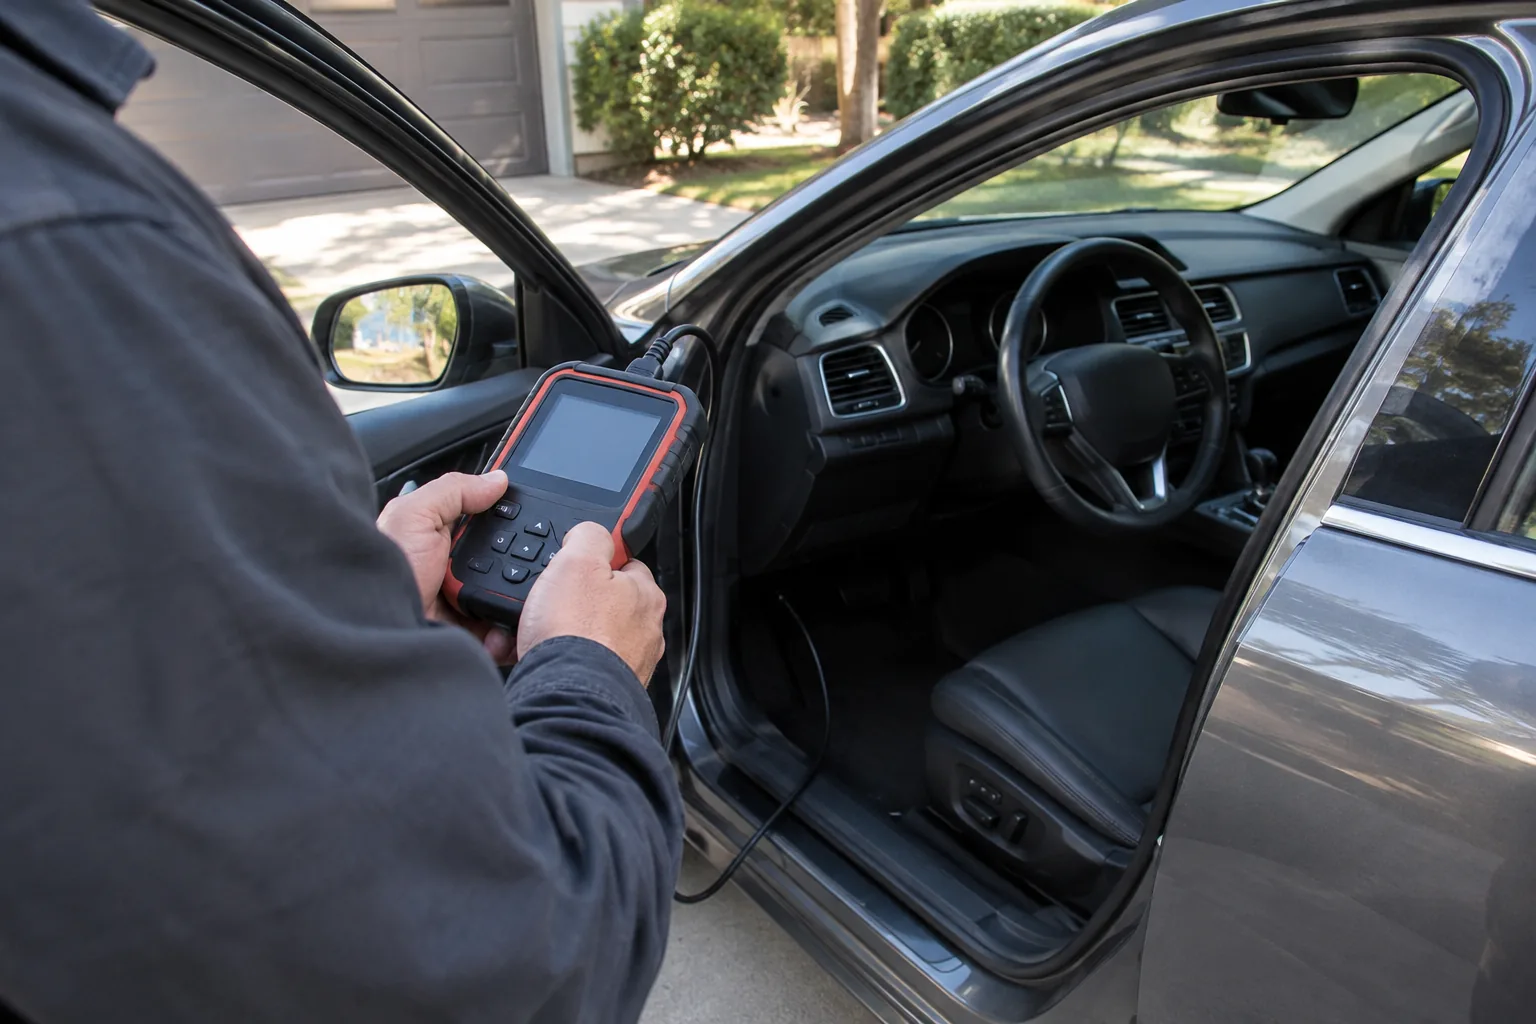
Some vehicles show pressure per wheel in the instrument cluster menu. The wheel with a blank or dashed reading is the suspect. If your vehicle only has a light, a shop scan tool or a handheld sensor activator reads each sensor directly and shows which one does not respond.
Sensors do contain batteries, and they are sealed in. For most sensors, a dead battery means replacing the whole sensor. TPMS sensor repair at home usually amounts to replacing the valve core, cap, nut or seal kit, not the electronics.
Before you start: parts and tools checklist
Gather everything first so the wheel is not sitting open while you hunt for a part. The same list applies whether you change TPMS sensor parts yourself or hand the wheel to a shop.
- The correct TPMS replacement sensor. Match your vehicle and its radio frequency type, or choose a programmable sensor that can be set to your vehicle.
- A service kit for the sensor: valve core, nut, grommet or seal, and cap.
- Tire machine access, or a shop that will mount the tire.
- A torque wrench and the torque values from your service manual for the sensor nut and lug nuts.
- Jack, jack stands and wheel chocks. Support the vehicle on stands, not on the jack alone.
- A tire pressure gauge and a way to inflate the tire, such as a portable inflator.
- A valve stem puller or removal tool if your sensor has a snap-in rubber stem.
- A relearn method: a scan tool, a TPMS sensor relearn tool, or the manual procedure for your vehicle.
Tire work involves compressed air and heavy wheels. If you are not comfortable breaking a bead or seating it, hand the wheel to a tire shop and do the relearn yourself.
How to change TPMS sensor hardware, step by step
The steps below apply to the common valve-stem sensor that sits inside the wheel. Details such as sensor position and torque vary, so follow your service manual.
Step-by-step swap
- Identify the wheel. Note which corner holds the failed sensor and write down the new sensor's ID if it is printed on it.
- Loosen the lug nuts slightly with the wheel on the ground, then raise the vehicle, set jack stands and remove the wheel.
- Release the air by removing the valve core, then let the tire deflate fully.
- Break the bead on both sides and unseat it from the rim, using a tire machine.
- Remove the old sensor. Unscrew the retaining nut on a clamp-in stem sensor, or pull a snap-in rubber stem through the rim hole with a valve stem puller.
- Clean the valve hole. Wipe away grime and check the rim for corrosion or burrs that could cause a slow leak.
- Install the new sensor with the new grommet or seal, positioned so the body sits inside the rim and the stem points straight out. Tighten the nut to the manual's torque value.
- Remount the tire, keeping the bead away from the sensor body as it goes on. Seat the bead and inflate.
- Set the pressure to the number on the door-jamb sticker, not the number molded on the tire sidewall.
- Check for leaks around the stem and nut with soapy water.
- Refit the wheel, lower the vehicle and tighten the lug nuts in a crisscross pattern to the manual's torque value.
- Run the relearn procedure in the next section.
Installing a TPMS sensor on new wheels
The process for fitting sensors to a new set of wheels is the same as a single swap, only repeated four times with the rims bare. Fit each sensor before the tire goes on, note which wheel goes to which corner, and relearn positions afterward. If you are moving sensors from old wheels, check each one for damage and fit a fresh service kit.
Changing the sensor without removing the tire
On a sensor mounted inside the wheel, the tire has to come off the rim on at least one side. Some vehicles use a band-mounted sensor strapped around the wheel barrel, which still needs the bead unseated.
Manual bead-breaking tools exist for use without a tire machine. They take care and practice, so follow the tool's instructions closely. If you are unsure what your wheel needs, ask a tire shop.
How to reset a TPMS sensor after the swap
A new sensor has its own ID. The vehicle's control module has to learn that ID and the wheel position, or the warning stays on. There are three common routes.
| Method | What you need | How it works |
|---|---|---|
| Drive-to-learn (automatic) | Correct tire pressures and a drive | The vehicle picks up the new ID while driving. Your manual states the speed and drive time. |
| Manual or key-on procedure | The owner's manual, sometimes a reset button | You put the vehicle in learn mode, then trigger each sensor in a set order, often by deflating or inflating the tire. |
| TPMS relearn tool | A relearn tool or scan tool with TPMS functions | The tool wakes each sensor, reads its ID and writes it to the vehicle through the diagnostic port. |
Relearn without a tool
Start with the manual. Many vehicles list a reset button under the dash or a menu in the instrument cluster. Set all four tires, and the spare if it has a sensor, to the door-jamb pressure. Then follow the manual's sequence and drive as directed. If the light is still on after a full attempt, the vehicle likely needs a tool relearn.
When a TPMS sensor relearn tool is the right choice
Some vehicles only accept new IDs through the diagnostic port. Others need programmable sensors written with your vehicle's protocol before the relearn. A TPMS sensor relearn tool, or a scan tool with TPMS functions, handles both. If you only swap sensors once, a tire shop can run the relearn for you. If you handle several vehicles, owning a tool makes sense.
For scan tools and other diagnostic gear, see our Audio, Connectivity & Diagnostics collection.
Add-on option: external sensors while you troubleshoot
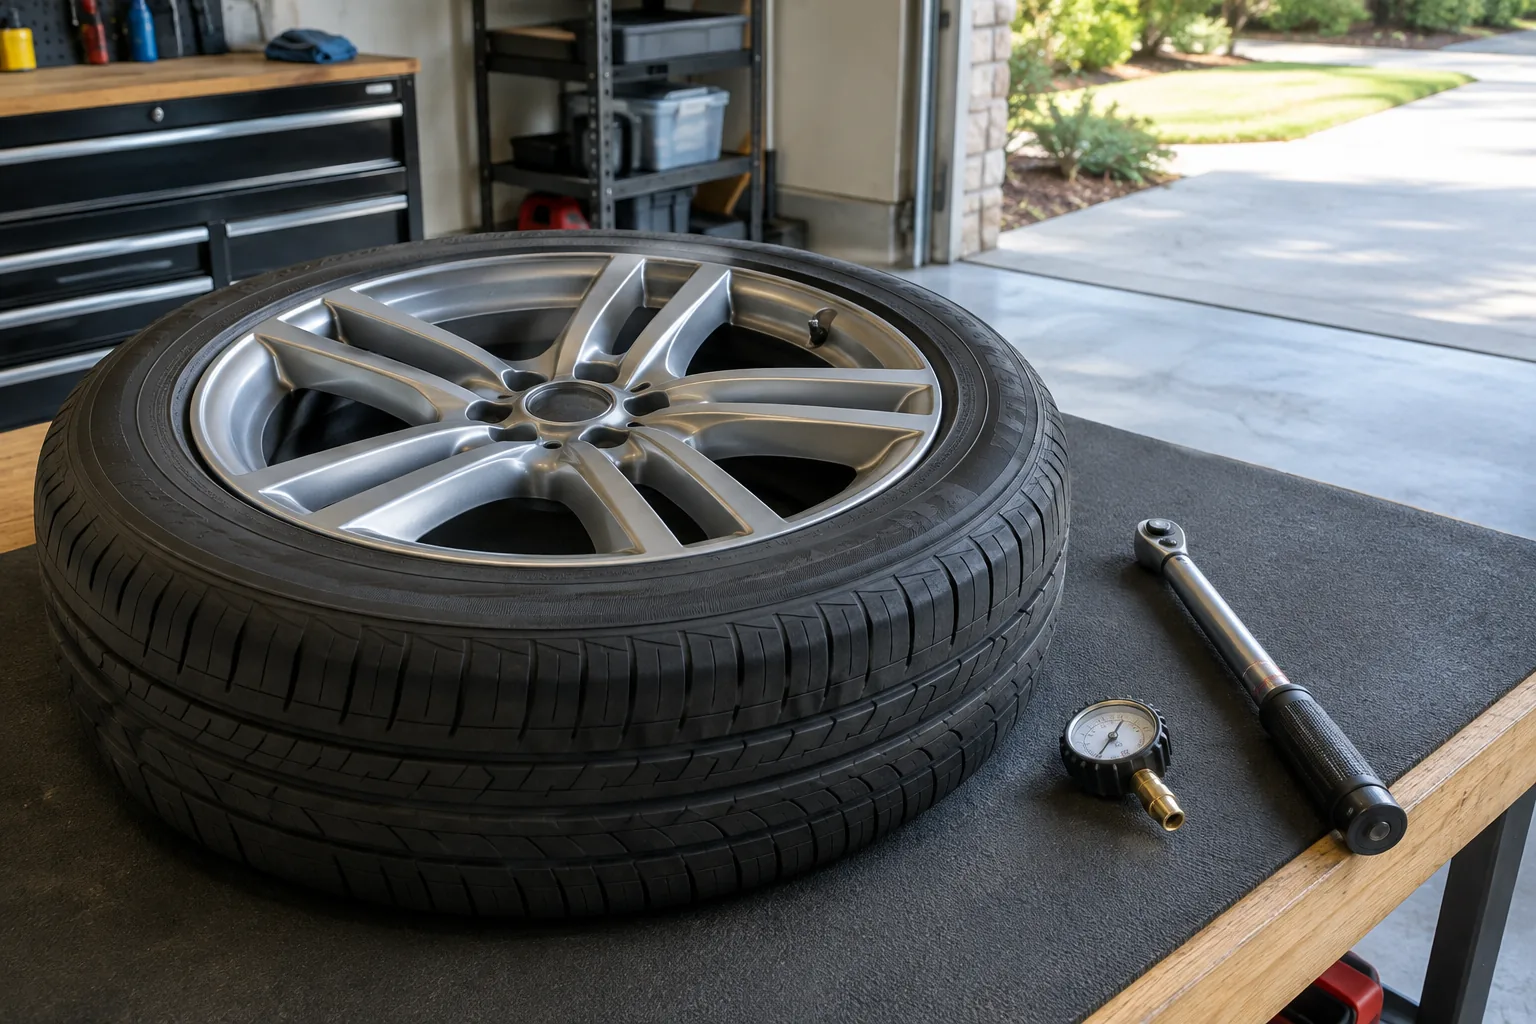
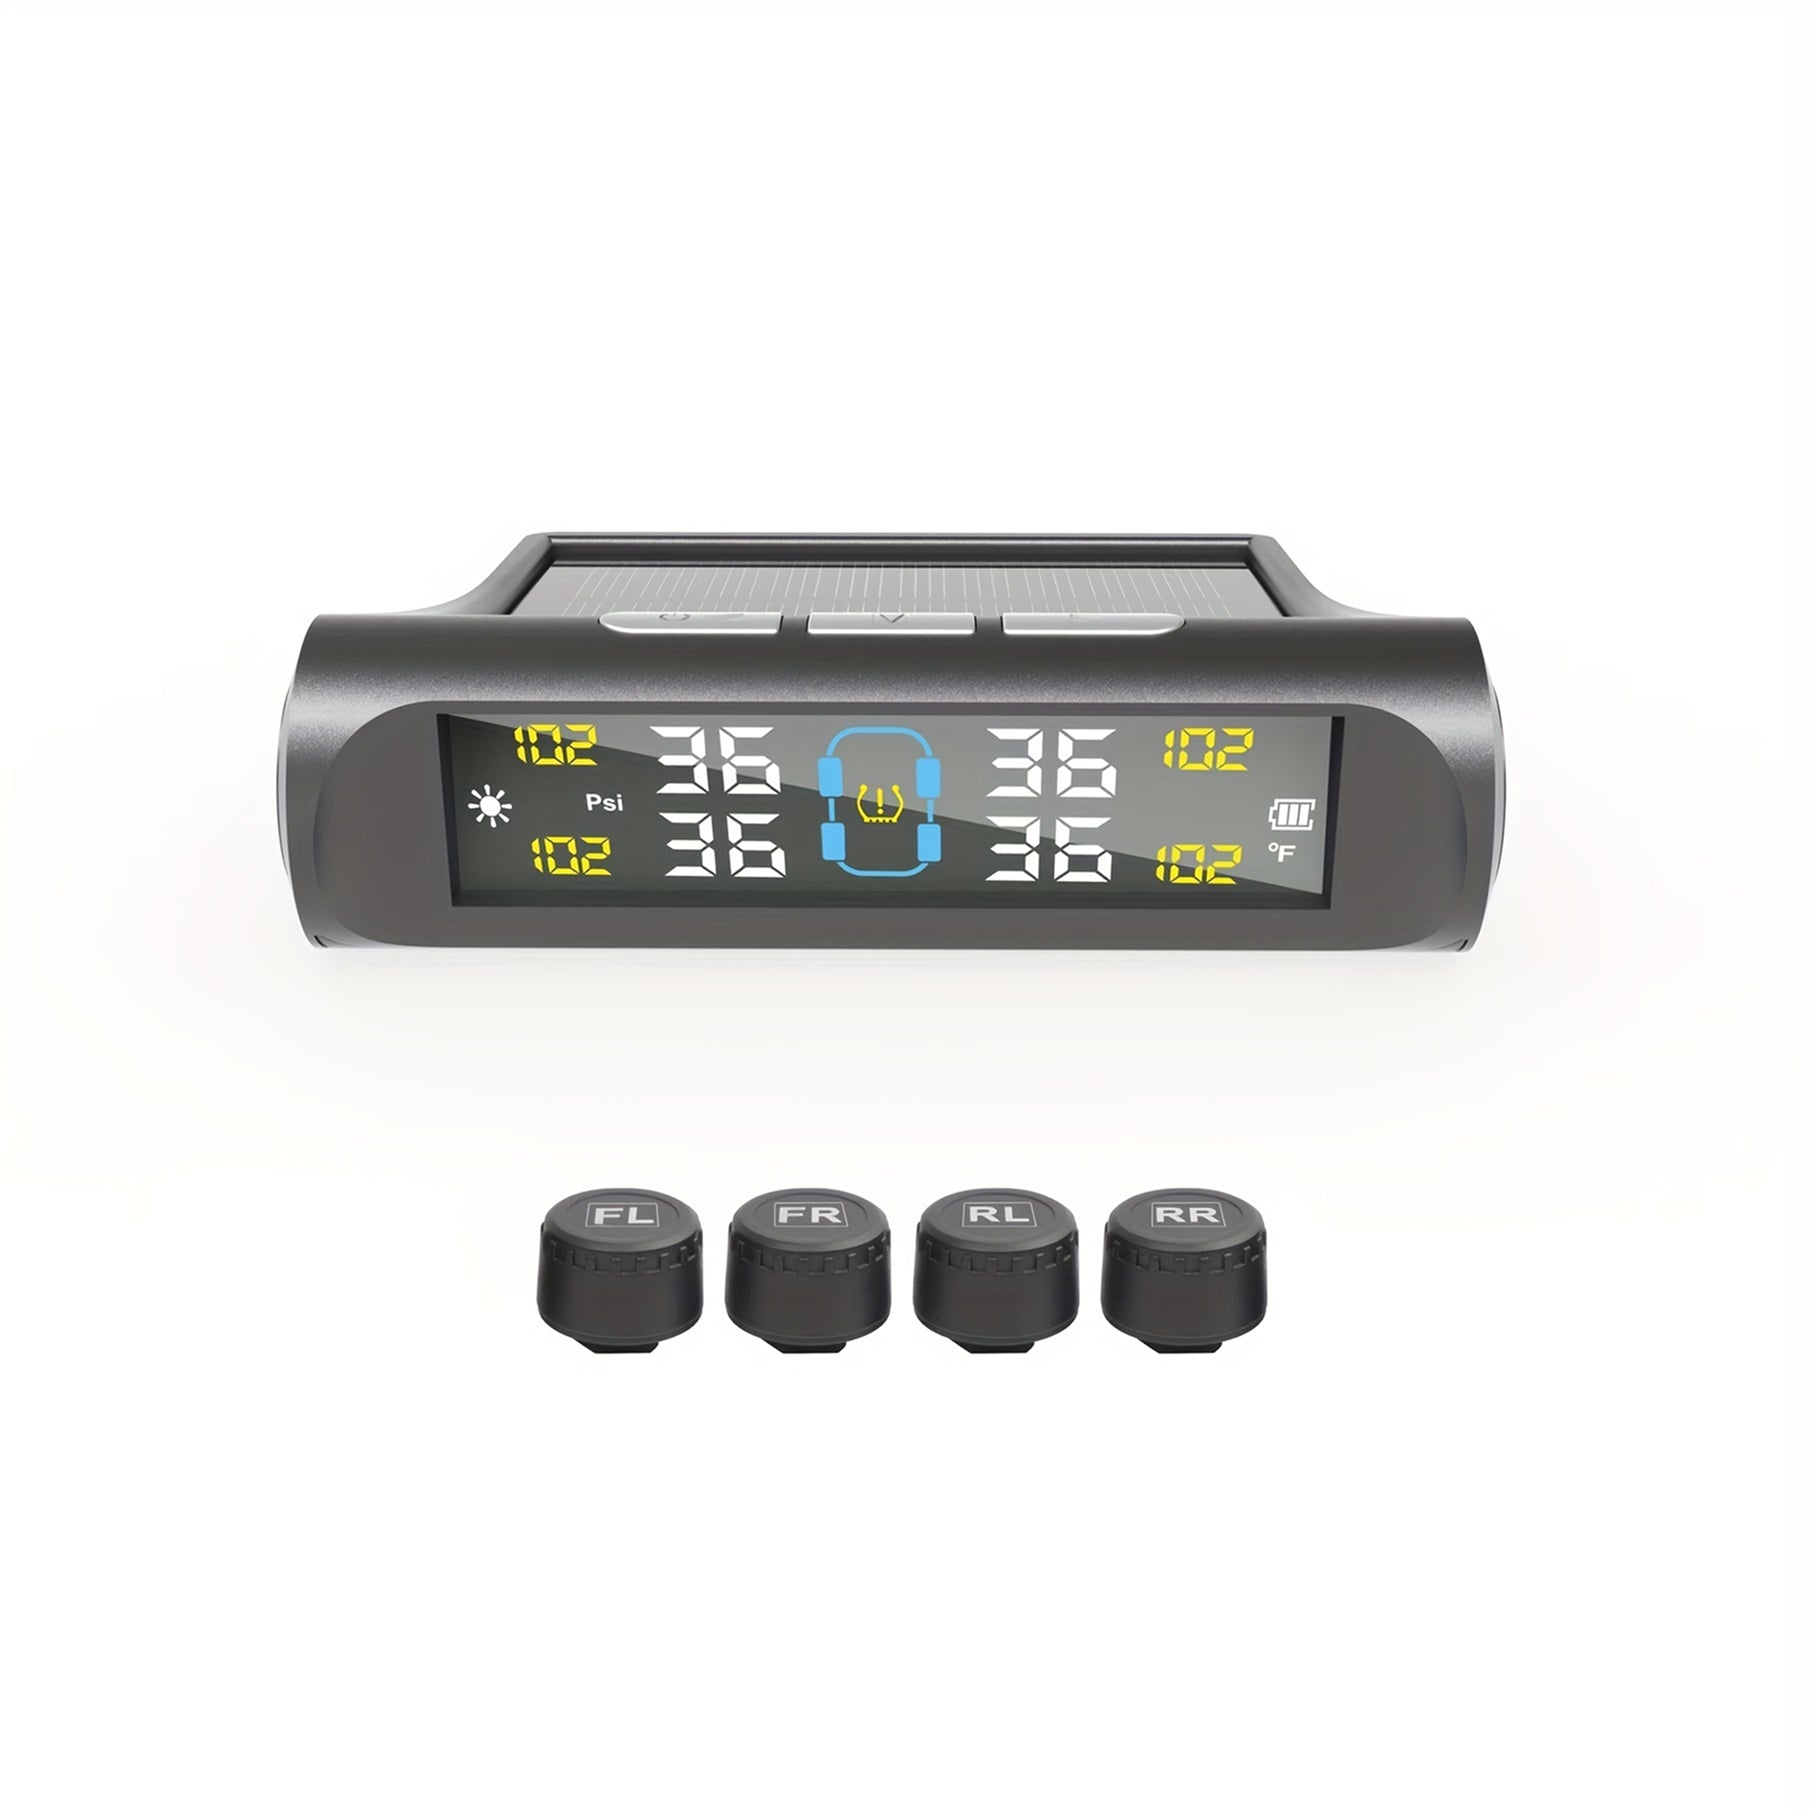
VoltGuard is a separate system with four external wireless sensors that screw onto the valve stems, plus an LCD display unit that shows pressure and temperature for each tire. The tires stay on the wheels, and the included accessory and installation tool set handles the fitting. The display runs on a built-in solar panel or the included USB cable.
It has five alarms: low pressure, high pressure, rapid leak, high temperature and sensor signal loss, and you can set your own temperature threshold. A single replacement sensor is sold separately. Think of it as a second set of eyes while you sort out a stubborn built-in system. It does not program or replace the sensors your vehicle already has, and it does not reset the factory light.
 In this guideVoltGuard$79.99View
Common mistakes to avoid
- Reusing the old seal kit. The grommet, nut and core seal the stem, so replace them with the sensor.
- Over-tightening the nut. Aluminum stems and nuts can be damaged, so use a torque wrench and the manual's value.
- Skipping the relearn. A light that stays on after the swap usually means the new ID was not registered.
- Setting pressure from the tire sidewall. The sidewall number is a maximum, so use the door-jamb sticker.
- Damaging the sensor during mounting. The tire bead should be kept clear of the sensor body.
- Ignoring corrosion. A pitted valve hole can leak even with a new sensor.
- Buying the wrong frequency. A sensor that does not match your vehicle will not report.
Field note
After the swap, set each tire to the door-jamb pressure before starting the relearn, so the system learns the sensors at the correct pressure.
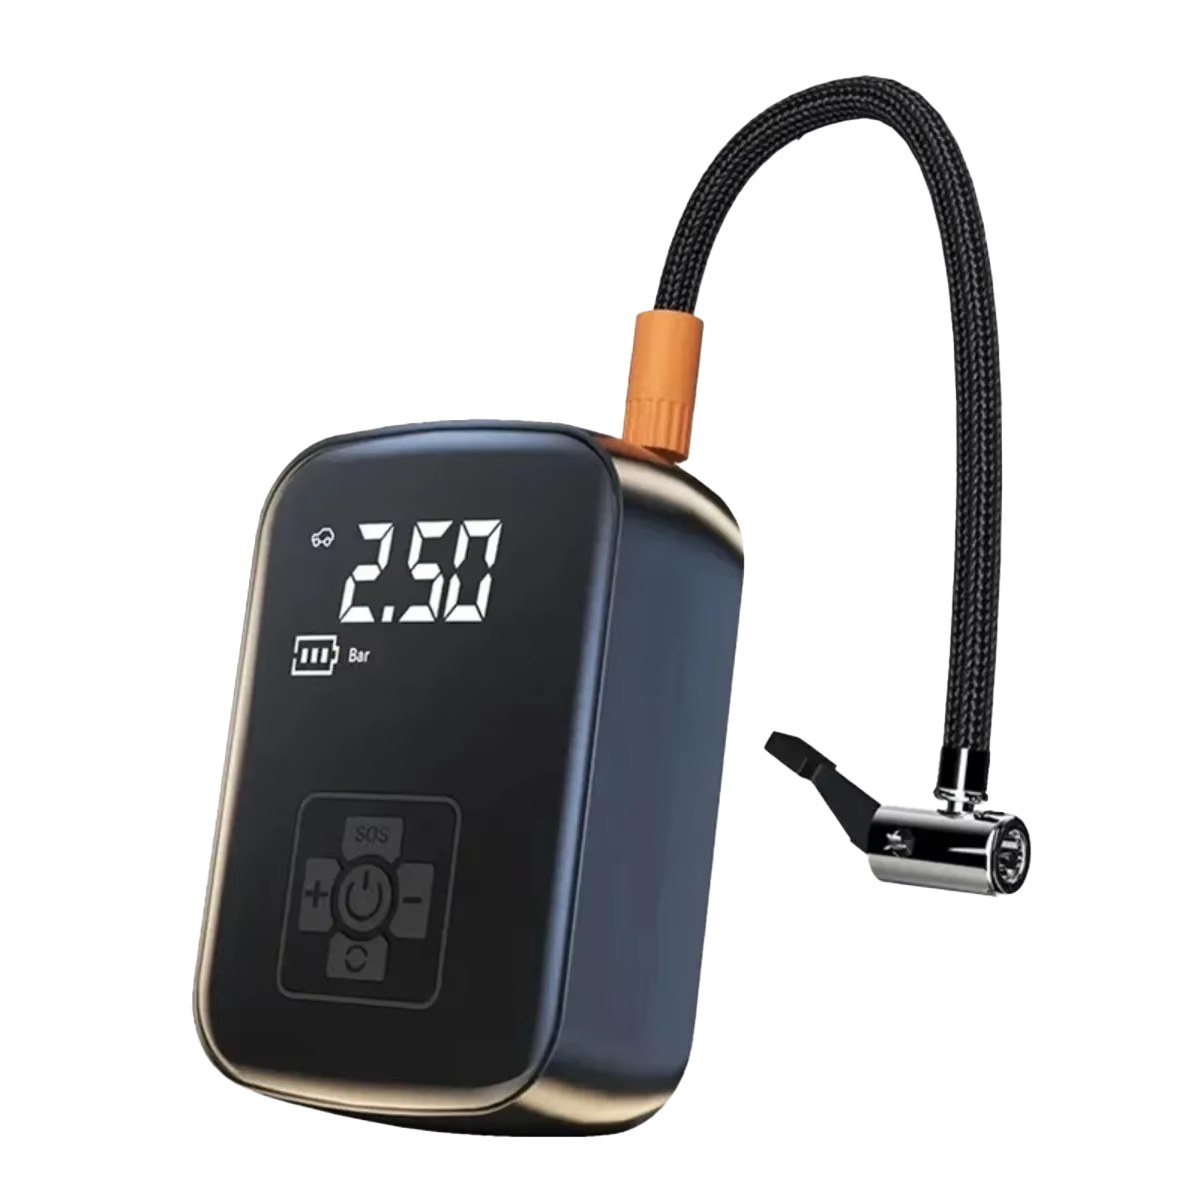
For that step, a cordless portable tire inflator with a preset auto-stop is handy. With PneumaCore you enter the target PSI from the door sticker on the digital display, attach the air tube and nozzle, and press start. It stops at the number you set, then you refit the valve cap.
 In this guidePneumaCore$99.99View
Replace one sensor or all four
You can change TPMS sensor hardware on a single wheel. The vehicle only needs to learn the new ID. The catch is age: sensors installed together tend to have batteries that wear down over a similar span. If the tires are already off the rims for new tires, it is a sensible time to consider a full TPMS sensor replacement on all four wheels, or at least discuss it with the shop.
Cost depends on the sensor type, whether it is programmable, your vehicle, and the shop's labor and relearn fees, so quotes differ between tire chains, dealers and independent shops. Ask for the sensor, the service kit, mounting and relearn itemized separately. Doing the relearn yourself or supplying your own sensor can change the total, so ask the shop what it allows.
Finishing up and care schedule
Check the work before you drive away. Confirm that all four pressures match the sticker, the light is off or clearing as the manual describes, and no stem is hissing. Recheck pressure after a day, since a slow leak at the new seal may show up by then. Do the same each time you change TPMS sensor hardware on another wheel.
- Monthly: check pressure with a gauge and refit valve caps.
- At each tire change: replace the valve core, nut and seal kit, and inspect the stems.
- At each rotation: check whether your vehicle needs a position relearn.
- When a light returns: check pressure first, then scan for a sensor that is not reporting.
For inflators, gauges and other upkeep gear, browse our Battery, Tire & Air Care collection.