How to Use a Meat Thermometer: Placement, Timing and Accuracy
Push the tip into the center of the thickest part, away from bone, fat and the pan, then read the number. This guide adds a cut-by-cut chart and an ice-water accuracy check.
The Quindrel Team
November 3, 2026 · 7 min read
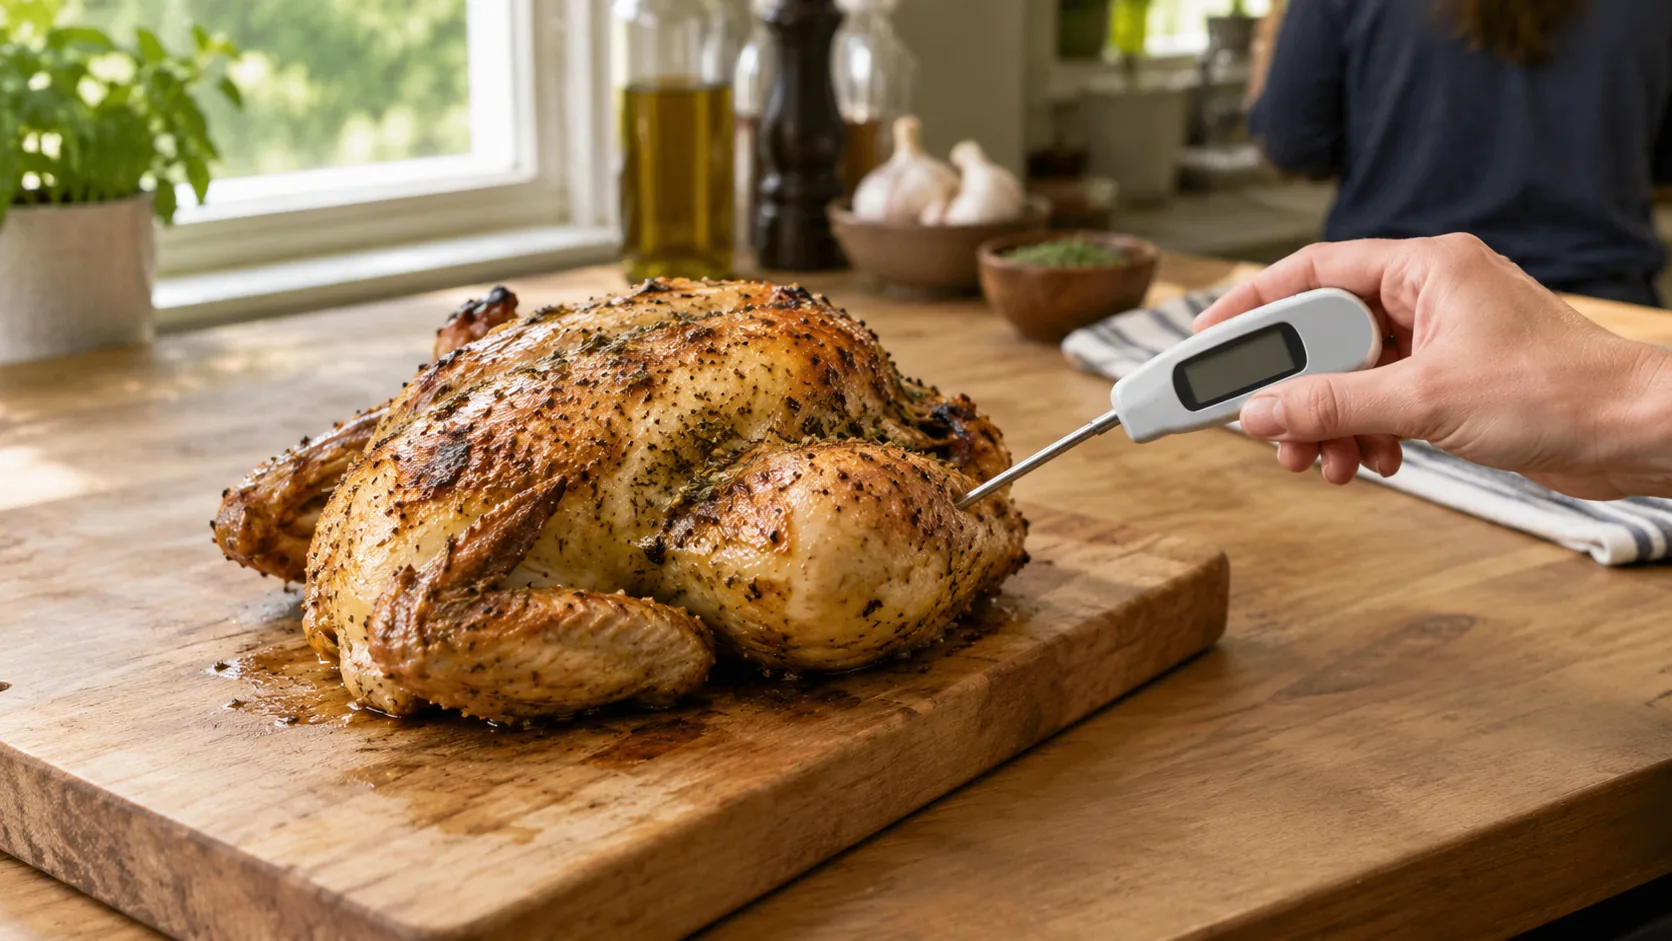
To learn how to use a meat thermometer, push the tip into the center of the thickest part of the meat, keep it away from bone, fat and the pan, and wait for the reading to settle. Check the number against the target for that cut. For roasts and whole birds you can leave a probe in while cooking; for thin items like burgers and chops, spot-check near the end.
The rest of this guide covers where to place the probe for each cut, when to leave it in, how to confirm the thermometer is accurate, and the mistakes that throw readings off.
How to use a meat thermometer: the basic steps
Here is how to use a meat thermometer in seven steps.
- Check the thermometer first with the ice-water test below, so you know the number is trustworthy.
- Clean the probe tip with hot, soapy water before it touches food.
- Find the thickest part of the cut, usually the center.
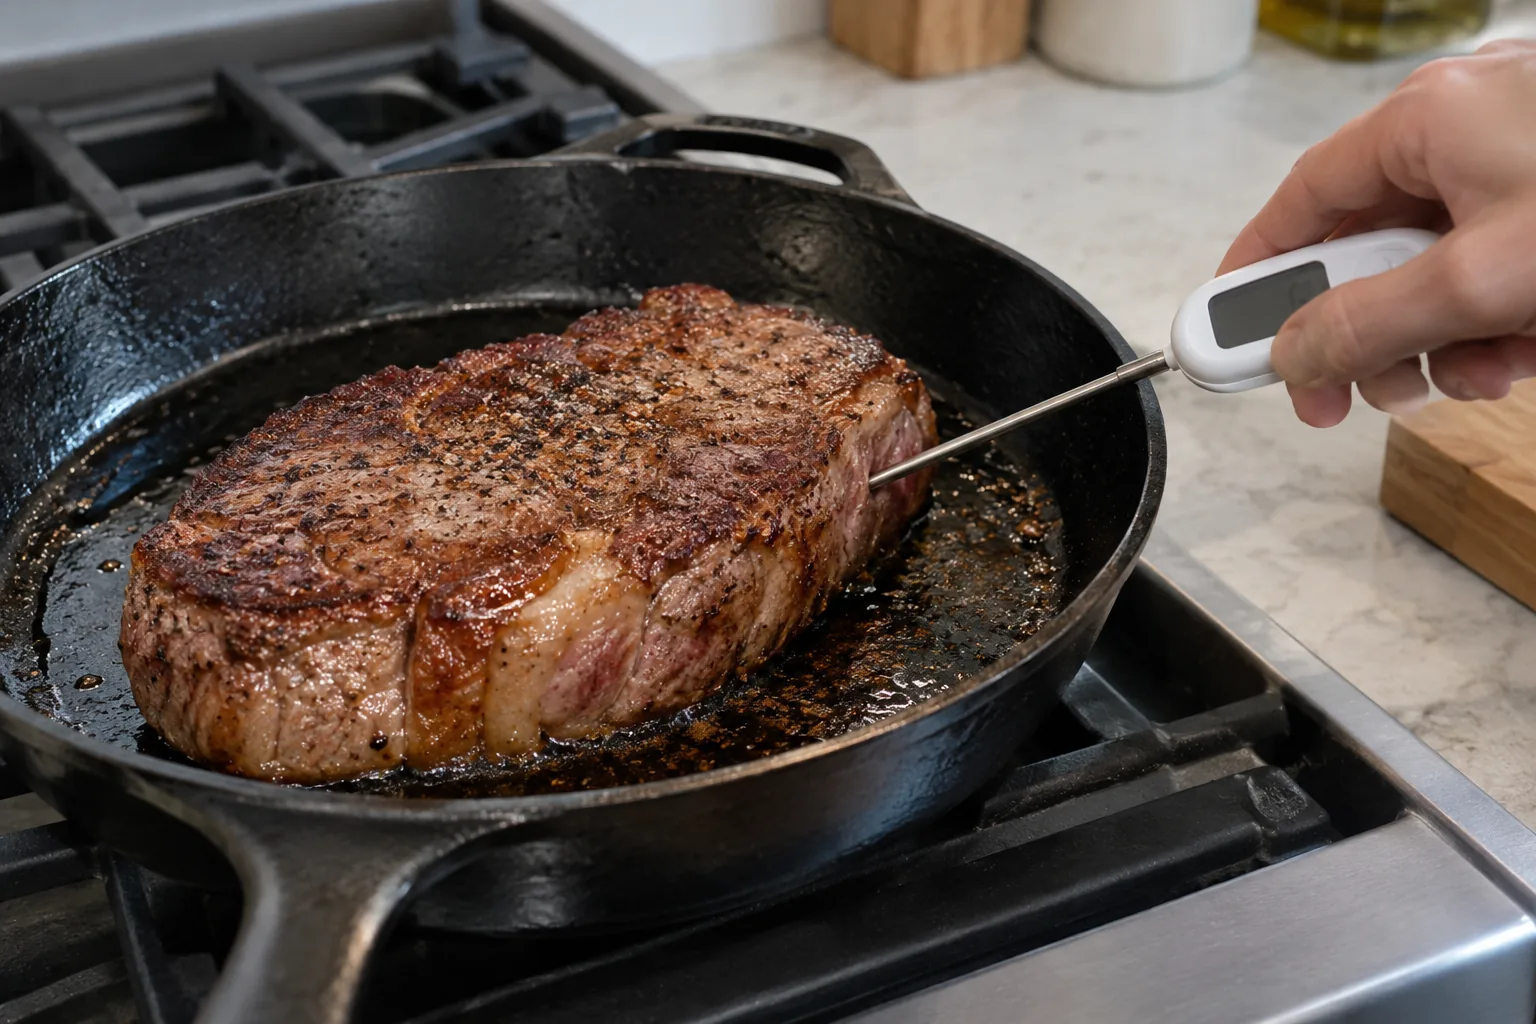
- Insert the tip so the sensing area sits in that center. Do not let it touch bone, gristle, a pan or the grill grate.
- Wait until the reading stops moving, then record it.
- If the number is below your target, return the meat to the heat and check again in a different spot.
- Wash the probe after every use, and clean a used probe before it goes into food that is already done.
Where the probe reads: the tip, not the whole stem
The sensor on most digital thermometers sits at or near the tip, so the tip is the part that gives the accurate reading. Some models read along the last stretch of the stem, so check the manual for the sensing area on yours.
That answers whether to push a probe all the way in. You do not always need to go to the handle. You need the sensing area at the center of the meat. On a thin cut, push the probe in from the side so the tip ends up in the middle rather than poking through the bottom.
Cut-by-cut placement chart
Use this table for placement. The temperatures are common food-handling targets for the cut; follow the guidance for your area and your own doneness preference where it applies.
| Cut | Where to place the tip | Common target |
|---|---|---|
| Steak or chop | Side entry into the center of the thickest part, away from bone | 145°F (63°C), then rest |
| Burgers and ground meat | Side entry into the middle of the patty | 160°F (71°C) |
| Chicken breast | Thickest part of the breast, angled in from the top | 165°F (74°C) |
| Chicken thigh or drumstick | Thickest part of the meat, clear of the bone | 165°F (74°C) |
| Whole turkey | Thickest part of the thigh and the breast, not touching bone | 165°F (74°C) |
| Roast (beef, pork, lamb) | Center of the roast, along its length if possible | 145°F (63°C), then rest |
| Pork chop or loin | Center of the thickest chop or end of the loin | 145°F (63°C), then rest |
| Fish fillet | Thickest part of the fillet | 145°F (63°C) |
If your thermometer displays Celsius, use the metric figures in the table. Some digital models switch between °F and °C, so look for the setting in the manual.
Chicken and turkey
Poultry has more bone and uneven thickness than other cuts, so take readings in more than one place. For a whole bird, check the thickest part of the thigh and the thickest part of the breast. If one spot is below target, keep cooking and check again.
Steaks, burgers and chops
These are thin enough that a vertical push from the top often goes through to the pan. Enter from the side instead. For burgers, the patty is ground meat, so aim for the center and use the ground-meat target in the table.
Roasts
Aim for the center of the largest muscle. For a deeper look at beef specifically, see Using a Meat Thermometer for Roast Beef, which covers placement and temperatures for that cut.
Field note
Pull the probe out and re-insert it in a second spot before you call a roast or bird done. A single reading near a cooler pocket can mislead you.
Leave the probe in or spot-check?
Both methods work. Which one fits depends on the cut and the kind of thermometer.
| Situation | Method |
|---|---|
| Large roast, whole turkey, smoked cuts | Leave a probe in, with the cable or lead routed as the manual describes |
| Thin steaks, chops, burgers | Spot-check near the end of cooking |
| Unsure how close the food is | Spot-check with a handheld digital thermometer, then decide |
| Long cook where you want to step away | Leave-in probe with an alert |
A leave-in probe stays in the meat during cooking and shows the climbing temperature without opening the oven or lid. Only use a probe in the oven, grill or smoker if the manual says it is made for that heat. A handheld thermometer is not meant to stay in the oven unless the manual states it.
To use a probe thermometer in the oven, run the lead out past the oven door only in the way the manual describes, and keep it clear of heating elements and hot surfaces.
With a spot-check, start measuring before you expect the food to be done. Each time you check, wipe the tip, take the reading and put the food back if it needs more time.
How to use a meat probe thermometer with a wireless base
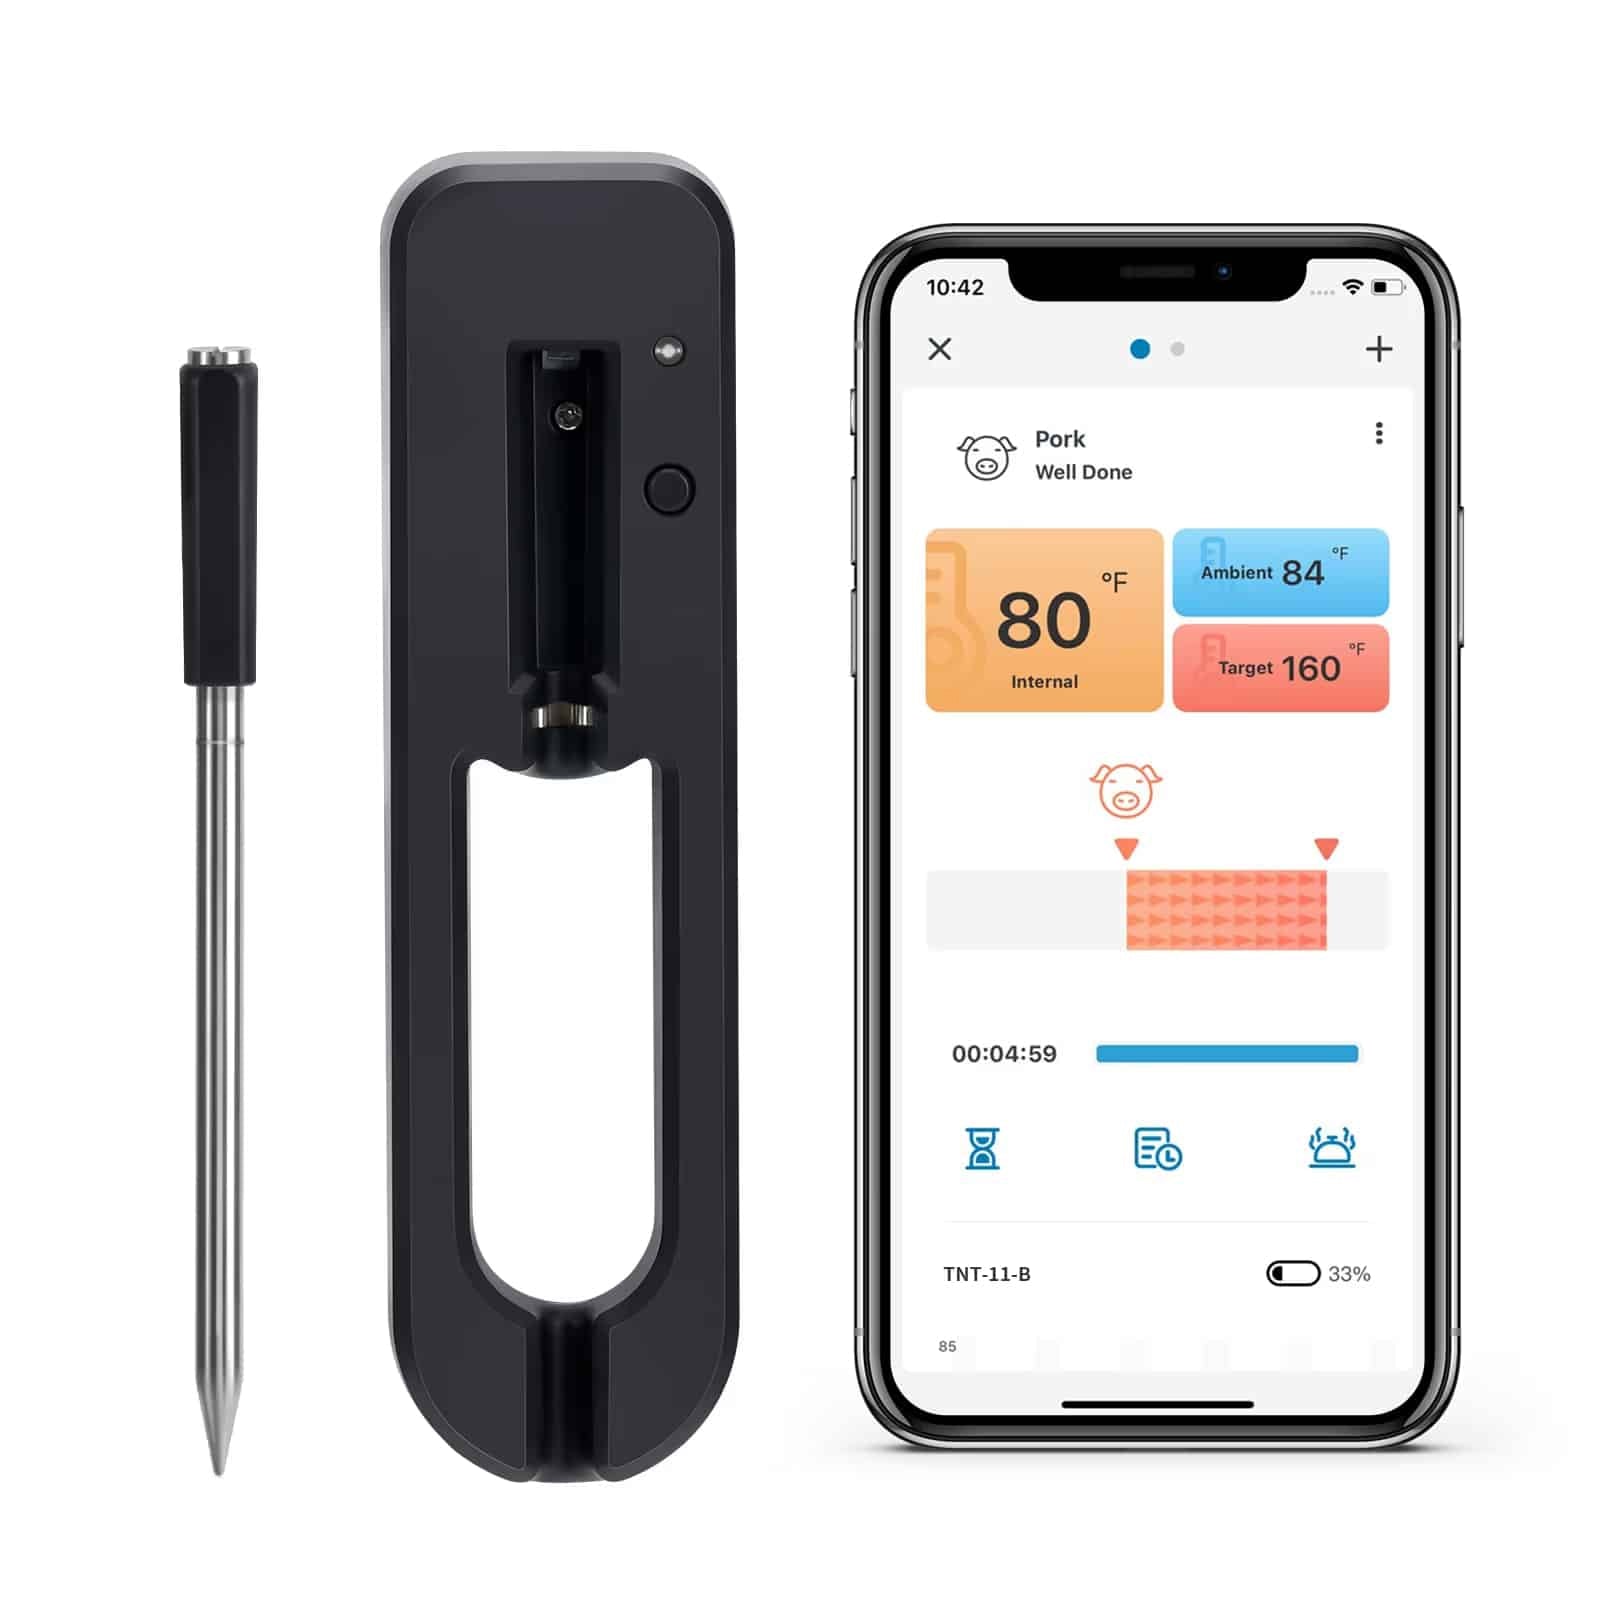
A wireless setup suits long cooks because you read the numbers on a phone. The GrillCraft wireless meat thermometer has dual probes: one reads the food and the other reads the ambient temperature around it. You push the probe into the meat, set the base near your grill, smoker or oven, and pair it with the app over Bluetooth 5.0.
In the app you pick one of the 23 built-in presets that matches what you are cooking, and the app alerts you when the target temperature is reached. It can track four foods at once from one phone, and pre-warning alerts tell you when a food is approaching its target. It runs on a single replaceable AAA battery, which is included along with a user manual.
 In this guideGrillCraft$79.99View
If you are weighing wireless options, Bluetooth Meat Thermometer: What to Look For Before Buying lays out the features to compare.
Ice-water accuracy check
A thermometer can drift, and a reading that is a few degrees off matters most near the target. Run the ice-water test before a big cook, and again if you drop it.
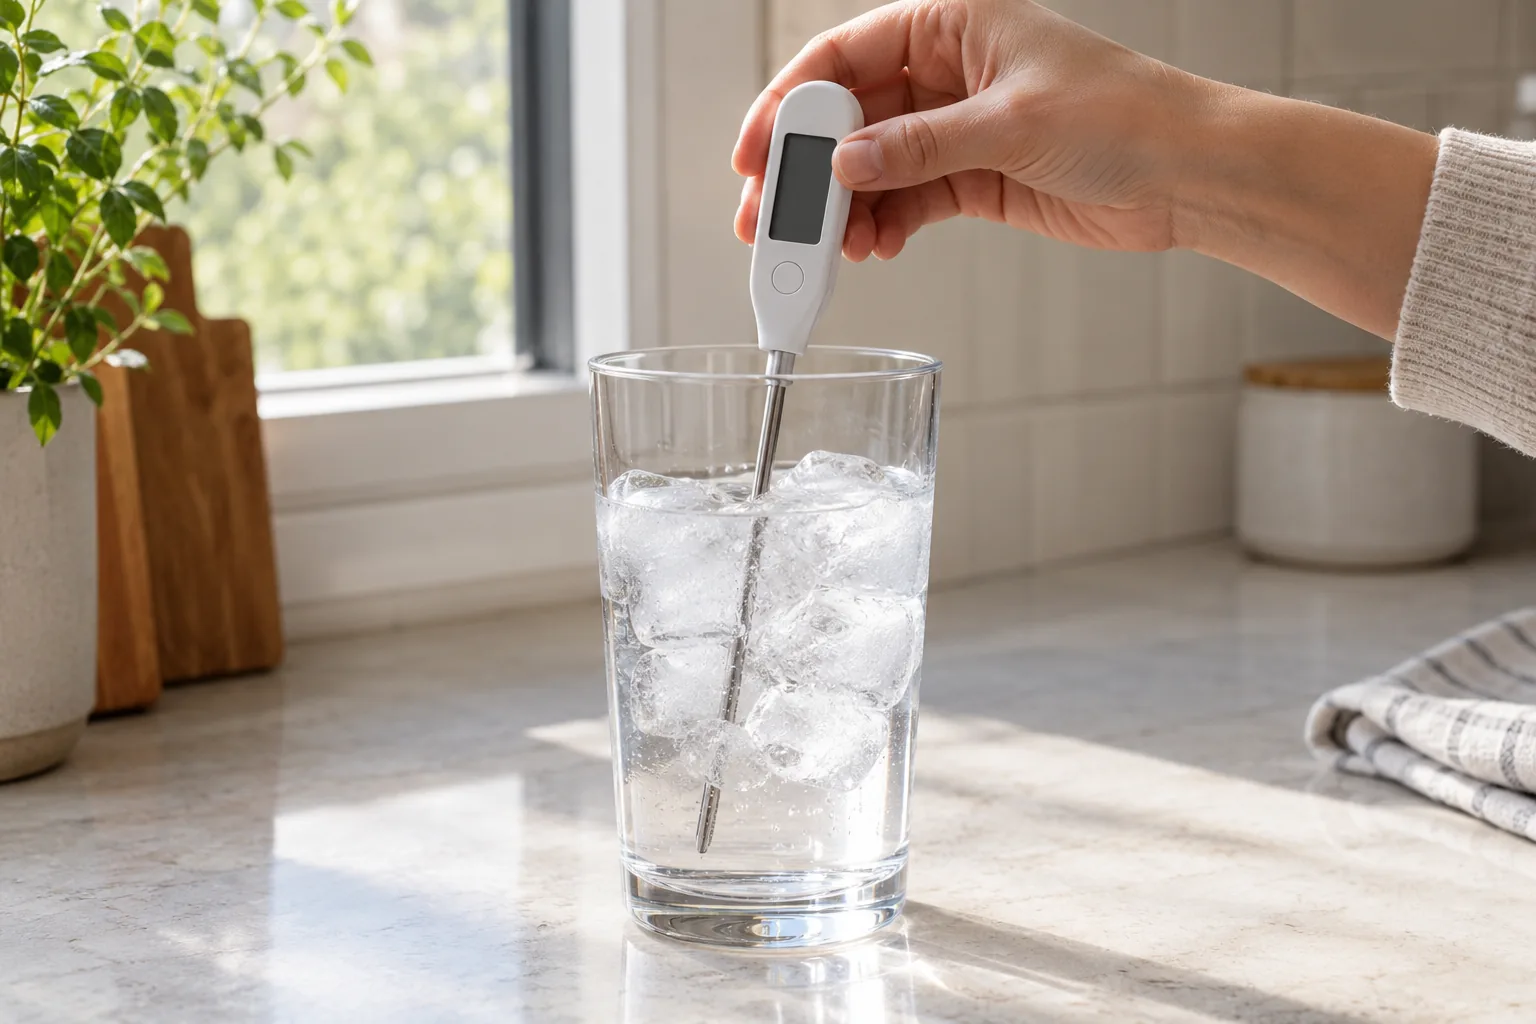
- Fill a glass to the top with ice, then add cold water until the glass is full.
- Stir and let it sit so the temperature evens out.
- Put the probe in the middle of the glass, about 2 inches (5 cm) deep, without touching the sides or bottom.
- Wait for the number to settle. It should read 32°F (0°C).
You can also check against boiling water, which reads 212°F (100°C) at sea level. The boiling point is lower at altitude, so ice water is the more dependable reference. Take care with hot water and steam.
If the reading is off, look in the manual for a calibration or reset step. If your model has none, note the offset and adjust your target by that amount, or replace the thermometer if the error is large. A low battery can also cause odd readings, so replace it before blaming the probe.
Common mistakes
Knowing how to use a meat thermometer properly also means avoiding these errors:
- Touching bone, which holds more heat than the meat and gives a high reading.
- Reading too soon, before the number settles.
- Measuring a thin edge instead of the center.
- Skipping a cleaning between raw and cooked food.
- Leaving a handheld thermometer in a hot oven.
- Skipping the second reading on poultry and roasts.
Rest time also matters. The temperature of a large roast can keep rising after you take it off the heat, so check the cut's guidance and let it rest before slicing.
Care and storage
Wash the probe in hot, soapy water after each use and dry it. Unplug or detach any base from its probes before cleaning, and do not submerge a base or display unless the manual says you can. Store the probe where the tip will not be bent or knocked.
If you like to keep your kitchen and workshop instruments together, browse the Hobby & Specialty Tools collection.
Quick checklist before you cook
- Ice-water test done and the thermometer reads 32°F (0°C).
- Probe cleaned.
- Target temperature chosen from the chart.
- Placement planned: center of the thickest part, clear of bone, fat and metal.
- Leave-in or spot-check decided.
- Second reading planned in a different spot.