Vacuum Leak in a Car: How to Find and Fix It
A vacuum leak lets unmetered air into the engine. Confirm it with codes and scanner fuel-trim data, then locate it with a smoke test before buying parts.
The Quindrel Team
October 16, 2026 · 10 min read
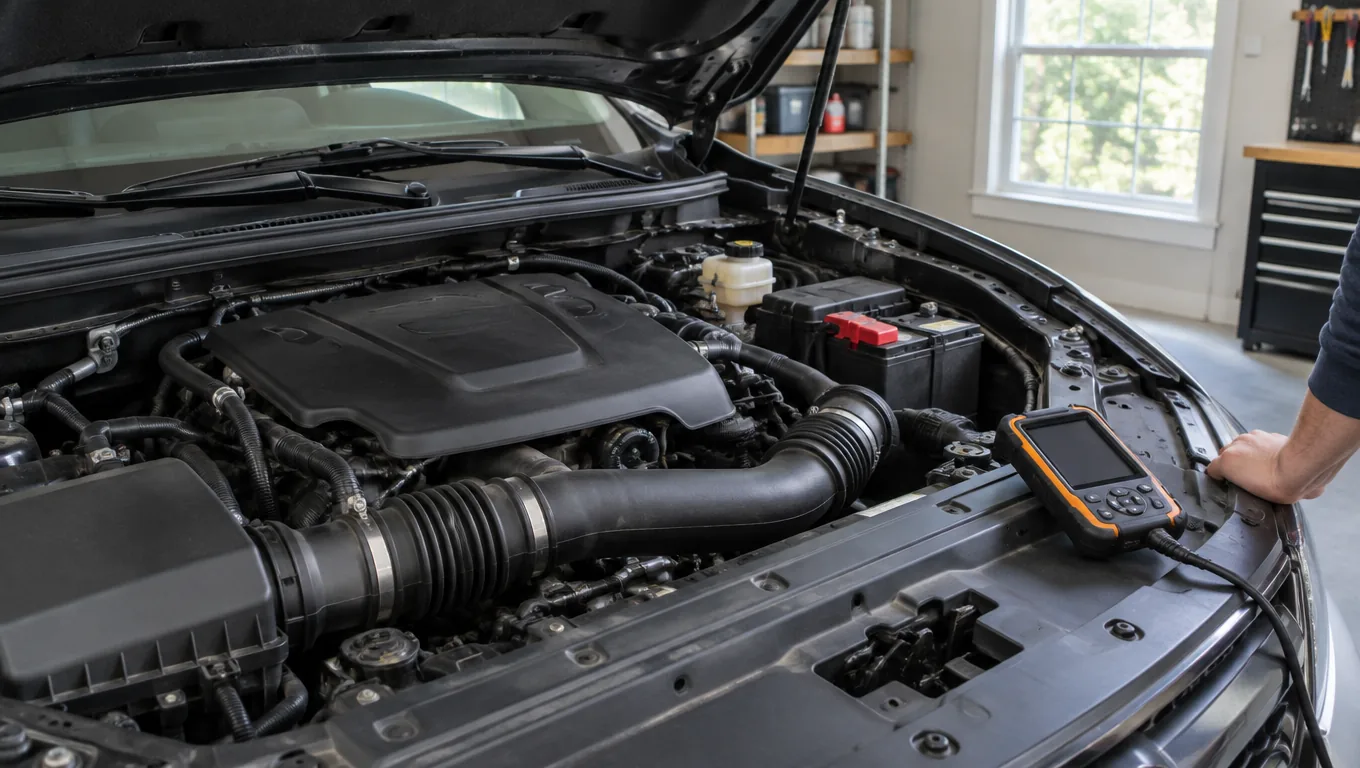
A vacuum leak in car engines lets unmetered air into the intake, so the engine runs lean. Typical signs are a rough or high idle, a hissing sound, and a check engine light with lean codes. Confirm it with scanner fuel-trim data first, then locate the leak with a smoke test or a careful visual check before you buy any parts.
This guide follows that order: match the signs, read the codes, confirm with data, find the leak, fix it. It also covers tools, repair cost and when to stop driving. Some engines meter air with an airflow sensor and others use a manifold pressure sensor, so the exact data pattern can vary. Check the service information for your vehicle.
How the vacuum system works
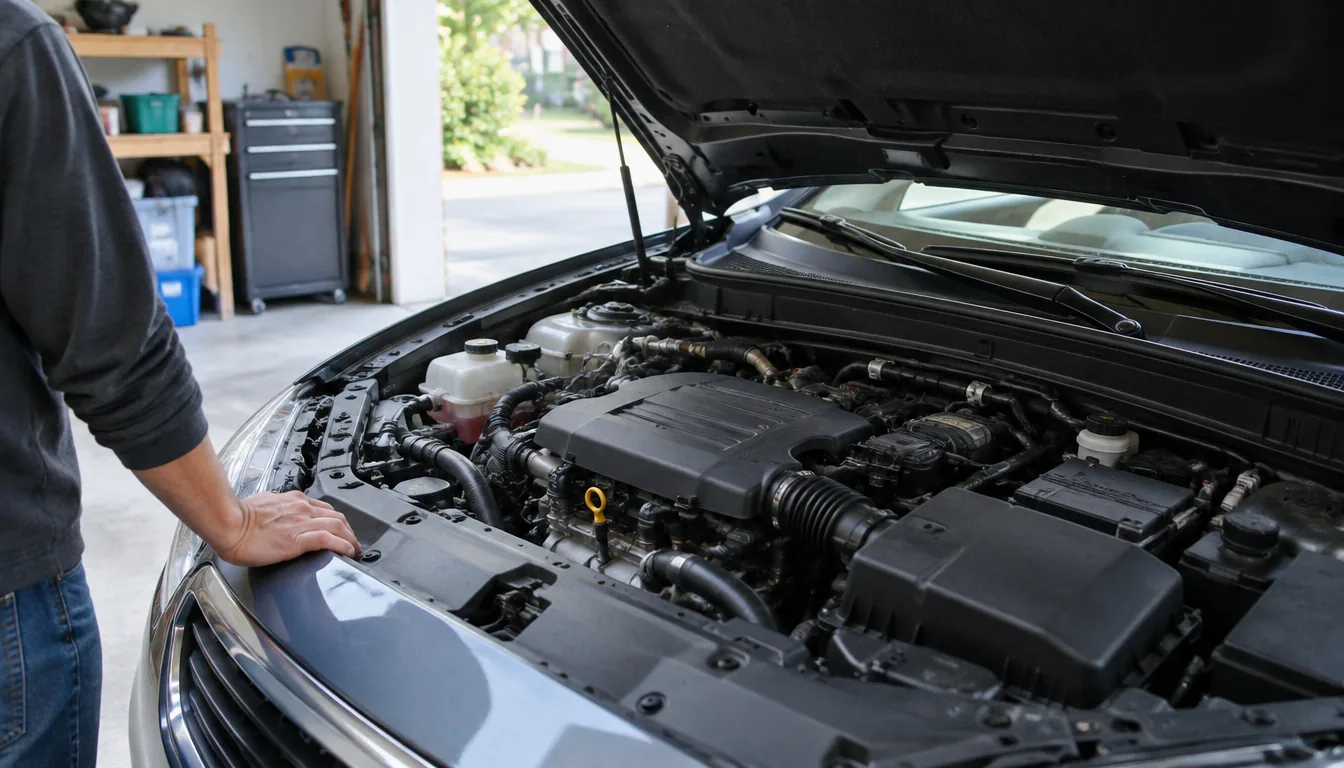
The engine pulls air through the intake, and the computer uses its sensors to work out how much fuel to add. Intake vacuum also powers other parts through the vacuum system: a network of vacuum lines, vacuum hoses, elbows and fittings that serve the brake booster, the PCV system, purge and EGR valves, and some climate or actuator controls.
When a hose cracks or a gasket hardens, extra air slips in that the computer did not account for. It cannot add matching fuel, and the mixture leans out. That one fact explains every sign below.
Signs and codes of a vacuum leak
Unmetered air matters most at idle, where the leak is large compared with the air the engine is drawing. Watch for these:
- Rough, surging or high idle. The RPM hunts up and down or sits higher than normal after warm-up.
- Hissing or sucking sound from the engine bay, often easiest to hear with the hood open and the engine idling.
- Check engine light with lean or misfire codes.
- Hesitation when you press the throttle, or stalling when you stop.
- Hard brake pedal on vehicles with a vacuum brake booster, if the booster or its hose is leaking.
These signs overlap with a dirty airflow sensor, a failing ignition coil or a weak fuel pump, which is why a data check comes before a parts order. Layouts differ between brands, including European models, so check the service information for your vehicle.
Would a vacuum leak throw a code?
Often, yes, but not always. A larger leak usually pushes fuel trim far enough that the computer stores a lean code for a cylinder bank, and sometimes misfire codes. A small leak may run a long time with no light at all.
- P0171 and P0174: system too lean (bank 1 and bank 2).
- P0300 to P0308: random or cylinder-specific misfire.
- P0505 and similar: idle control problems.
Check pending codes too, not just stored ones. If you are new to this, our guide on how to use a car code reader and make sense of the codes covers the basics. Exact meanings vary by make.
Confirm a vacuum leak in car engines with fuel-trim data
Fuel trim is the correction the computer adds or removes to hold the mixture right. A leak adds air, so the computer adds fuel and the trim goes positive. The telltale pattern is positive trim at idle that falls back toward normal when you hold the engine at a higher, steady RPM.
At higher RPM the engine moves much more air through the proper path, so the same leak is a smaller share of the total. Trim that stays lean at every speed points more toward fuel delivery or a dirty sensor.
Fuel-trim readings and what they suggest
| What you see in live data | What it suggests | Next step |
|---|---|---|
| Positive trim at idle, easing as RPM is held higher | Unmetered air, likely a vacuum leak | Smoke test or inspect hoses and gaskets |
| Positive trim at every speed | Low fuel pressure, clogged injectors or a dirty airflow sensor | Check fuel delivery and clean the sensor |
| Positive trim on one bank only | Leak or fault on that side of the engine | Inspect that bank's gasket and hoses |
| Negative trim | Too much fuel, not a vacuum leak | Look elsewhere |
| Trims normal, rough idle | Likely ignition or mechanical fault | Check plugs, coils, compression |
Before you run the engine
Exhaust contains carbon monoxide, a poisonous gas you cannot smell or see. Follow these precautions, and the vehicle manual, every time the engine runs during diagnosis:
- Run the engine only outdoors, or with the garage door fully open and good airflow. Do not run it in a closed space.
- Set the parking brake and put the car in Park (or Neutral on a manual) before starting.
- Keep people, pets, loose clothing and cables clear of the engine bay, belts and fans.
- Do not raise RPM by hand at the throttle linkage unless the manual allows it, and keep your attention on the car while it runs.
How to read the data
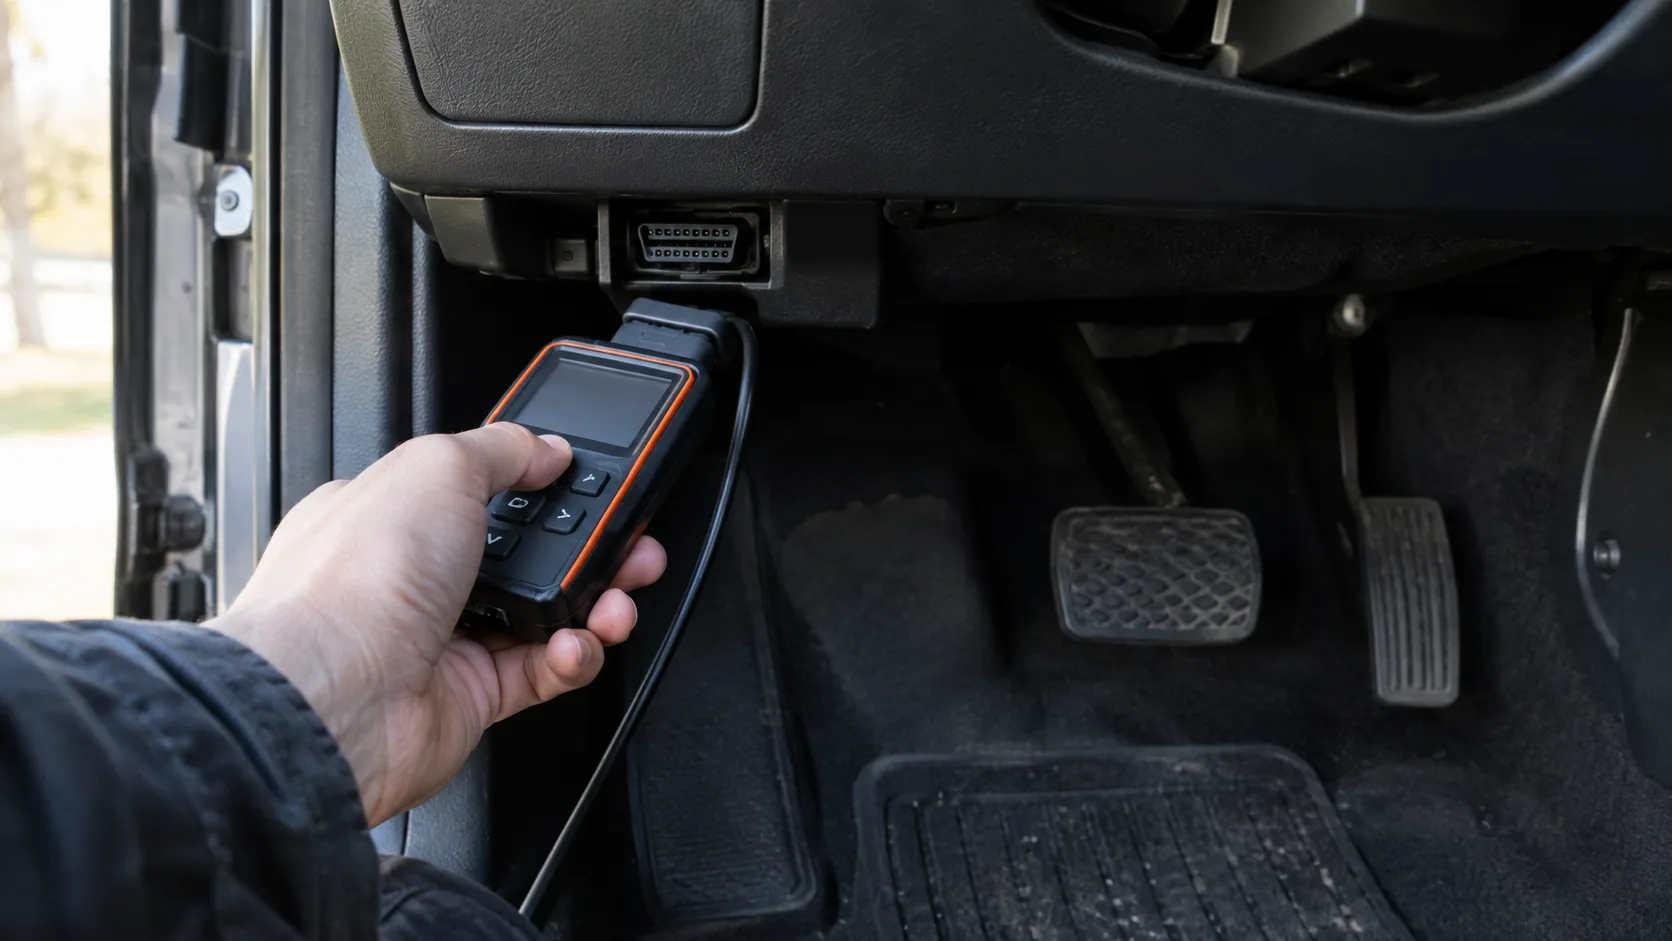
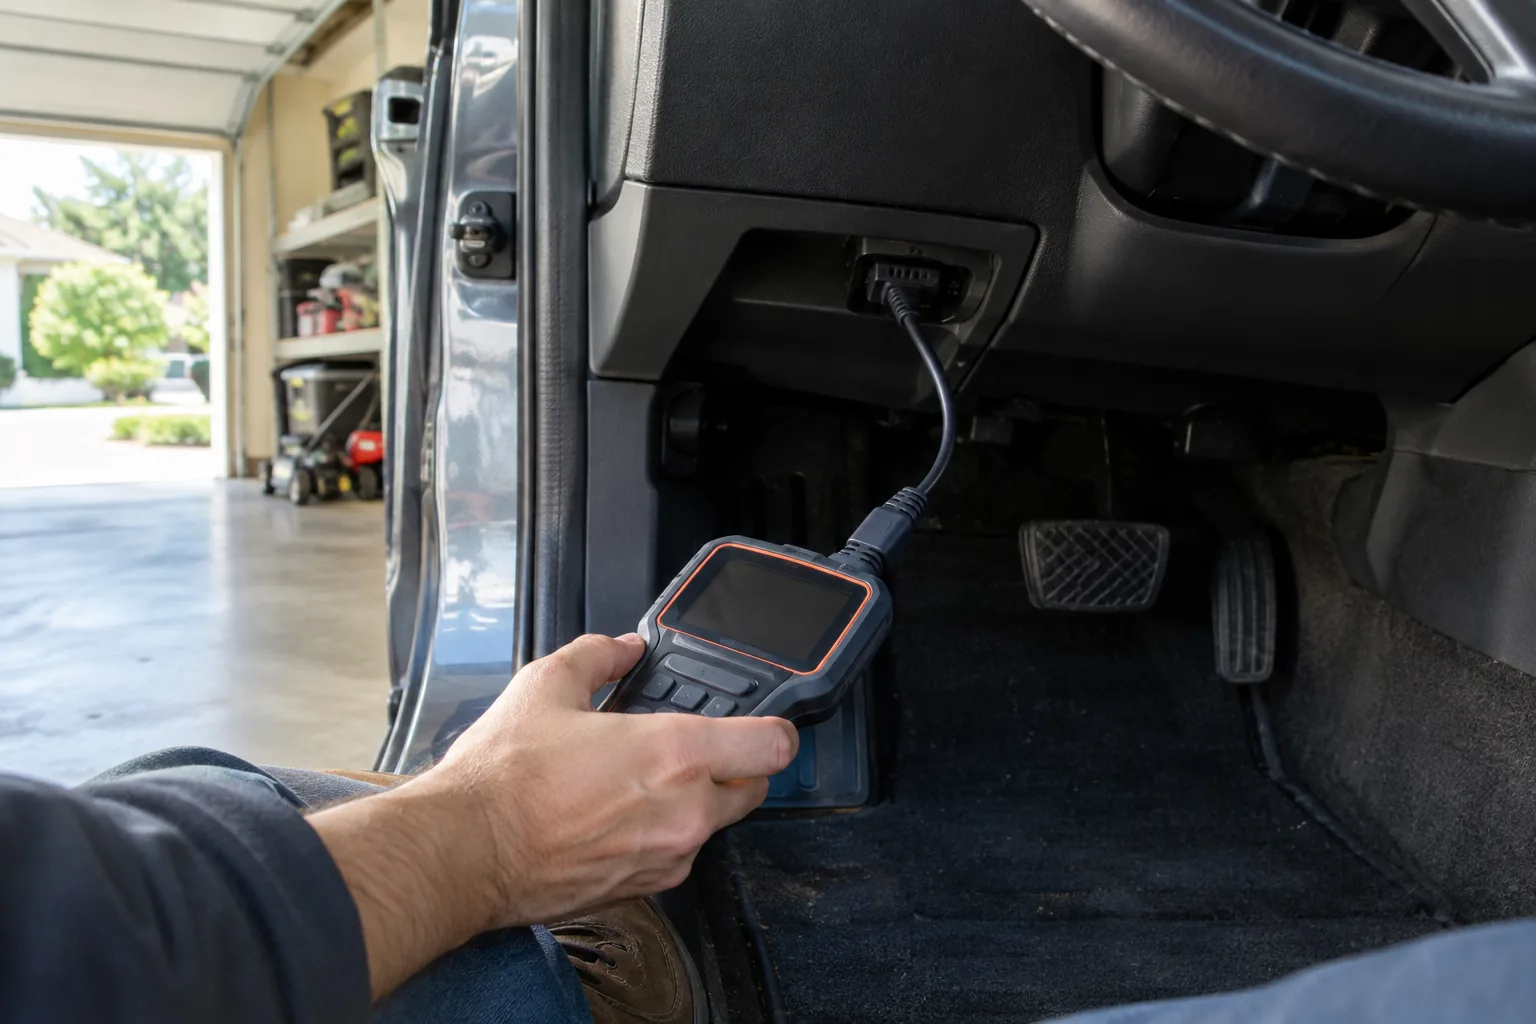
- Plug the scan tool into the 16-pin OBD2 port under the dash.
- Turn the ignition to ON, then read pending and stored codes. Write them down before clearing anything.
- With the precautions above in place, start the engine and let it reach normal operating temperature.
- Open live data and look for short-term and long-term fuel trim. Not every scan tool lists every parameter, so confirm the menu includes them.
- Note the idle values, then hold a steady, higher RPM and compare. Have a helper hold the RPM from the driver's seat while you read the screen, or follow the manual's method.
The DriveDecode is a standalone handheld with a backlit color screen and a 16-pin OBD2 cable for 1996 and newer vehicles. It reads pending, stored and permanent codes and opens live data, including RPM, coolant temp, battery voltage and O2 sensor values. O2 sensor readings can serve as a supporting clue when you suspect a lean mixture. Check its live data list for fuel-trim entries on your vehicle first. For other diagnostic gear, see the Audio, Connectivity & Diagnostics collection.
 In this guideDriveDecode$99.99View
How to find a vacuum leak in a car
Once the data points to unmetered air, locate it. Work from the least risky method to the more hands-on ones.
1. Visual and hands-on inspection
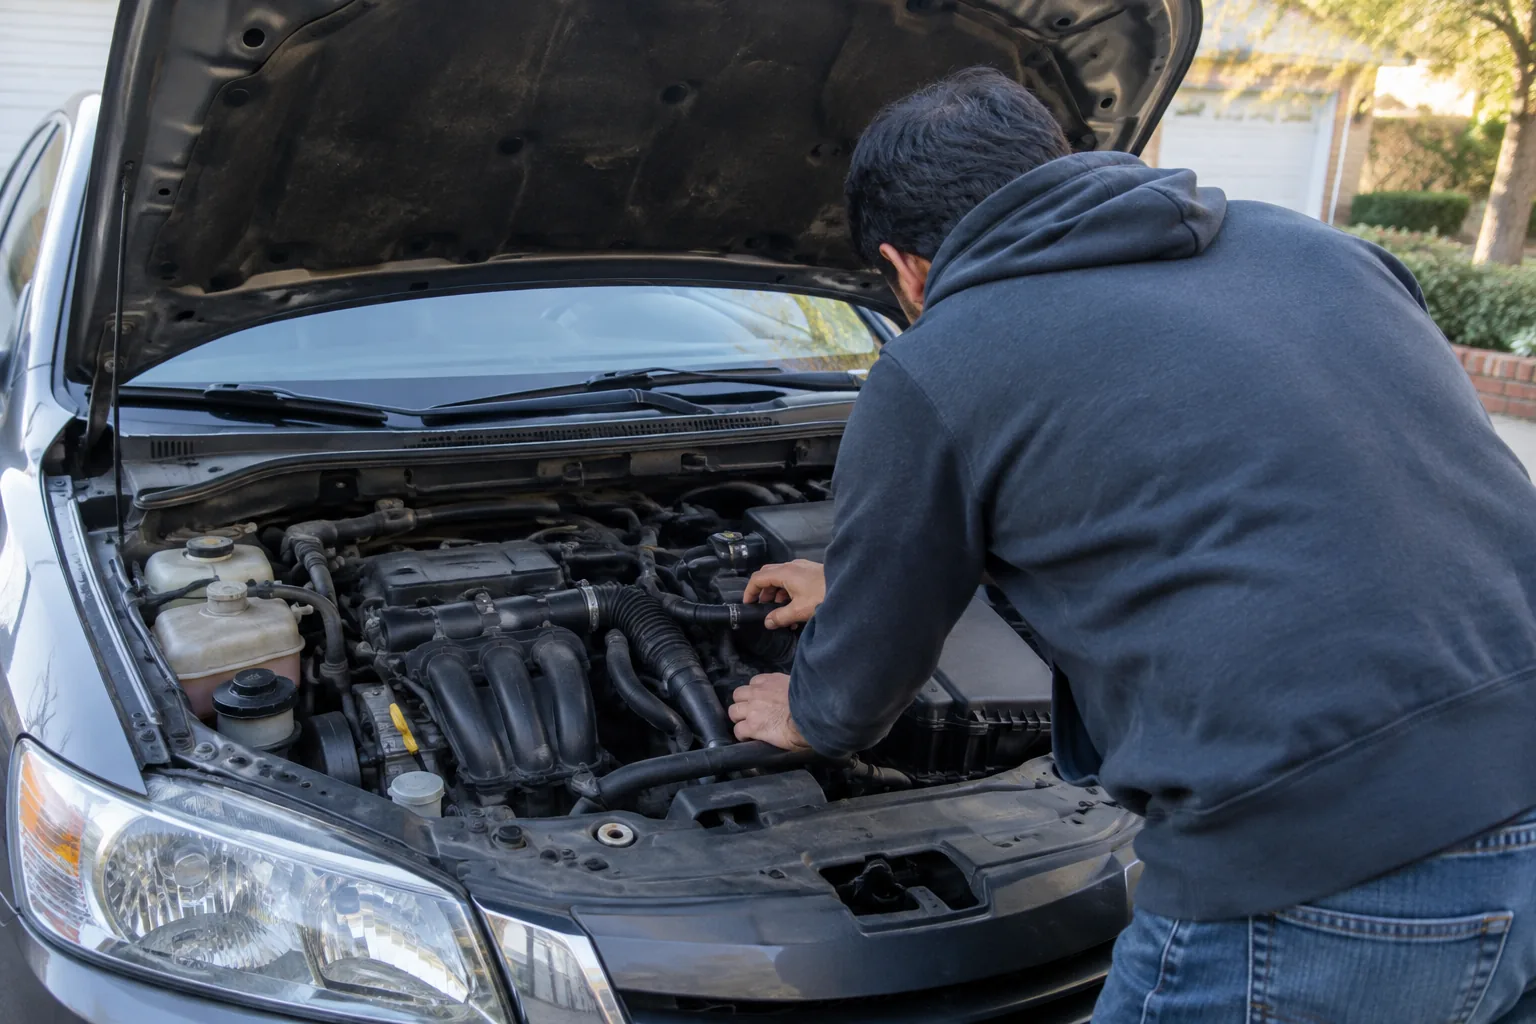
With the engine off and cool, look over every rubber hose and plastic fitting around the intake manifold, throttle body and brake booster. Look for cracks, soft or swollen rubber, hoses that have popped off a nipple, and brittle elbows. Gently flex hoses; old rubber often cracks only when bent.
2. Listen
With the engine idling outdoors or with the garage door fully open, listen for a hiss. A length of hose held to your ear can help pinpoint the sound. Keep hair, loose clothing and hands clear of belts and fans.
Assume every part of the engine bay is hot. The exhaust manifold, radiator hoses and other parts can burn skin, so do not reach across or lean on them while the engine runs. Stop and let the engine cool before touching anything.
3. Smoke test
A smoke machine feeds visible vapor into the intake, and smoke escapes at the leak. It avoids spraying flammable products around a hot engine and can show leaks you cannot hear. Work with the engine off, in a ventilated area. Follow the machine's manual for connection, fluid and pressure, since too much pressure can damage some parts.
4. Spray method: use caution
Many online guides spray a flammable product around the intake and listen for an RPM change. That puts a flammable liquid or gas near a hot engine and exhaust, and it can start a fire. A smoke test or a shop visit is the more conservative route. If you still try it, work outdoors, use a small amount, keep a fire extinguisher within reach and follow every warning on the can.
Tools for the job
| Tool | What it does | When to use it |
|---|---|---|
| Scan tool with live data | Shows codes and live engine data | Before buying parts |
| Smoke machine | Pushes visible vapor into the intake | Locating the leak |
| Vacuum gauge | Reads manifold vacuum at idle | Checking whether vacuum is steady or low |
| Hand vacuum pump | Applies vacuum to one component | Checking a valve, actuator or booster hose |
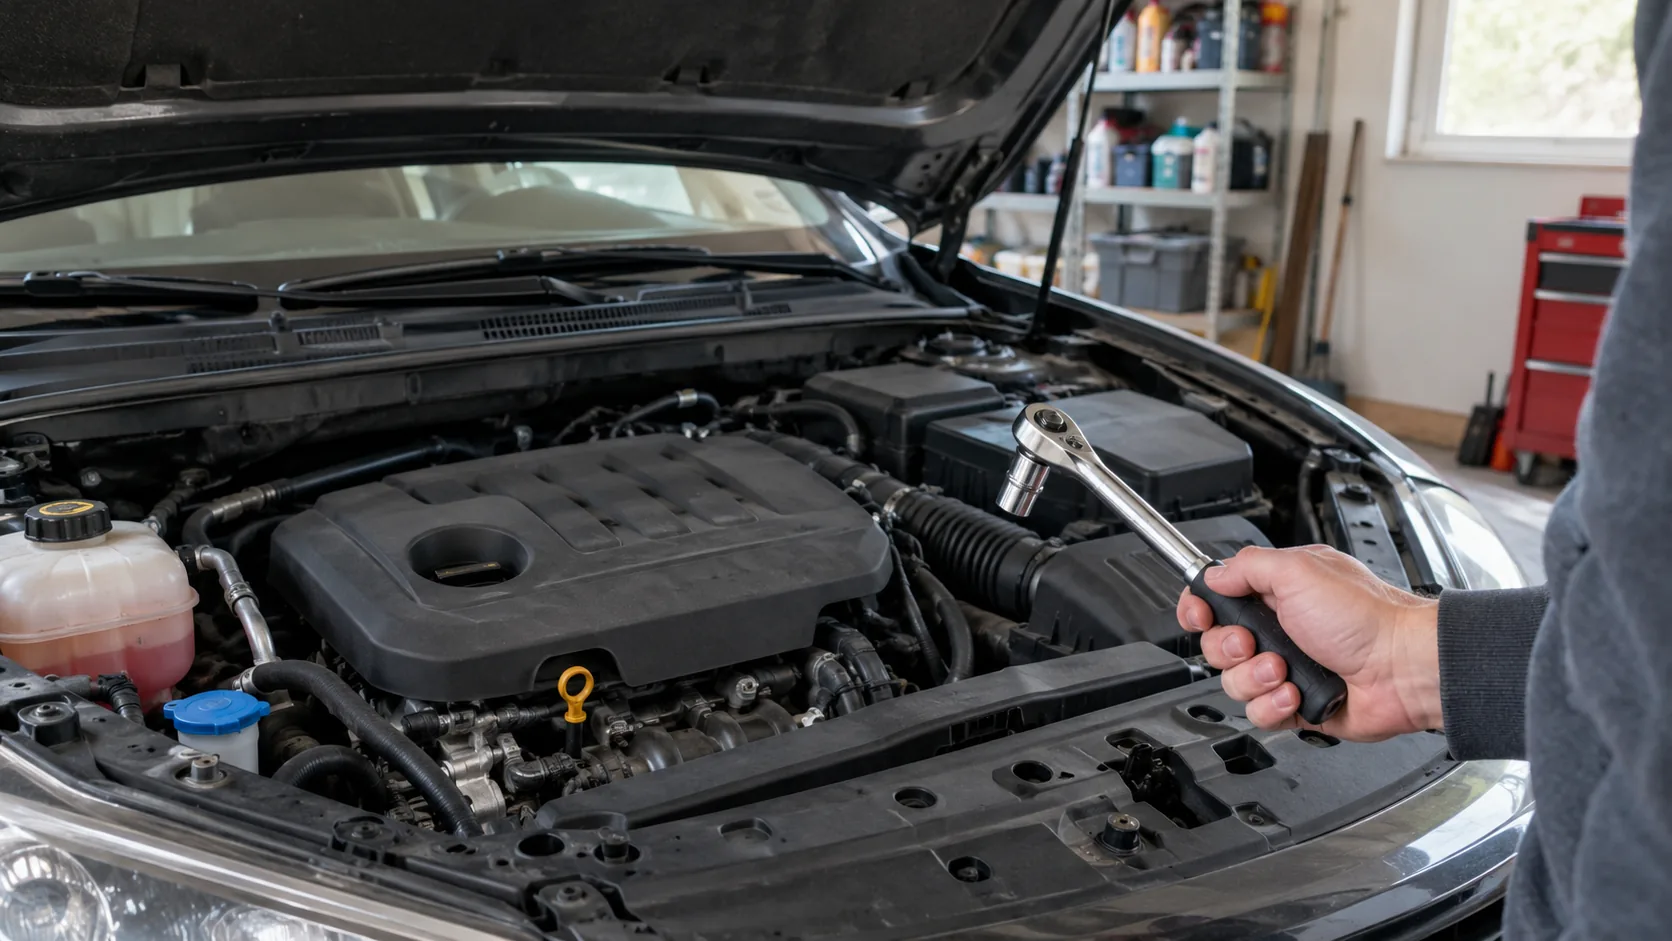
| Pliers, screwdrivers, socket set | Remove clamps, covers and fasteners | Reaching and replacing parts |
| Replacement hose and clamps | Restore a cracked or loose run | Repairing a located leak |
Field note
Clear codes only after you have written them down. Then drive the car and recheck fuel trim; if the trim and codes return in the same pattern, the leak is still there.
Common leak locations and how to fix them
| Location | What fails | How it shows |
|---|---|---|
| Intake manifold gasket | Gasket hardens or shrinks | Lean on one bank, hiss near the manifold |
| Vacuum hoses and elbows | Rubber cracks or splits | Rough idle, hiss, often at a bend |
| PCV hose and valve | Cracked hose or stuck valve | High idle, lean codes |
| Brake booster hose | Crack, loose clamp or leaking diaphragm | Hard pedal, hiss when braking |
| Throttle body gasket | Gasket worn or bolts loose | Unstable idle |
| Intake duct after the airflow sensor | Cracked or loose boot | Surging, lean codes |
| EGR valve and purge lines | Valve sticks open or line cracks | Rough idle, stalling |
Some engines hide vacuum lines under plastic covers. Take a photo before you disconnect anything so you can reconnect each hose correctly. Let the engine cool before you start work.
Most repairs are simple once the leak is found. Replace a cracked hose with the correct diameter and type, and replace a hardened elbow rather than taping it. Loose fittings can be reseated and secured with hose clamps. Silicone tape is sometimes used as a stopgap, but replacing the part is the sound repair.
Gaskets such as the throttle body or intake manifold mean removing parts, so follow the service manual for torque order and fastener values, or hand the job to a shop. A repair kit of assorted hose can help on simple runs, but matching the original part is better when sizes are uncertain. Afterward, clear codes, warm the engine with the same ventilation and parking precautions, and repeat the fuel-trim check. Trims should settle back toward normal over a drive cycle.
Repair cost and whether you can keep driving
Are vacuum leaks expensive to repair?
It depends on where the leak is. A split hose is usually a low-cost part you can often swap yourself, while an intake manifold gasket involves more labor and parts. Labor rates vary by shop and region, so ask for a written estimate that separates diagnosis from repair.
- Access: a hose on top of the engine is easy to reach; one under the manifold is not.
- Part type: a generic hose differs from a molded, vehicle-specific elbow or gasket set.
- Diagnosis time: finding a small leak takes smoke equipment or patience, and shops charge for it.
- Related wear: old neighboring hoses may be replaced in the same visit.
Confirming a vacuum leak in car engines with fuel-trim data first helps you order the right part.
Can you drive with a vacuum leak?
A mild leak may let the car run for a short trip, but do not ignore it. A lean mixture can cause misfires and stalling, and a stall in traffic is a hazard. A leak that affects the brake booster is more serious: if the pedal feels hard or braking changes, stop driving and have the car checked by a qualified mechanic.
Common mistakes and a quick checklist
- Replacing the airflow sensor first. A leak that bypasses the sensor leans the mixture no matter how well the sensor reads.
- Clearing codes and stopping there. The light usually returns unless the leak is fixed.
- Ignoring the second bank. On V-type engines, compare both banks before you pull parts.
- Reusing old, hardened hoses. If one cracked, its neighbors are close behind.
- Running the engine in a closed garage. Exhaust fumes build up; work outdoors or with the door fully open.
- Using a flame or spark near a flammable spray. Skip the spray method if you are unsure about the fire risk.
- Applying general advice to every make. Use the service information for your vehicle.
Use this order for any suspected vacuum leak in car engines you work on:
- Note the signs: idle, hiss, light, brake pedal feel.
- Read pending and stored codes.
- Set up safely: ventilation, parking brake, Park or Neutral.
- Check fuel trim at idle and at a held higher RPM.
- Inspect hoses, boots and gaskets.
- Use a smoke test to locate the leak.
- Repair, clear codes and recheck the trims.
Catching vacuum leaks in car engines early, while trim is only slightly off, can mean a smaller job.