How to Use a Car Code Reader and Make Sense of the Codes
Plug into the OBD2 port, turn the key to ON, read the codes, and save the freeze frame before you clear anything. This guide covers the full workflow and what code lookups leave out.
The Quindrel Team
October 16, 2026 · 8 min read
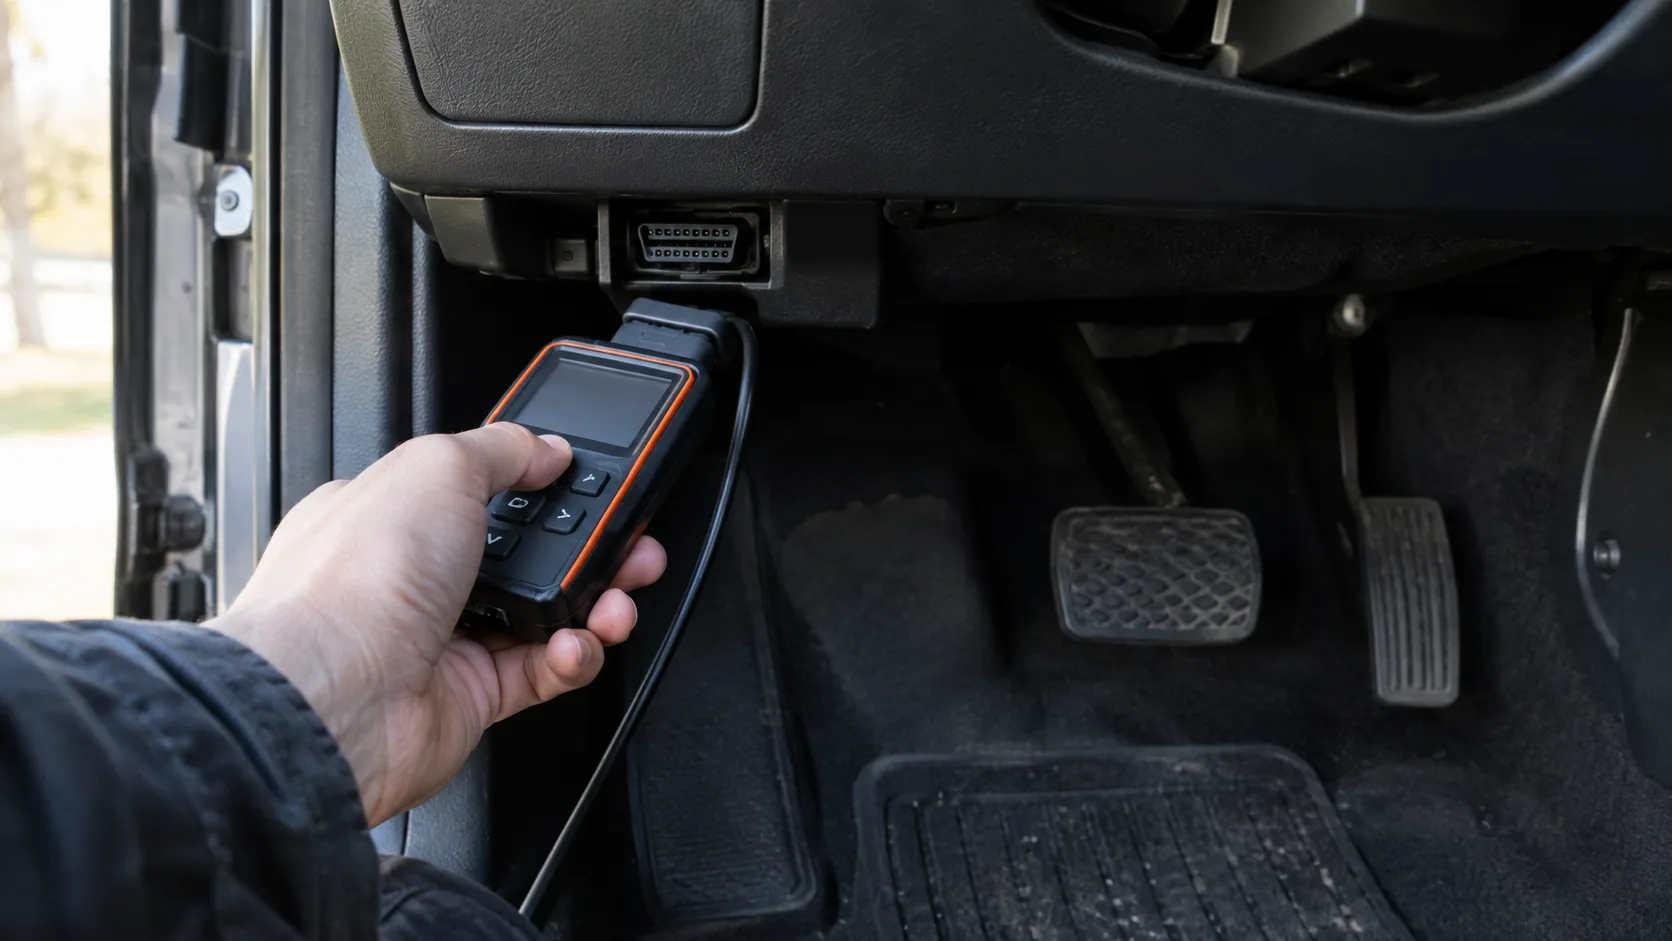
Here is how to use a car code reader: plug it into the 16-pin OBD2 port under the dash, turn the ignition to ON without starting the engine, and choose the read-codes function. Write down every code, its status (pending, stored or permanent) and the freeze frame data before you clear anything.
Use the code as the starting point for troubleshooting, not as a parts list. It tells you which circuit or system the computer flagged. It does not tell you which part has failed.
What you need before you plug in
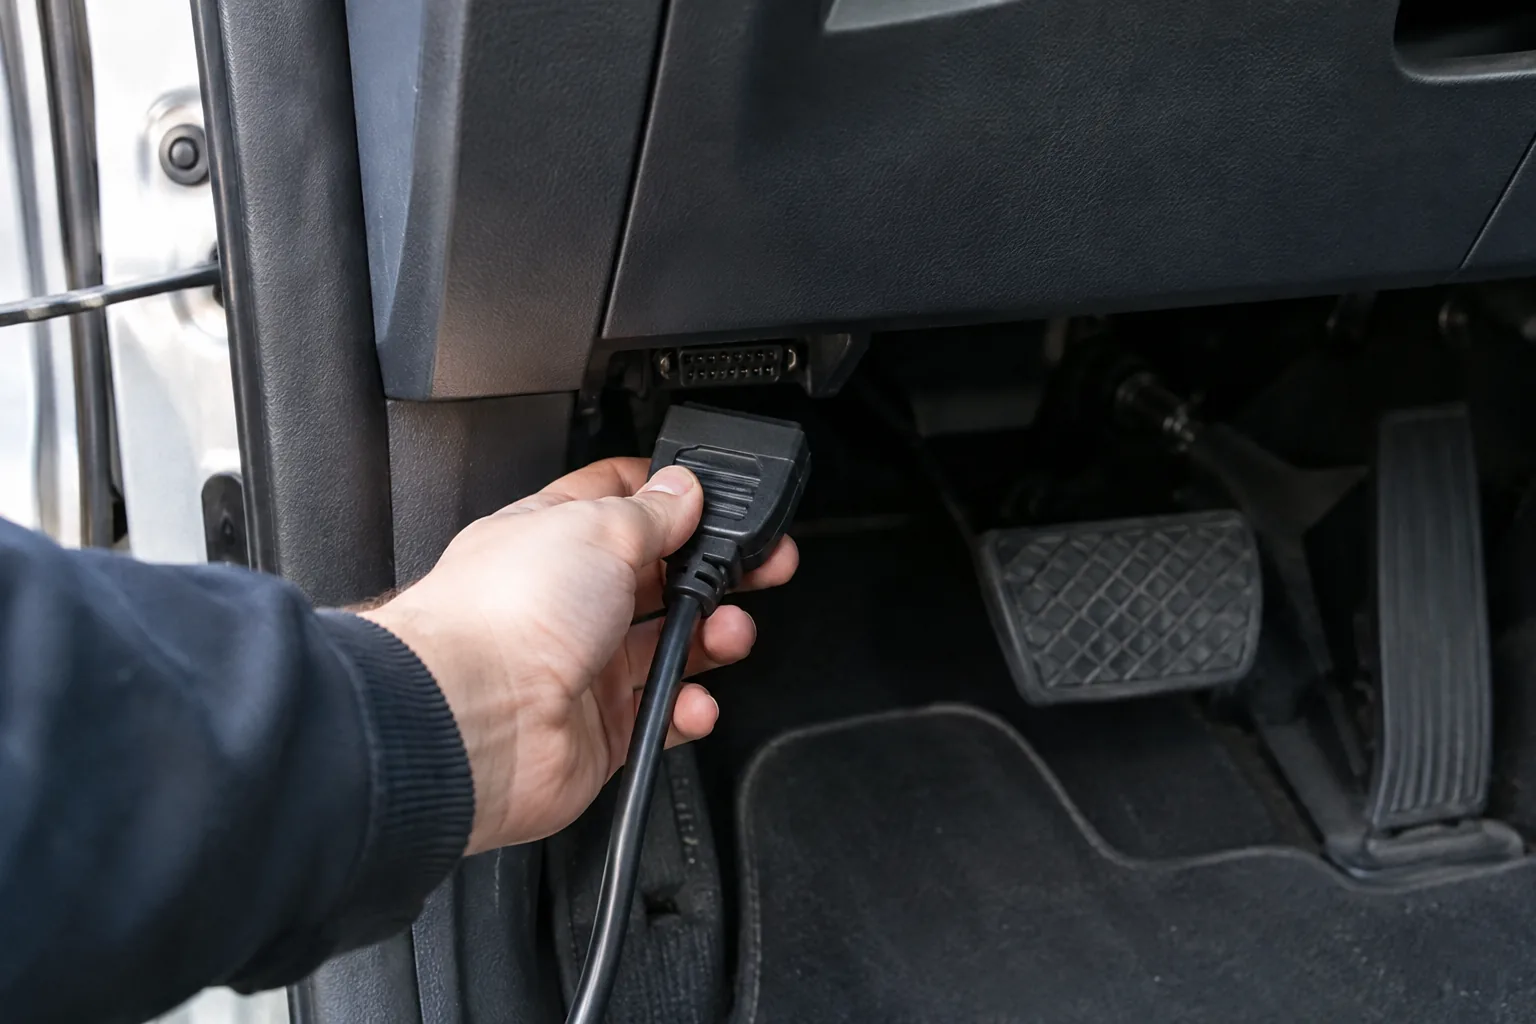
Cars and light trucks built from 1996 on carry an OBD-II port, the access point to the on-board diagnostics system. A diagnostic car code reader with a matching 16-pin connector fits it. The port is usually under the dashboard on the driver's side, near the steering column or above the pedals. Some sit behind a small cover.
Gather three things first:
- The reader and its cable. A standalone handheld needs no phone or app.
- A pen and paper, or your phone's camera. You will record codes and data before changing anything.
- The owner's manual. It shows the port location and explains the warning lights on your dash.
Park on level ground, set the parking brake and keep the engine off while you connect the cable. Heavy-duty and some commercial vehicles can use a different diagnostic connector, so check the manual before you assume the port matches.
How to use a car code reader, step by step
These steps apply to most handheld diagnostic tools. Menu names differ between models, so follow your reader's own instructions where they differ.
- Locate the OBD2 port and push the reader's connector in fully. It only fits one way.
- Turn the ignition to ON without starting the engine. The dash lights should come on.
- Power up the reader if it does not wake on its own.
- Choose Read Codes. Note whether each code is pending, stored or permanent.
- Open the freeze frame for the stored code, if your reader offers it, and record it.
- Check live data and readiness status if your reader offers them. Start the engine only if you want to watch running values, and follow the reader's instructions for doing so.
- Look up each code and work out what to inspect first.
- Clear codes only after the repair, then confirm the code does not return.
The same routine applies if you want to know how to use a code reader on a car you did not buy new: the port, the key position and the order of steps do not change.
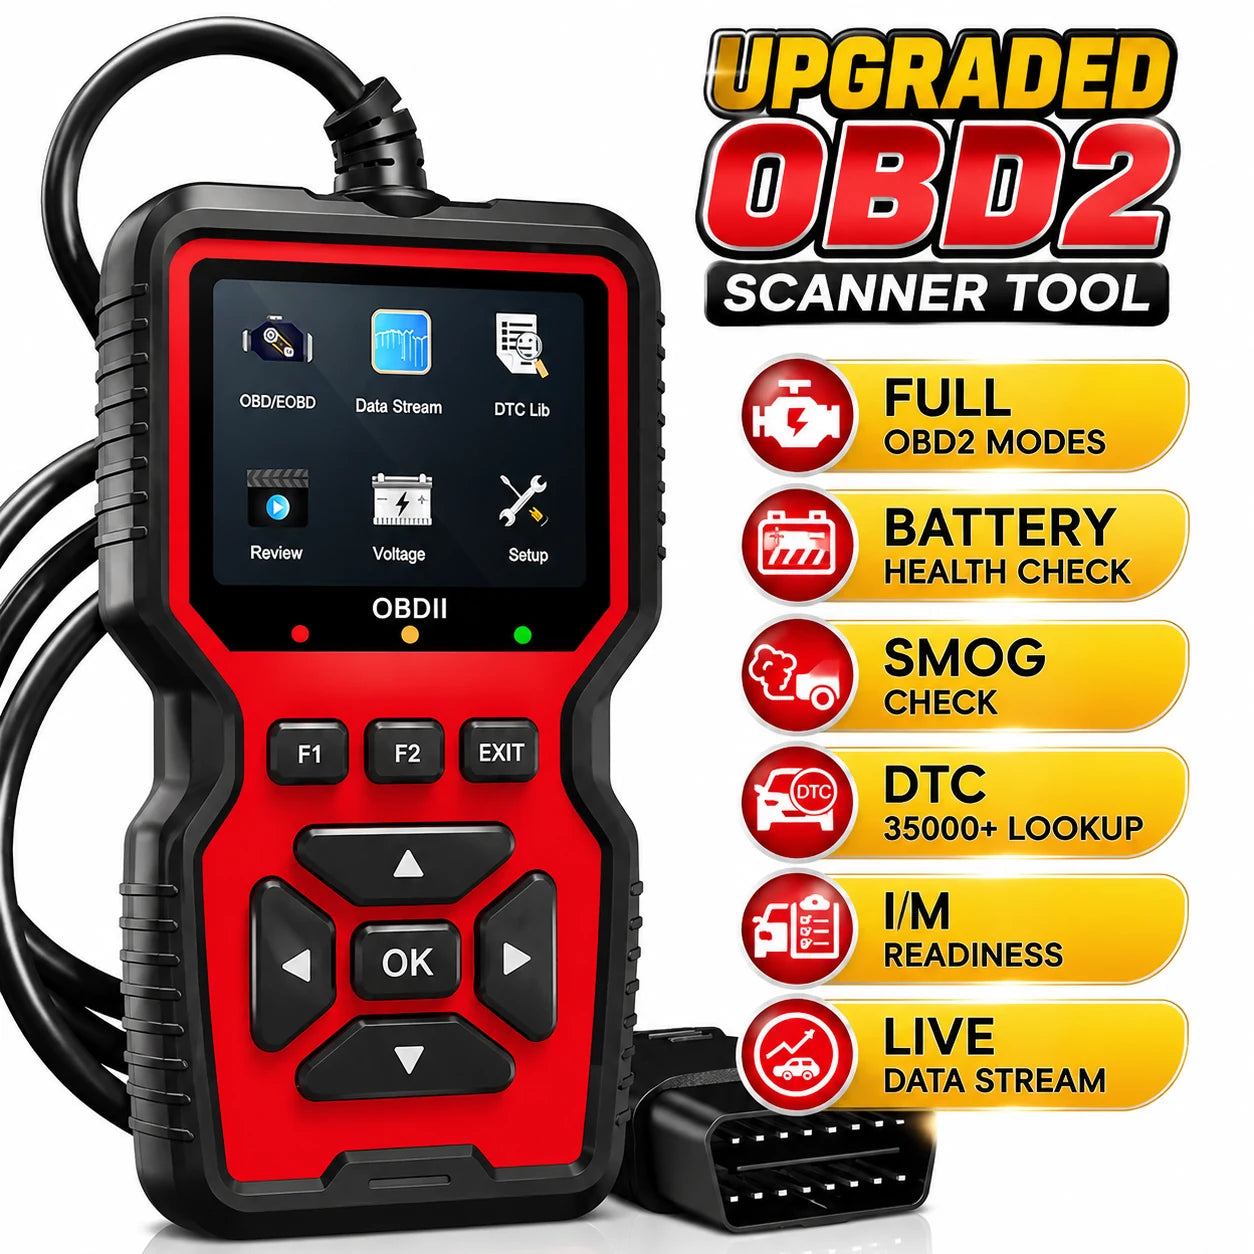
A standalone handheld code reader
DriveDecode is a standalone handheld with a backlit color screen. You plug its 16-pin cable into the port, turn the key to ON, press the power button and pick Read Codes. It lists pending, stored and permanent codes directly on the unit, so you don't need a phone or app.
It reads engine P-codes on OBDII vehicles from 1996 on, and ABS and SRS codes on many makes. Coverage varies by brand, so check the supported list before you buy. A single emissions readiness button shows whether each monitor is ready or not ready, and the Live Data screen shows RPM, coolant temp, battery voltage and O2 sensor values.
The box includes a 16-pin OBD2 cable reinforced at both ends, a USB cable for firmware updates from a laptop, a plain-English quick-start card with the most common code numbers, a reference card listing the covered protocols, and an ABS storage case with a foam insert.
 In this guideDriveDecode$99.99View
Reading the code itself
Diagnostic trouble codes follow a fixed format: one letter followed by four digits, such as P0301. The letter names the system, and the digits narrow it down. Knowing the layout shows you what a code is really about.
| Part | Meaning | Example |
|---|---|---|
| P | Powertrain: engine and transmission | P0301 |
| B | Body: airbags, seats, comfort systems | B0100 |
| C | Chassis: ABS, steering, suspension | C0035 |
| U | Network: modules communicating | U0100 |
| Second character 0 | Generic code, same meaning on all makes | P0xxx |
| Second character 1 | Manufacturer-specific code | P1xxx |
Manufacturer-specific codes are where generic lookup lists fall short. If a code has a 1 as its second character, check a make-specific source for that exact model.
Pending, stored and permanent
- Pending: the computer saw a fault once but has not confirmed it yet. The check engine light is usually off.
- Stored (confirmed): the fault repeated, and the light is usually on.
- Permanent: the code stays in memory until the vehicle's own monitors confirm the repair. Clearing with a reader does not remove it.
Freeze frame and live data: the context a code lacks
When a fault is stored, the computer saves a snapshot of conditions at that moment. This freeze frame typically includes engine speed, coolant temperature, vehicle speed and engine load. It tells you when the fault happened: a cold start, steady highway cruising or hard acceleration.
That context narrows the search. A lean code that sets on a cold idle points toward different checks than one that sets at highway speed under load. If it looks like a lean condition, the guide to a vacuum leak in a car covers a common cause.
Clearing codes erases the freeze frame on most vehicles, so record it first. Photograph the screen or write it down.
Live data adds a second view. With the engine running, watch coolant temperature, battery voltage and O2 sensor values. A reading that looks odd for the conditions is a lead worth following. Compare against the values in your service manual, not guesses.
Decide what to fix before you clear anything
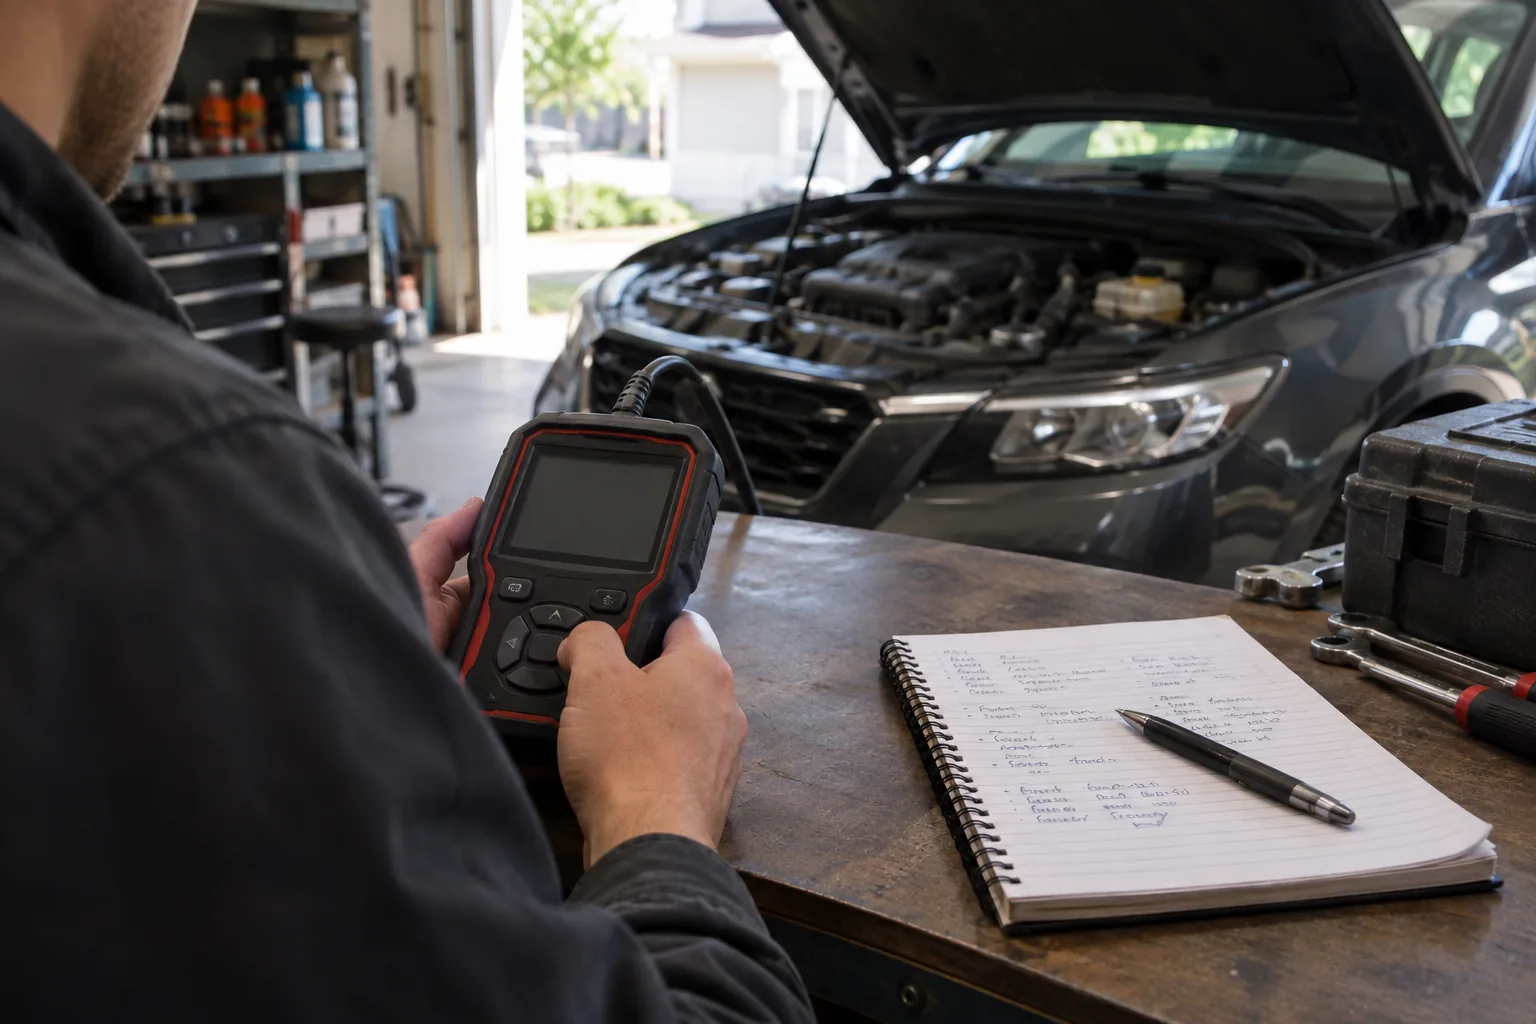
The most common mistake when learning how to use a car code reader is pressing Clear straight away. The light goes off, the evidence goes with it, and the fault often returns. Use this order instead.
| Step | Action | Why |
|---|---|---|
| 1 | Record codes, status and freeze frame | Clearing erases the snapshot |
| 2 | Check whether the check engine light is steady or flashing | A flashing light can point to a serious misfire; check the owner's manual and have the vehicle inspected before driving it |
| 3 | Do the simple inspections first | Gas cap, loose connectors, vacuum hoses, battery terminals |
| 4 | Look for a pattern across codes | Several codes at once can share one cause, such as low voltage |
| 5 | Repair, then clear | Confirms the repair rather than hiding the fault |
| 6 | Drive normally and recheck | Monitors need to run again before the status shows ready |
If the code involves brakes, airbags or steering, follow the service manual and consult a qualified technician before you work on it.
Multiple codes: fix the electrical basics first
A weak battery or a loose ground can set several unrelated-looking fault codes, including U-codes from modules that lost power. Fix the electrical basics first, clear, and see what returns. What remains is the real list.
Keeping a log
Keep a short record for each vehicle: date, mileage, codes, status, freeze frame and what you inspected. Whether you maintain one car or handle fleet maintenance for a few work vehicles, a log makes a returning code easy to compare with the last one.
What code databases don't explain
Free code lists and lookup tools give you a definition. A catalyst efficiency code or an O2 sensor circuit code is only a description of what the computer measured. A car fault code reader gives you the same bare description, and databases usually skip the parts that matter during a repair:
- The code names a circuit, not the failed part. An O2 sensor code can come from the sensor, its wiring, an exhaust leak or a fueling problem upstream.
- Order matters. The same code on two vehicles can need different checks first. Use a make-specific procedure when one exists.
- Conditions matter. The freeze frame tells you whether the fault shows up cold, hot, idling or under load.
- Intermittent faults. A pending code that disappears may still point to a loose connector or a marginal sensor.
- Readiness. After a repair and clear, emissions monitors reset and need normal driving to complete. A readiness screen shows which monitors are still not ready, which matters before an emissions inspection.
A code list, a service manual and a make-specific forum thread give a fuller picture than any single page. Cross-check at least two sources before buying a part.
Checking codes without a code reader
Without a reader, you have few options. Some older vehicles flash codes through the dash lights or the odometer display when you cycle the ignition in a set pattern. The owner's manual or service manual will say whether yours supports that and how.
On most modern vehicles, the dash only tells you the light is on. Reading the actual code requires a reader or a scan app with an adapter. Many parts stores and repair shops will read codes for you, but you won't get the freeze frame data unless you ask for it.
Common mistakes to avoid
- Clearing first. You lose the freeze frame and the history.
- Replacing the part named in the code. Confirm the cause with inspection and live data.
- Ignoring pending codes. They show a developing fault.
- Starting the engine when connecting. Connect with the ignition ON and the engine off, as the reader's instructions say.
- Skipping the gas cap. A loose or damaged cap is a quick check for evaporative codes.
- Forgetting other warning lights. A tire pressure light is a separate system; see how to change a TPMS sensor and reset the system.
For more tools that sit alongside a reader in the garage, browse the Audio, Connectivity & Diagnostics collection.
Field note
Take a photo of the codes and freeze frame screen before you clear. If the light returns, you can compare the new snapshot with the old one and see whether the conditions match.