What Is a Knock Sensor? What It Does and How to Check It
A knock sensor listens for engine knock and tells the computer to adjust spark timing. Here is how it works, which codes point to it, and how to test it with a meter.
The Quindrel Team
November 15, 2026 · 7 min read
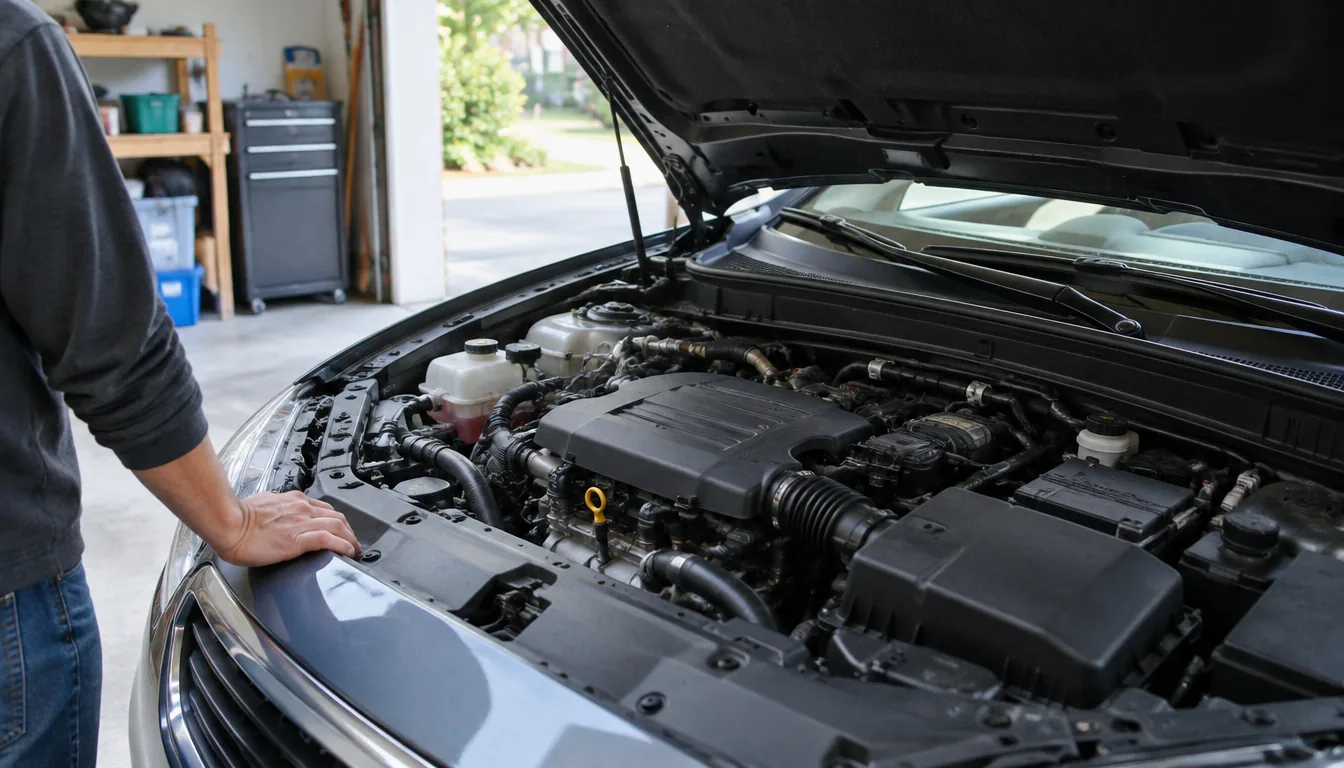
What is a knock sensor? It is a small vibration sensor bolted to the engine block or cylinder head. It listens for the metallic rattle of engine knock and sends a signal to the engine computer, which then pulls back spark timing. This guide covers what it does, the signs of a failing one, the codes to read first, and the resistance and voltage tests.
If you only need the short version: read the codes, inspect the wiring and connector, then test the sensor with a meter against the figures in your service manual.
What Is a Knock Sensor and What Does It Do?
Engine knock happens when fuel burns at the wrong moment in the cylinder, so pressure spikes hit the piston and block as a sharp vibration. Left alone, it is hard on pistons, rings and bearings. The knock sensor is the part that notices it.
So, what does a knock sensor do in practice? It turns vibration into a small electrical signal. The engine computer reads that signal, decides whether it matches knock, and retards ignition timing for the affected cylinders until the knock stops. In plain terms, the computer delays when each spark plug fires. Once things settle, the timing moves back toward its normal setting.
This is why a knock sensor lets an engine run with higher compression or on varying fuel quality while the computer guards against damaging combustion. Some diesel engines also carry one; check the manual for your engine rather than assuming.
How a Knock Sensor Works
If you are wondering what is a sensor in general, it is a part that converts something physical (heat, pressure, vibration, position) into an electrical signal a computer can read. The knock sensor does that for vibration.
Many are piezoelectric. Inside is a crystal that produces a small voltage when it is squeezed or shaken. A weight presses on the crystal as the block vibrates, and the voltage changes with the intensity of the vibration at the frequency of knock. The computer filters out normal engine noise and watches for that pattern.
Where the sensor is located
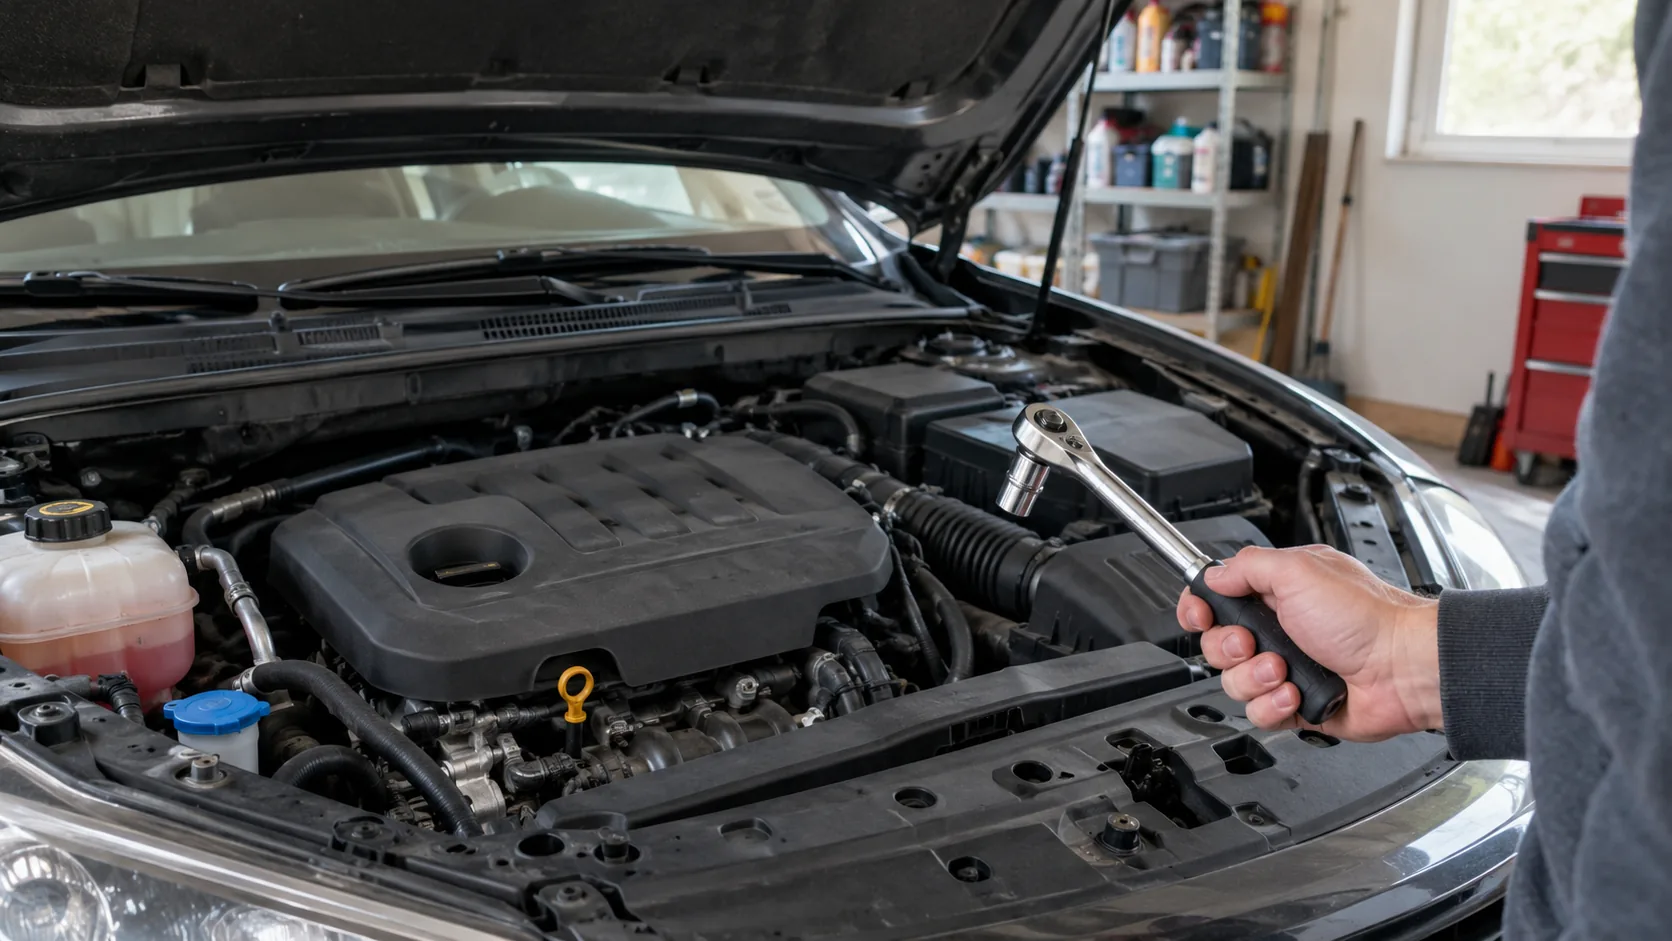
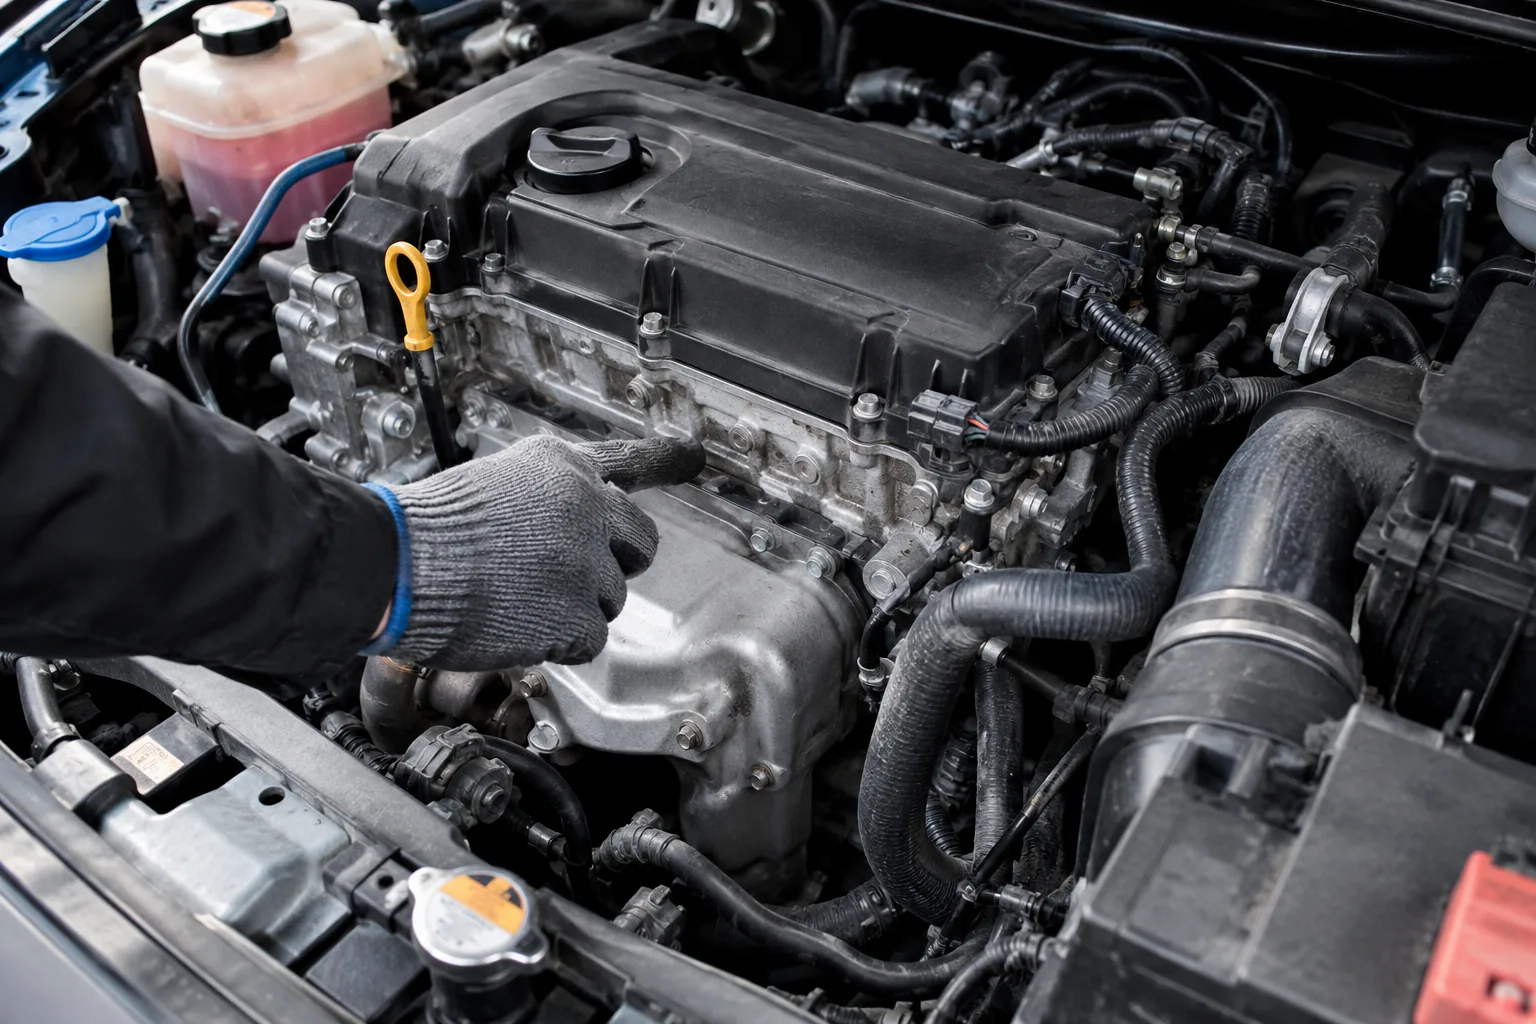
The sensor sits where the vibration of the cylinders reaches it cleanly, often in the valley of a V-engine or on the side of the block. The service manual for your engine shows its exact location and the access steps, so look there before you start pulling parts.
Why mounting matters
The sensor must be held tight against the block by a single bolt tightened to the torque in the manual. A loose or over-tightened sensor changes the signal.
Signs of a Failing Knock Sensor
A bad sensor rarely announces itself with noise. The usual signs are a lit check engine light, a drop in power, and rougher acceleration, because the computer may hold timing back when it cannot trust the signal. Fuel economy may also change.
What causes a bad knock sensor? Heat cycles and age, a damaged or corroded connector, a chafed wire, oil or coolant contamination around the harness, and a loose mounting bolt. Sometimes the sensor is fine and the real problem is knock from low-octane fuel, carbon buildup or a lean mixture.
Real knock sounds like a light metallic pinging or rattling under load, such as climbing a hill. If you hear it, do not assume the sensor is at fault; the sensor may be doing its job.
Step 1: Read the Codes
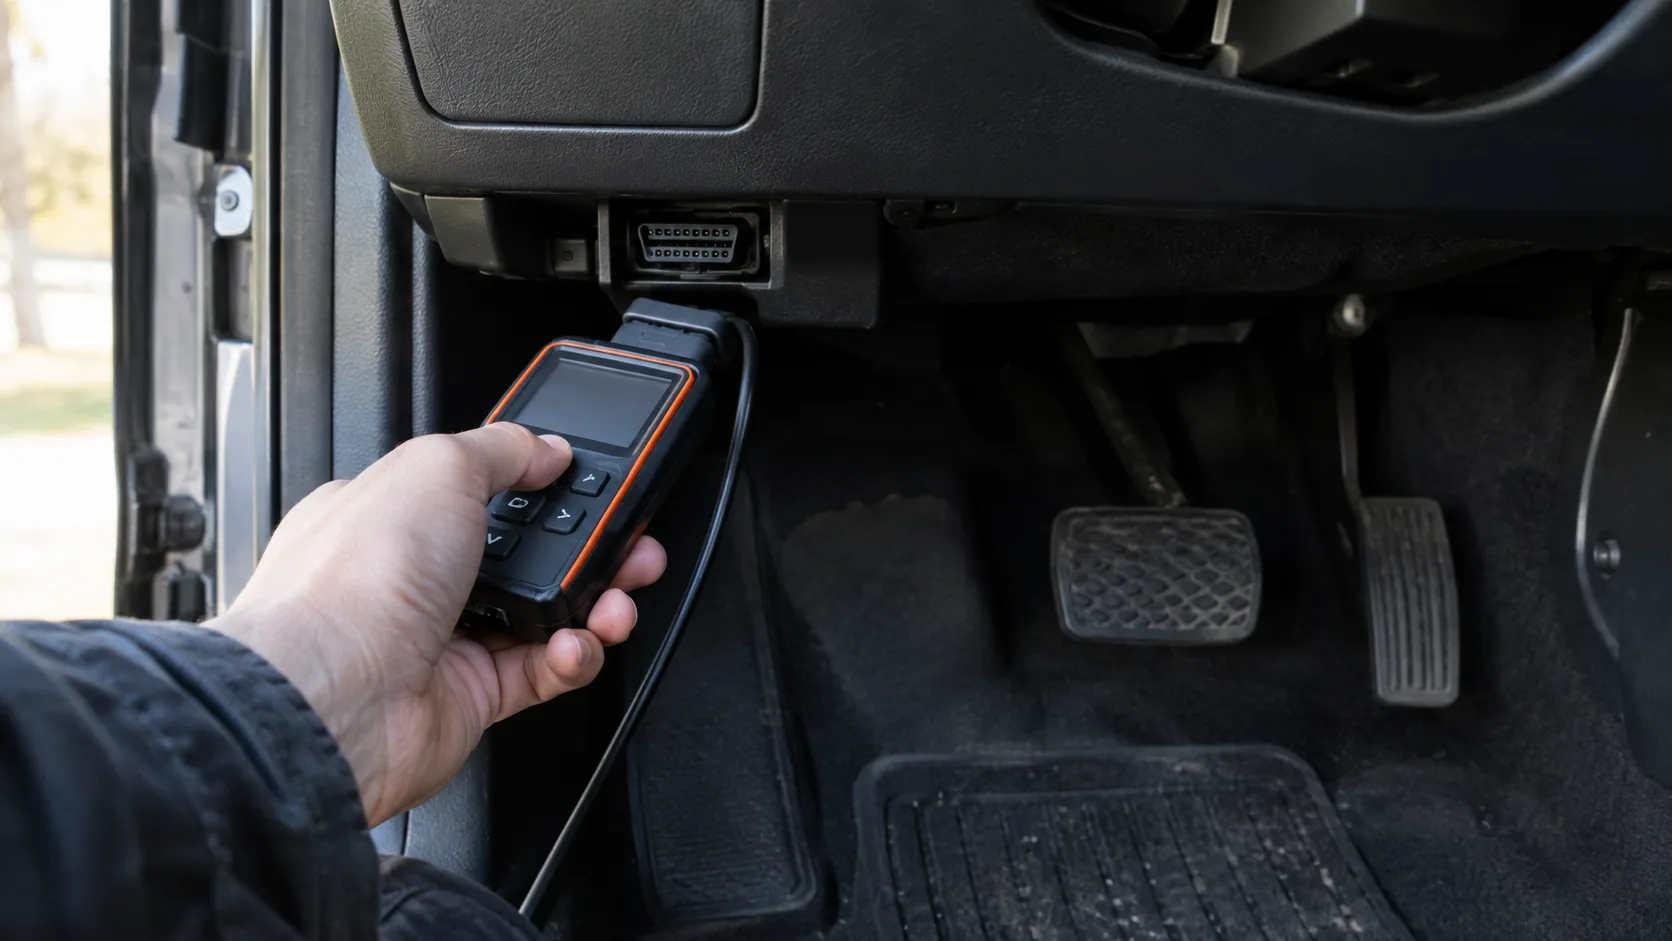
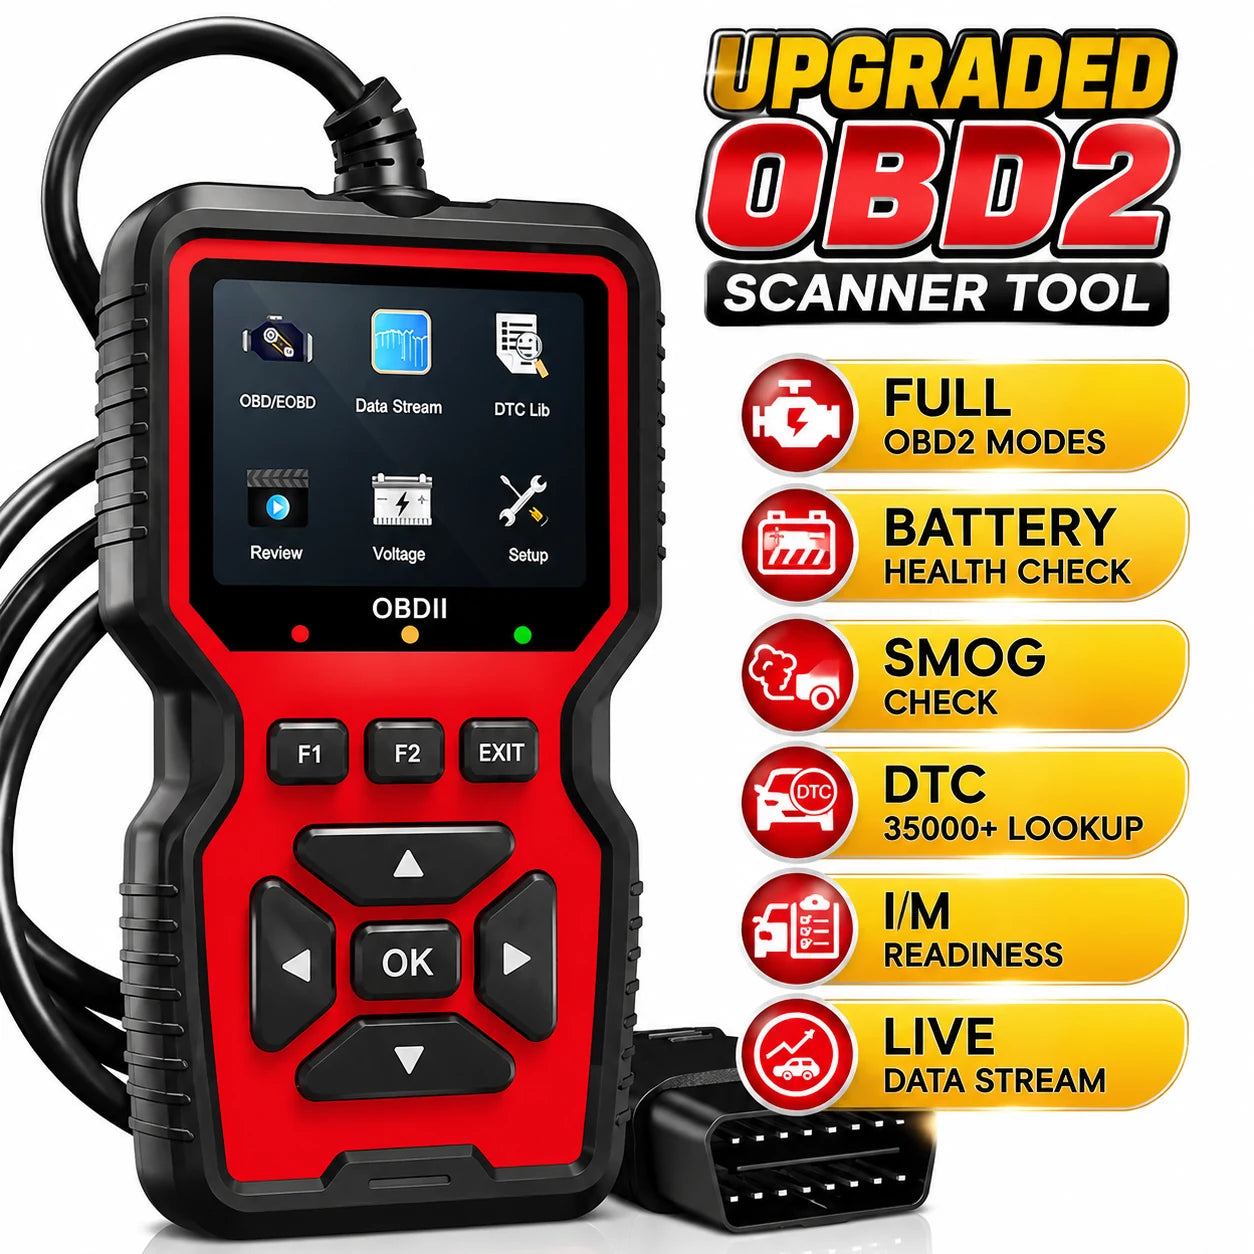
Start with the codes, because they tell you which circuit the computer is complaining about. Plug a scan tool into the 16-pin OBD2 port under the dash, turn the key to ON without starting the engine, and read pending and stored codes. Our guide to using a car code reader walks through the process in detail.
| Code | Typical meaning | First thing to check |
|---|---|---|
| P0324 | Knock control system error | Other knock codes, wiring, computer connector |
| P0325 | Knock sensor 1 circuit, bank 1 | Connector, wire continuity, sensor |
| P0326 | Sensor 1 range or performance | Mounting bolt, real engine knock |
| P0327 | Sensor 1 input low | Open circuit, short to ground, sensor |
| P0328 | Sensor 1 input high | Short to voltage, sensor |
| P0330 to P0334 | Same set for sensor 2, bank 2 | Same checks on the second sensor |
Exact wording differs by manufacturer, so confirm in the service manual for your engine.
 In this guideDriveDecode$99.99View
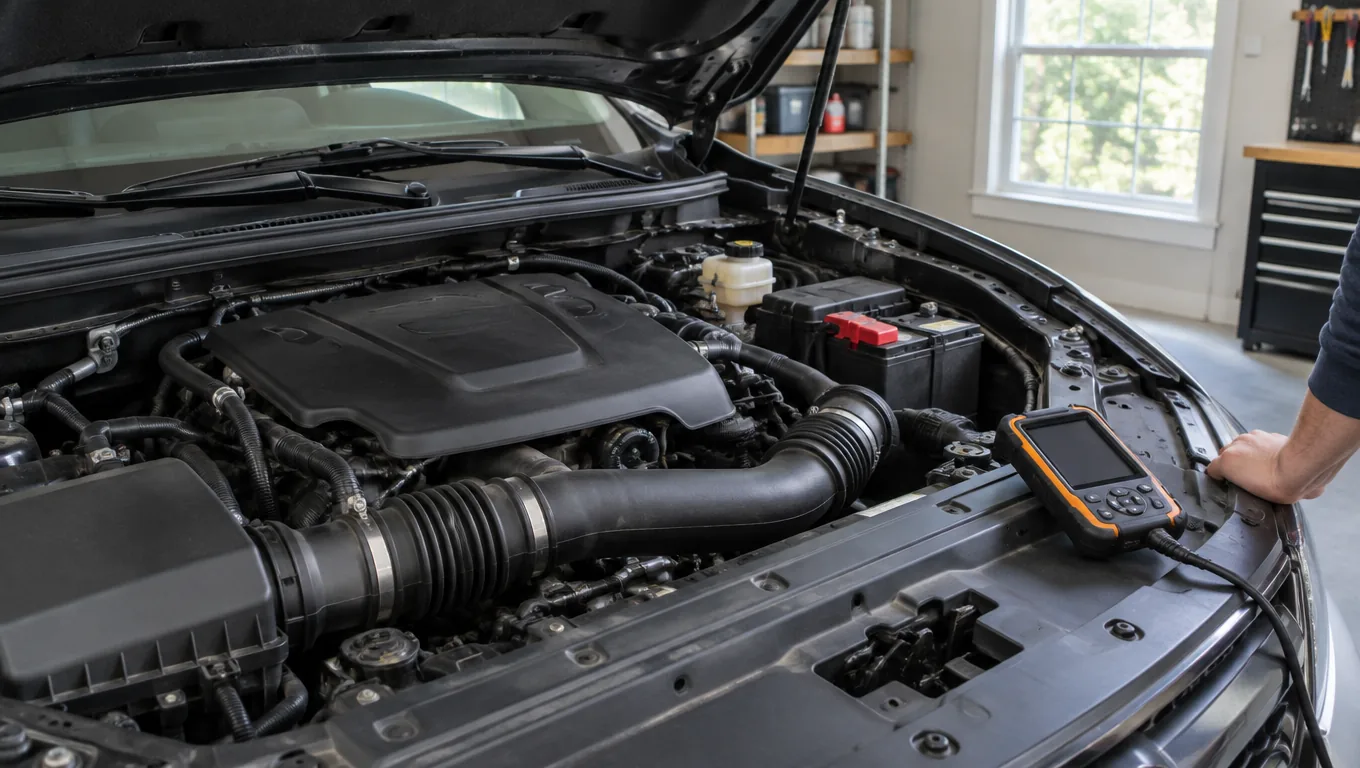
The DriveDecode is a standalone handheld with a backlit color screen, so you read codes on the unit with no phone or app. Choose Read Codes to see pending, stored and permanent codes, then open Live Data to view RPM and coolant temperature. Have a passenger watch the screen on a drive, or review the data only while parked. Write the codes down before you clear anything.
Step 2: Inspect Before You Test
Many knock codes trace back to something you can see. With the engine off and cool, look over the sensor, its connector and the harness.
- Check the connector for bent pins, corrosion or a loose latch.
- Look for rubbed, melted or oil-soaked wire insulation.
- Confirm the mounting bolt is present and snug to the manual's torque.
- Make sure nothing is wedged between the sensor and the block.
Follow the service manual for access. On many V-engines the sensor sits under the intake manifold, which turns a look into a bigger job.
Step 3: Resistance and Voltage Tests With a Meter
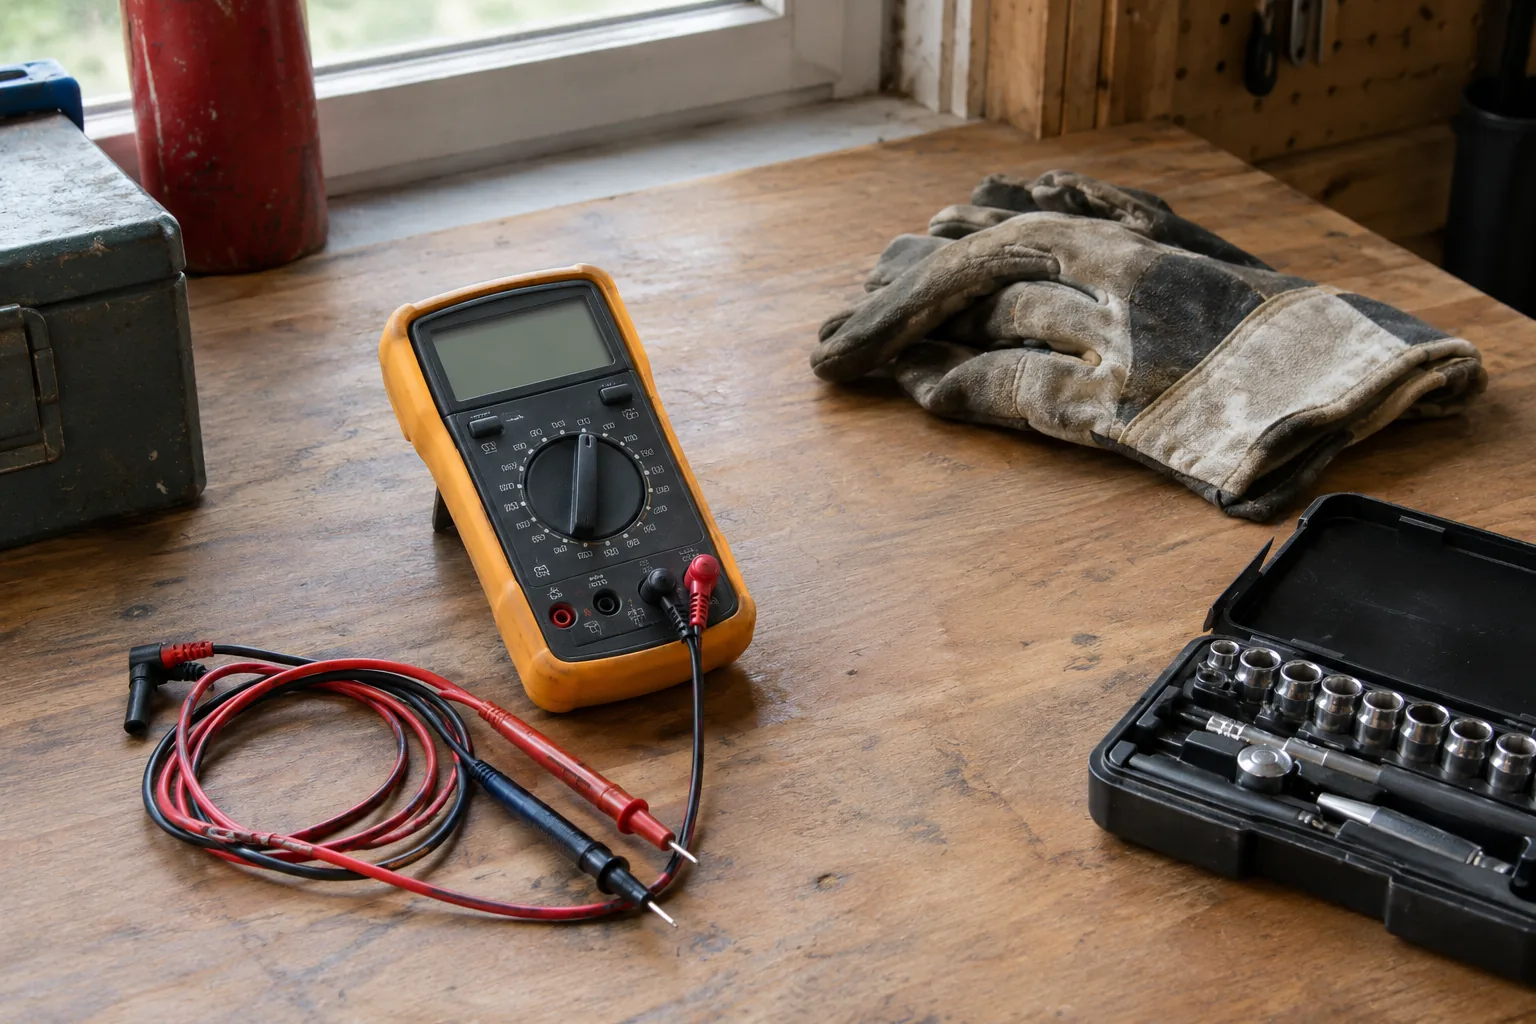
You need a digital multimeter. If you have not used one on a vehicle, read how to use a digital voltage meter first, and see electric tester types to pick the right tool for car circuits. Our electrical and signal testers collection covers meters and related tools.
Do the resistance and continuity checks with the key off and the battery disconnected as the manual directs. Reconnect the battery and turn the key to ON only for the reference voltage check, then switch off and disconnect again before going back to resistance work. Keep your hands and leads away from belts and fans.
| Test | Meter setting | How to do it | What to compare |
|---|---|---|---|
| Resistance of the sensor | Ohms | Unplug the sensor, touch the leads to its terminals | The resistance range in the manual; some designs list none |
| Wire continuity | Ohms or continuity | Check each harness wire from connector to computer, with the sensor and the computer unplugged | Near zero ohms; OL means an open wire |
| Short to ground | Ohms | With the sensor and the computer both unplugged, put one lead on the harness signal wire and the other on chassis ground | It should read open (OL); a low reading means the wire is shorted |
| Signal output | AC millivolts, or the lowest DC volts range | Connect leads to the sensor, then tap the block lightly near it with a small tool | A small voltage blip when tapped |
| Reference voltage | DC volts | Battery reconnected, key ON, probe the harness connector as the manual directs | The figure in the wiring diagram |
Reading the results
A reading far outside the manual's range, an open circuit, or a short to ground in the sensor itself points to the sensor. A flat line during the tap test, while the wiring checks out, also points to the sensor. If the sensor passes but the harness reads open, repair the wire or connector.
Keep the taps light. Hitting the block hard can damage the part, and it shows nothing extra.
Field note
Many knock sensors have no published resistance range because the crystal is not a resistor. If the manual lists none, rely on the tap test, the continuity checks and the codes rather than guessing a number.
Can You Drive With a Bad Knock Sensor?
The car will often still run, but the computer may hold timing back as a precaution, which can mean flat acceleration. If the sensor is not reporting, the engine has no warning of real knock, so heavy loads, towing and low-grade fuel add risk to the engine. Keep driving gentle and have it checked soon. If you hear pinging or rattling, stop and ask a mechanic.
How to Fix It and What It Costs
The fix depends on what the checks show. A corroded connector or damaged wire is repaired. A failed sensor is replaced with the correct part for your engine, torqued to the manual's figure, and the codes are cleared afterward. Do not reuse a sensor you have dropped.
Is it expensive to fix? The part itself varies by vehicle, and labor depends on where the sensor sits. One on the side of the block is a short job, while one under the intake manifold takes more time. Ask a shop for a written quote for your engine.
Common Mistakes
- Replacing the sensor without reading the codes or checking the connector.
- Clearing codes before writing them down.
- Ignoring real knock caused by fuel, carbon or a lean condition.
- Over-tightening the mounting bolt or using a washer the manual does not list.
- Testing harness wires with the computer still connected.
Now that you know what a knock sensor is and what it does, work through the codes, the visual check and the meter tests in that order. You will know whether the sensor, the wiring or the engine itself is the problem.