How to Clean an Oxygen Sensor, or Replace It Instead
Confirm the sensor is dirty with live scanner data first. Cleaning only suits light surface deposits; a slow, failed or oil-fouled sensor should be replaced.
The Quindrel Team
November 2, 2026 · 6 min read
To learn how to clean oxygen sensor deposits, start with the scan tool, not the spray can. Read the codes, watch the sensor's live data, and clean only if the readings and the sensor's tip point to light carbon or soot. If the sensor is slow, open-circuit, coated in oil or coolant residue, or very old, replacing it makes more sense.
This guide gives you a clean-or-replace decision path, a short list of what you can and cannot use, and the steps for removing, cleaning and refitting the sensor.
What an oxygen sensor does
If you are asking what is oxygen sensor hardware, it is a probe threaded into the exhaust system that measures how much oxygen is left in the exhaust gas. The engine computer reads that signal and adjusts the fuel mixture. Sensors ahead of the catalytic converter report mixture; sensors after it are used to watch the converter.
So what does an oxygen sensor do for you day to day? It helps the engine control unit hold the air-fuel ratio where the engine runs cleanly, which ties into fuel economy and emissions readiness. A sensor that responds late or reads wrong can push the mixture off target.
Can you clean an O2 sensor?
Can you clean an O2 sensor and reuse it? Sometimes. Light, dry soot or carbon on the tip can be loosened, and the sensor refitted. Cleaning does not repair a worn sensing element, a failed heater circuit or contamination from oil, coolant or silicone.
That is why the order matters: confirm, then decide, then clean. Guessing wastes an afternoon and can damage a sensor that was fine.
Step 1: Confirm the sensor is dirty with live data
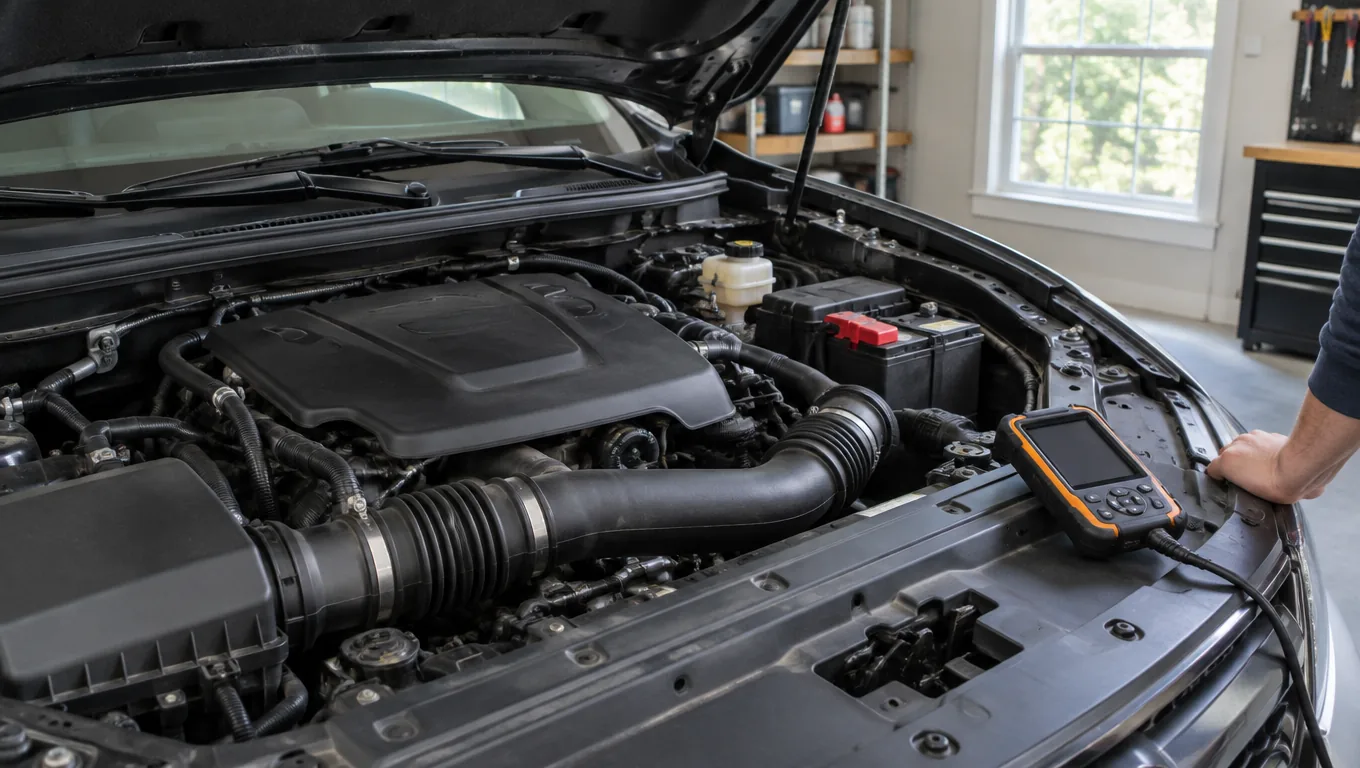
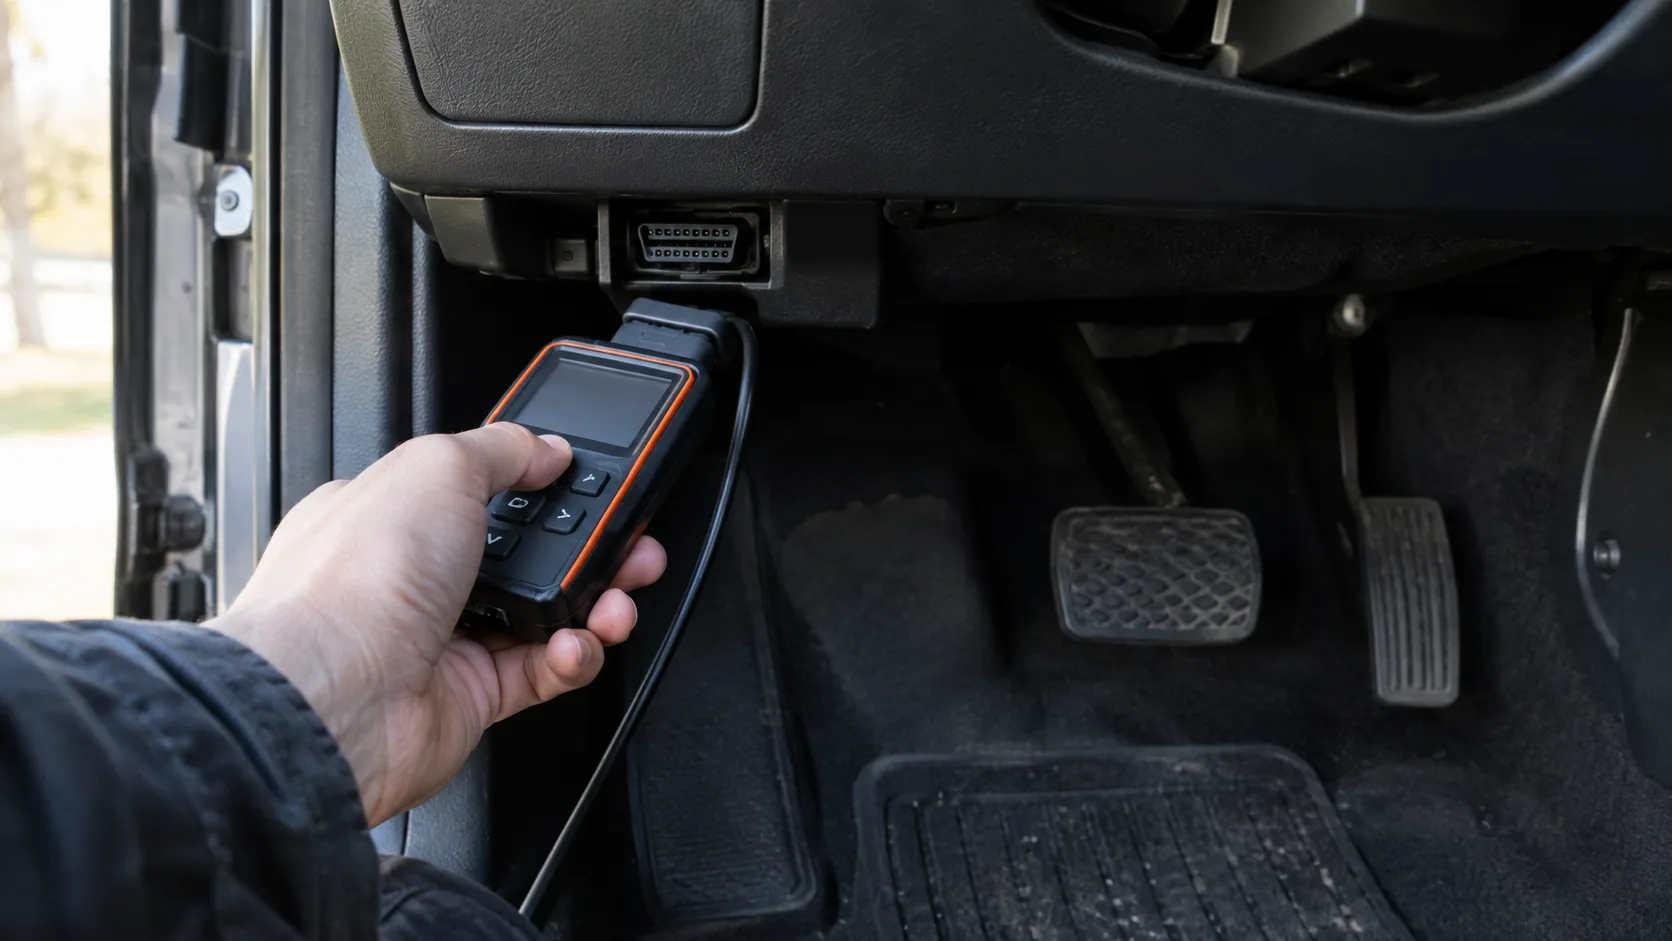
A handheld scan tool shows what the sensor is doing. The DriveDecode plugs into the 16-pin OBD2 port on 1996 and newer vehicles and has a Live Data view that includes O2 sensor values alongside RPM, coolant temp and battery voltage. If you are new to reading codes, see How to Use a Car Code Reader and Make Sense of the Codes.
- Plug the scanner into the OBD2 port under the dash.
- Turn the ignition to ON without starting the engine, then power up the scanner.
- Choose Read Codes and note pending, stored and permanent codes.
- Start the engine, let it reach operating temperature, and open Live Data.
- Watch the upstream sensor value at idle and while holding steady RPM.
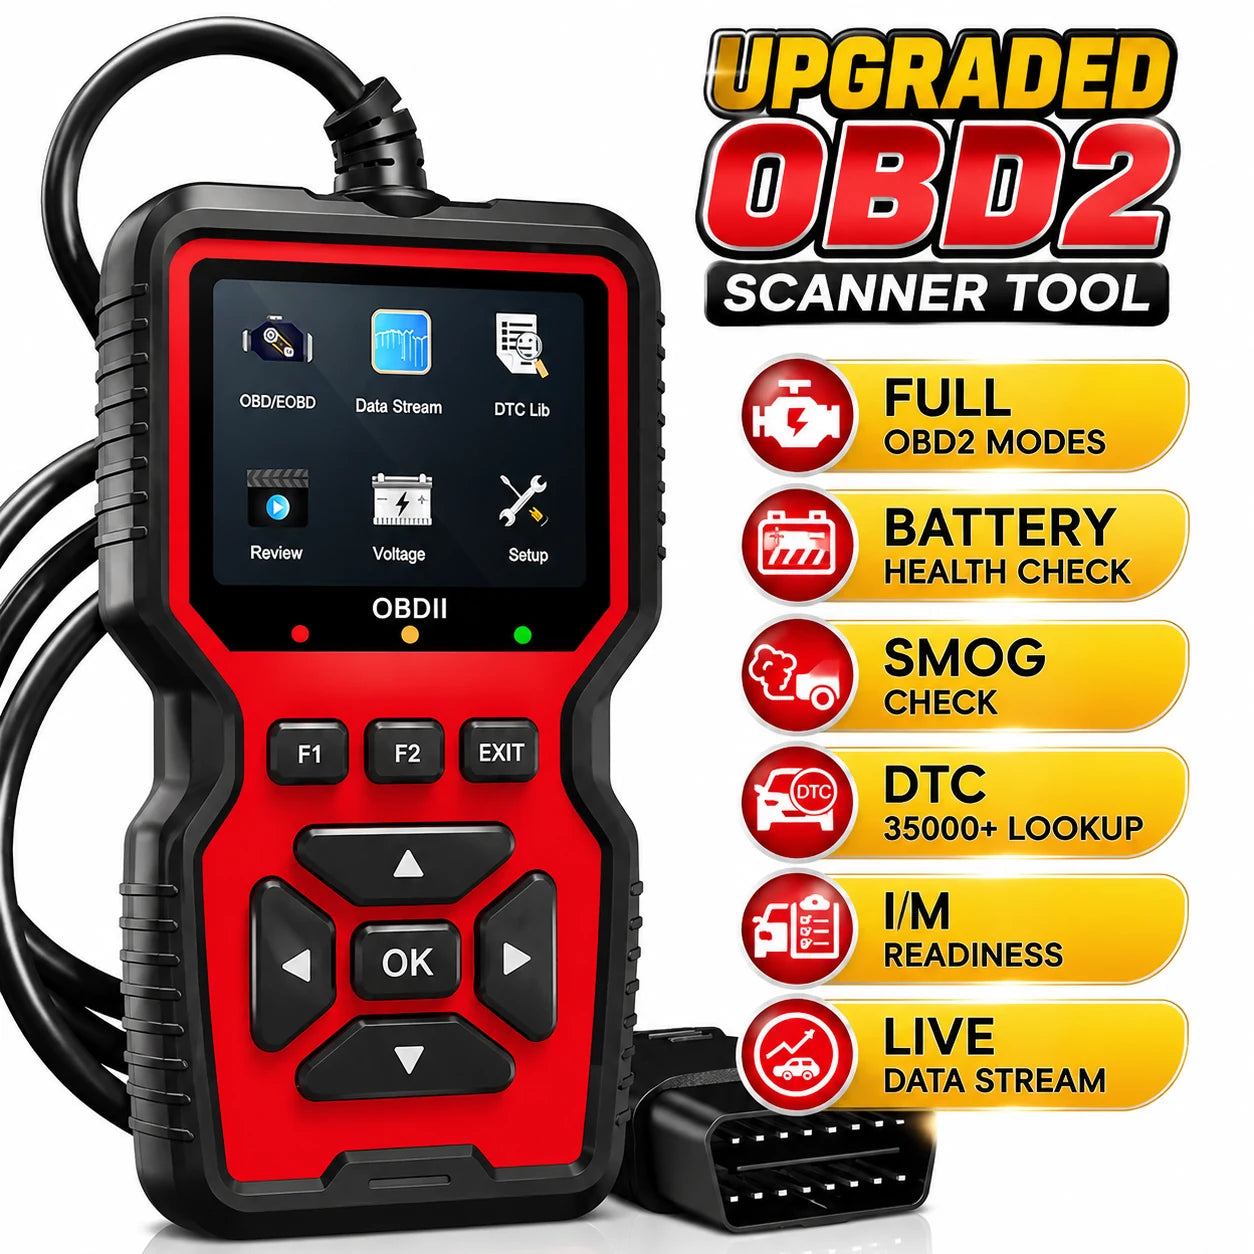 In this guideDriveDecode$99.99View
What the readings suggest
A healthy upstream sensor value switches back and forth steadily once the engine is warm. A value that sits flat, moves lazily or lags behind throttle changes points to a sensor that is contaminated or worn. A flat reading can also come from a wiring fault, an exhaust leak or a fueling problem, so rule those out before blaming the tip.
| What you see | Likely meaning | Next step |
|---|---|---|
| Sensor code plus slow or lazy switching | Contaminated or aging sensor | Inspect the tip, then clean or replace |
| Flat reading, no switching | Failed sensor, wiring or heater fault | Check wiring; replace if the fault stays |
| Fuel trim or mixture codes with a normal sensor | Vacuum leak, fuel or air metering issue | Diagnose the cause; do not clean |
| No codes, normal switching | Sensor is working | Leave it alone |

Step 2: Inspect the sensor, then choose clean or replace
Remove the sensor (see below) and look at the tip. The color tells you what happened.
| Tip appearance | Cause | Decision |
|---|---|---|
| Dry, dark gray or black soot | Rich mixture, carbon | Cleaning is reasonable; fix the rich condition too |
| Wet or oily black film | Oil consumption | Replace; find the oil source |
| White or glossy coating, or crusty residue | Coolant or silicone contamination | Replace; find the source |
| Cracked, burned or damaged wire or connector | Physical damage | Replace |
| Very old sensor with a persistent code | Worn element | Replace |
What can you use to clean an oxygen sensor?
Use a liquid sensor cleaner made for the job, or a fuel-system and electronics solvent whose label says it suits O2 sensors. Follow the product label. Keep these points in mind:
- Penetrating oils leave a film. Use one on a stuck thread if needed, and keep it off the sensing tip.
- Gasoline (petrol) leaves residue and is a fire hazard. Do not use it.
- Do not scrub the tip with a wire brush, sandpaper or abrasive pads, and do not blast it with compressed air at close range.
- Do not soak the wiring or connector.
A liquid sensor cleaner is a different job from a catalytic converter additive. Additives poured into the fuel tank do not clean the sensor you hold in your hand.
How to clean oxygen sensor deposits step by step
Work on a cool engine and a vehicle on level ground or secure stands. Exhaust parts stay hot long after the engine is off, so follow the vehicle manual and wear eye protection.
- Disconnect the negative battery cable, then unplug the sensor connector.
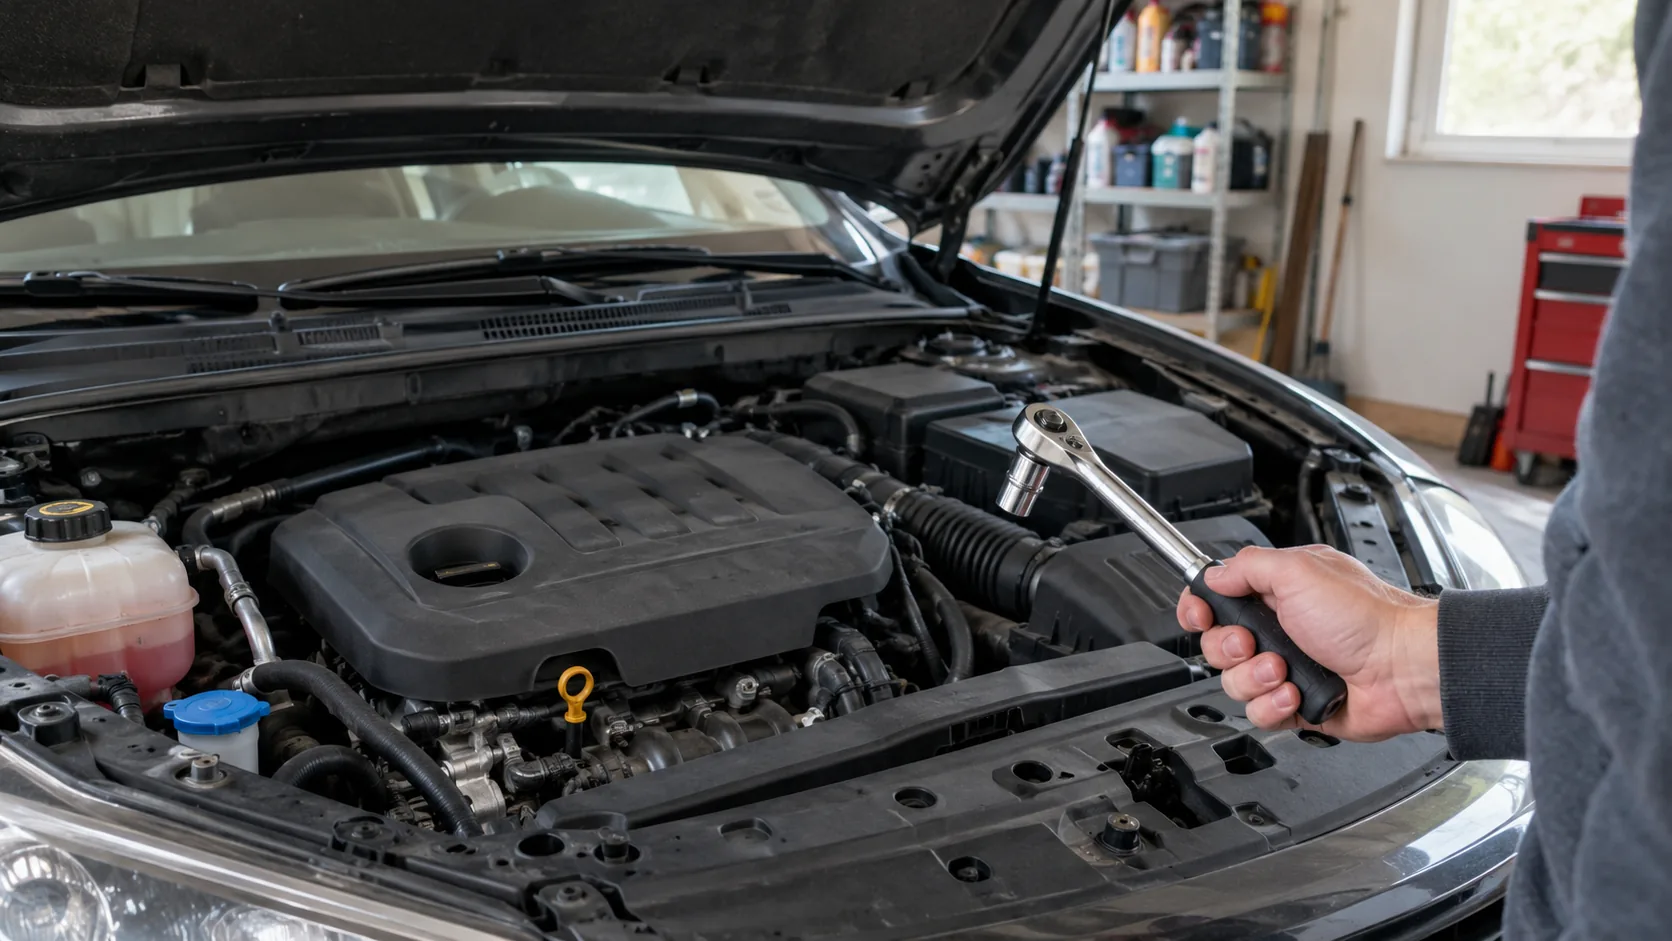
- Fit an oxygen sensor socket, which has a slot for the wire, and turn the sensor out. A stuck thread may need a little penetrating oil on the threads only.
- Inspect the tip using the table above. Go no further if it needs replacing.
- Spray a cleaner that the label allows for O2 sensors on the tip as the label directs, and let it soak for the time on the label.
- Let it air dry fully. Do not wipe the element.
- Check that the threads are clean. Use anti-seize only if the sensor maker or manual allows it, keeping it off the tip.
- Refit by hand first, then tighten to the torque in the manual and reconnect the plug.
- Reconnect the battery, clear codes with the scanner and recheck Live Data.
Cleaning without removing it
Spraying cleaner through the exhaust or intake while the engine runs is not a substitute for visual inspection. You cannot see the tip, and you cannot tell whether the sensor was the problem. Remove it so you can look and clean it properly.
Field note
Clear codes and drive normally after refitting, then open Live Data again. If the sensor value still lags or the same code returns, the sensor needs replacing.
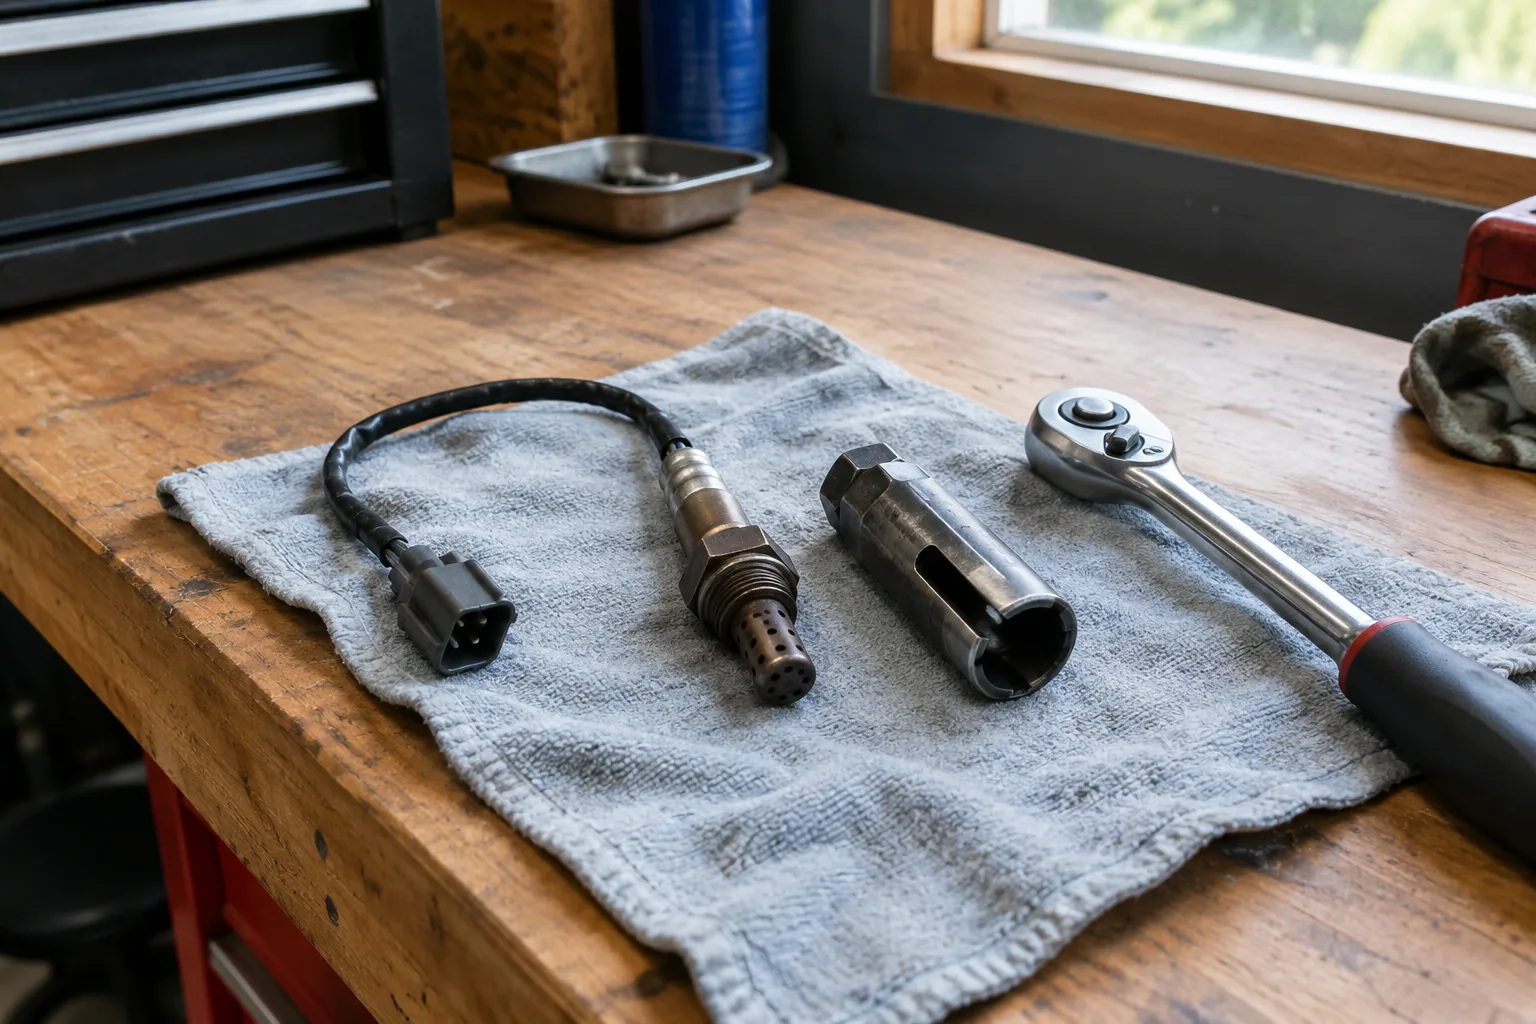
When replacing makes more sense
Replace the sensor when the tip is oily, coated or damaged, when the heater circuit code persists, or when cleaning leaves the live data unchanged. A sensor that has been in service for a long time can also respond slowly from wear, which no solvent reverses.
Fix the cause as well. A new sensor will foul again if the engine burns oil, leaks coolant into the exhaust or runs rich. Before the next emissions inspection, use the readiness button on the scanner to see whether the monitors show ready. The monitors may need a few drive cycles after clearing codes.
Scanners like this one are listed with our diagnostics collection. For another diagnostic walk-through using the same approach, see How to Test a Relay: 4-Pin and 5-Pin Automotive Relays.
Common mistakes
- Cleaning before reading the codes and live data.
- Spraying the tip with oil-based lubricant.
- Using a standard socket that crushes the wire.
- Ignoring a vacuum leak or rich condition behind the dirty tip.
- Forgetting to clear codes and recheck after reassembly.