How to Clean Battery Corrosion on Car Terminals
Disconnect the negative cable first, neutralize the crust with baking soda paste, scrub, dry and reconnect, then check voltage to learn whether the battery or charging system is the cause.
The Quindrel Team
November 8, 2026 · 7 min read
The short answer on how to clean battery corrosion: wear eye and hand protection, disconnect the negative cable first, neutralize the crust with a baking soda paste, scrub the terminals and clamps, wipe them damp and dry them, then reconnect the positive cable first. Finish with a voltage check, because heavy corrosion can point to a weak battery or a charging problem rather than just age and moisture.
This guide gives the cleaning order, the gear to wear, what to use on other devices, and the checks that tell you whether the buildup will come back.
What the white and blue crust is
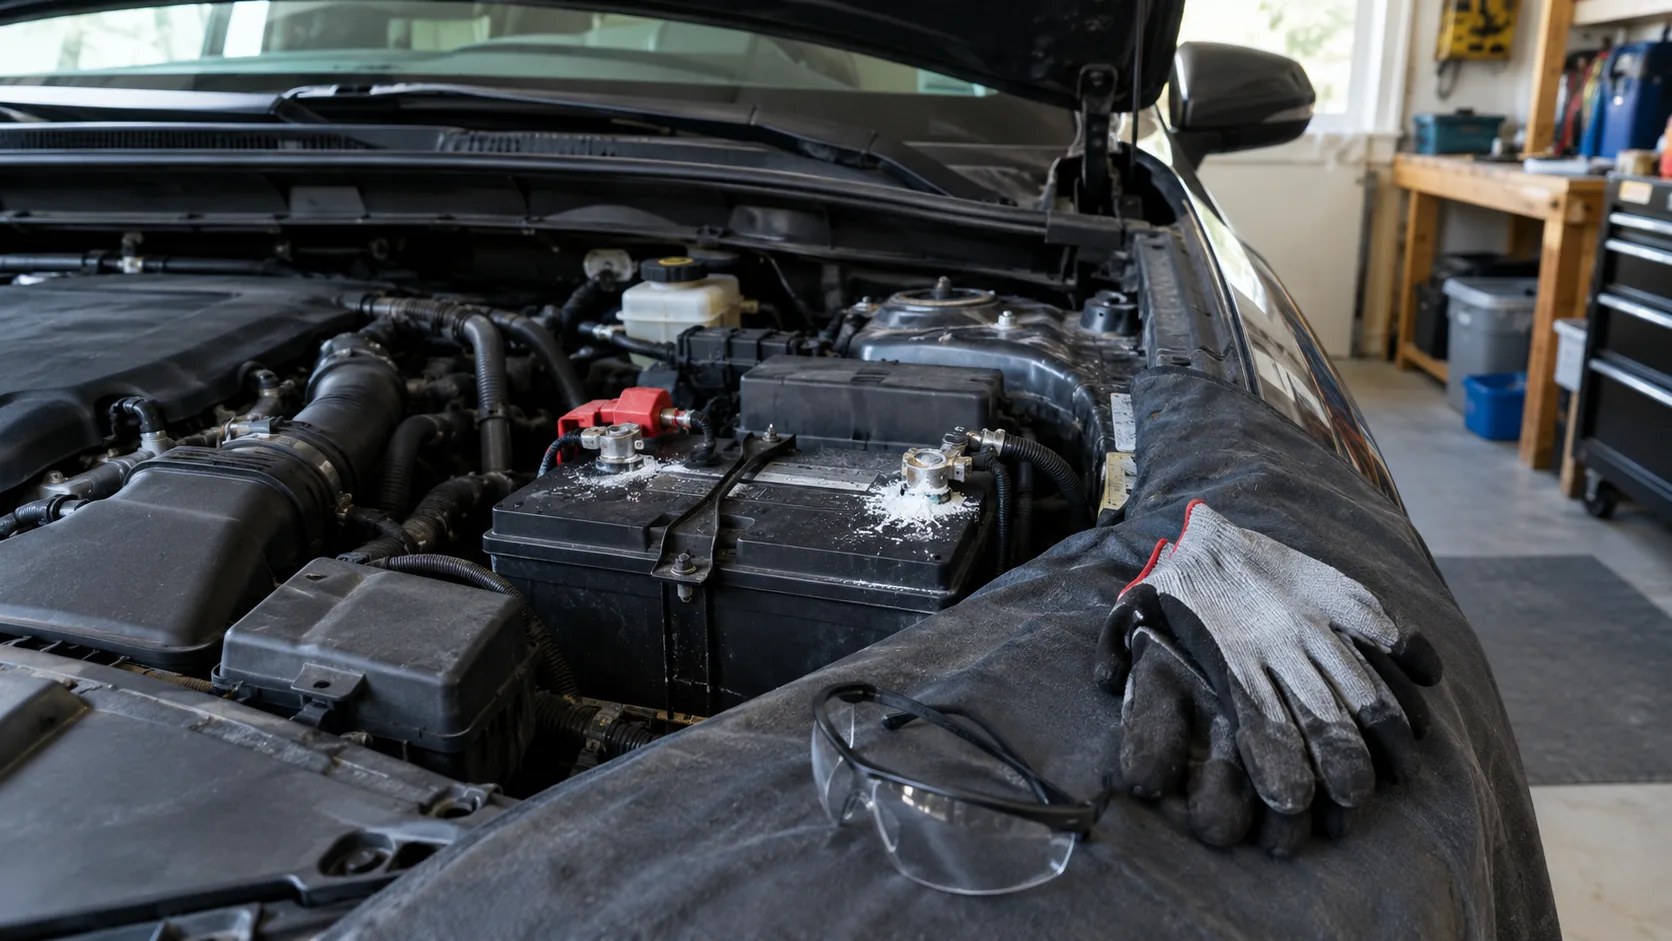
The powder on a car battery is dried acid residue and metal salts. White or gray powder is usually lead sulfate, and blue-green buildup usually comes from the copper in clamps and cables. Both form where vented gas and moisture meet the metal terminals.
The crust adds resistance between the cable and the post. Signs include a clicking sound when you turn the key, dim lights at start-up, or a slow crank. Cleaning clears the connection, but it does not tell you why the buildup formed. That is what the check at the end is for.
Gear and materials to gather first
Battery acid is corrosive to skin, eyes and fabric, so set up before you touch anything. Work outdoors or in a ventilated garage, and keep sparks and open flames away from the battery.
- Splash-resistant safety glasses and nitrile or rubber gloves
- Long sleeves and old clothes, since acid can eat holes in fabric
- Remove rings, watches and necklaces
- A wrench or socket that fits the terminal clamp nuts
- Baking soda, water and a disposable cup
- A stiff nylon brush or a battery terminal cleaner brush for posts and clamps
- Clean rags or paper towels and a small bucket of water
- Dielectric grease or a terminal protector spray for afterward
Follow your vehicle manual for any battery-specific warnings. If the case is cracked or leaking fluid, do not continue; ask a professional.
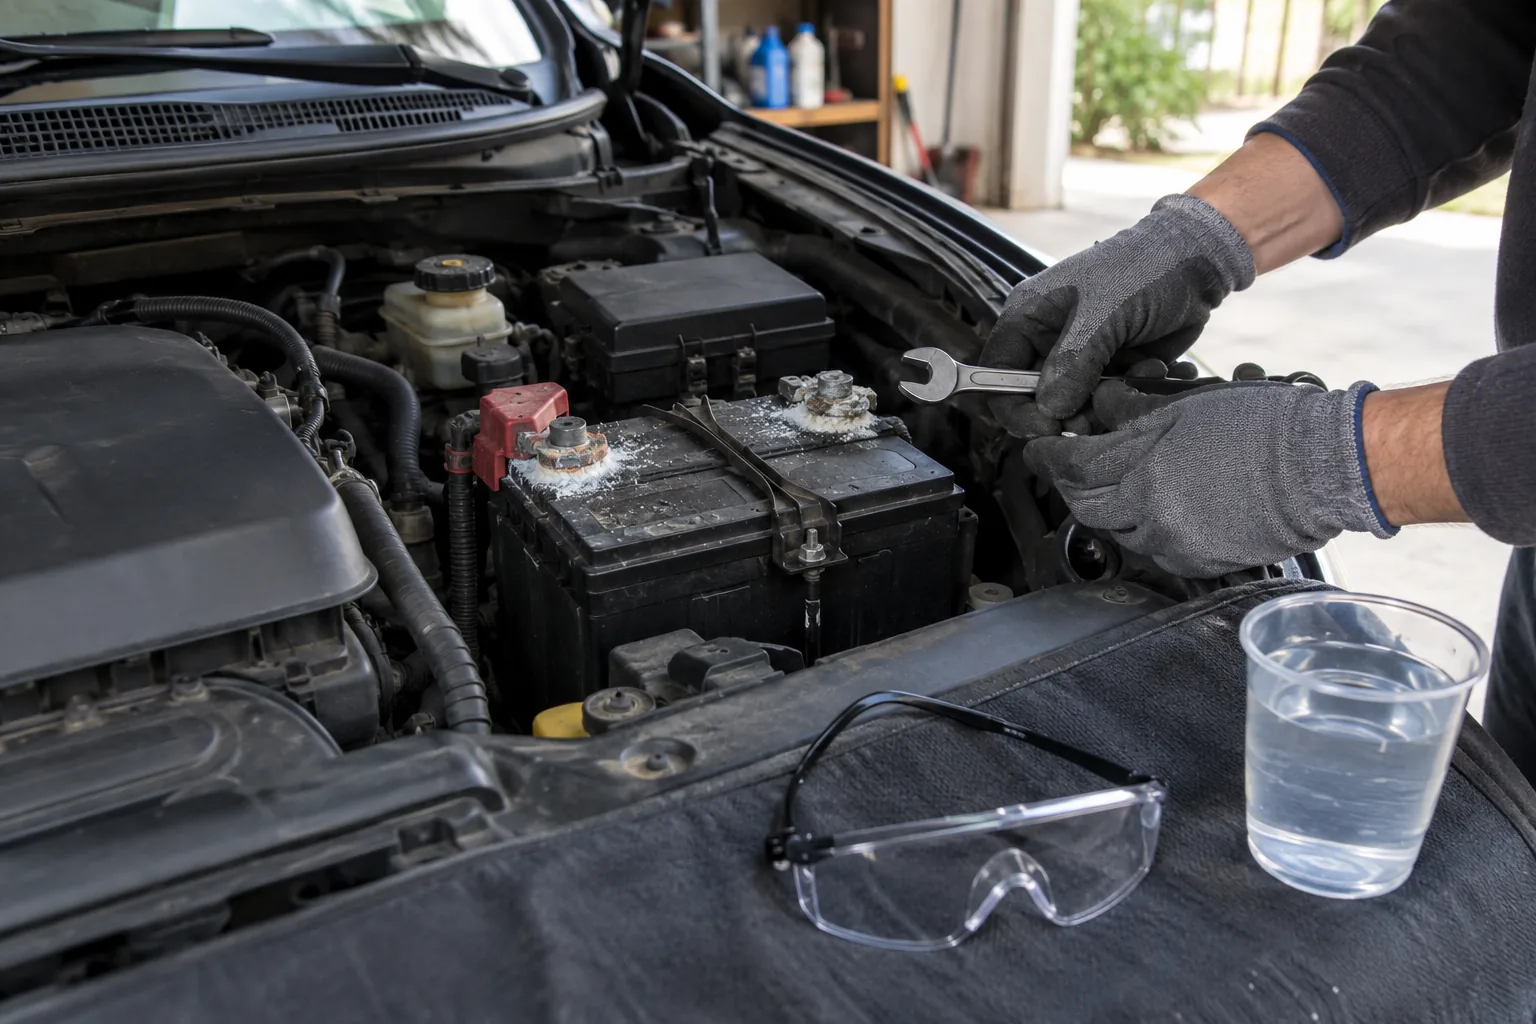
Step-by-step: how to clean battery corrosion on car terminals
- Turn the engine off, remove the key and put on your glasses and gloves.
- Loosen the negative clamp (marked minus or black) and lift it off the post. Tuck it aside so it cannot touch the post again.
- Loosen and remove the positive clamp (marked plus or red) the same way.
- Stir a few tablespoons of baking soda into a little water until it forms a thick paste.
- Spread the paste over the posts and clamps. Expect fizzing as it reacts with the acid residue. Let it sit for 5 minutes.
- Scrub with the brush until the metal is bare and bright, including the inside of each clamp where it grips the post.
- Wipe away the paste with a rag dampened in clean water. Keep water out of the cell vents and do not pour it over the battery.
- Dry everything fully with a clean rag.
- Reconnect the positive clamp first, then the negative. Tighten until the clamp does not twist on the post by hand.
- Apply a thin film of dielectric grease or terminal protector spray to the clamps and posts.
Dispose of used rags and rinse water as your local rules direct, since they carry acid residue. Wash your hands and tools afterward.
Field note
Take a photo of the cable layout before you disconnect anything, and clean one clamp at a time if the battery sits tight, so nothing gets swapped on reassembly.
Baking soda, vinegar, alcohol or a lubricant spray
The right cleaner depends on what leaked. Car batteries leak acid, which baking soda neutralizes. Household alkaline cells, such as AA and AAA, leak an alkaline material, which a mild acid like vinegar or lemon juice can neutralize.
| Product | Use it for | Notes |
|---|---|---|
| Baking soda paste | Car and other lead-acid battery terminals | Neutralizes acid residue; wipe off damp afterward |
| White vinegar | Crust from leaked alkaline AA, AAA, C and D cells | Apply with a cotton swab; not a first choice for lead-acid terminals |
| Isopropyl alcohol | Final wipe on electronics contacts | Cleans residue and dries; does not neutralize a heavy leak |
| Lubricant spray | Not a corrosion cleaner | Leaves a film that can hold dirt; use a terminal protector after cleaning instead |
| Commercial terminal cleaner | Stubborn corrosion on clamps | Follow the label; wear the same gear |
So for a car, start with baking soda. Use alcohol only as a finishing wipe on small electronics, and skip the spray lubricant as a cleaner.
Check the battery and charging system afterward
Corrosion can be a slow result of normal venting, but it can also appear when a battery is overcharged, undercharged or near the end of its service life. A loose clamp or a cracked post seal can produce it too. Once the terminals are clean and tight, take readings.
Voltage with a multimeter
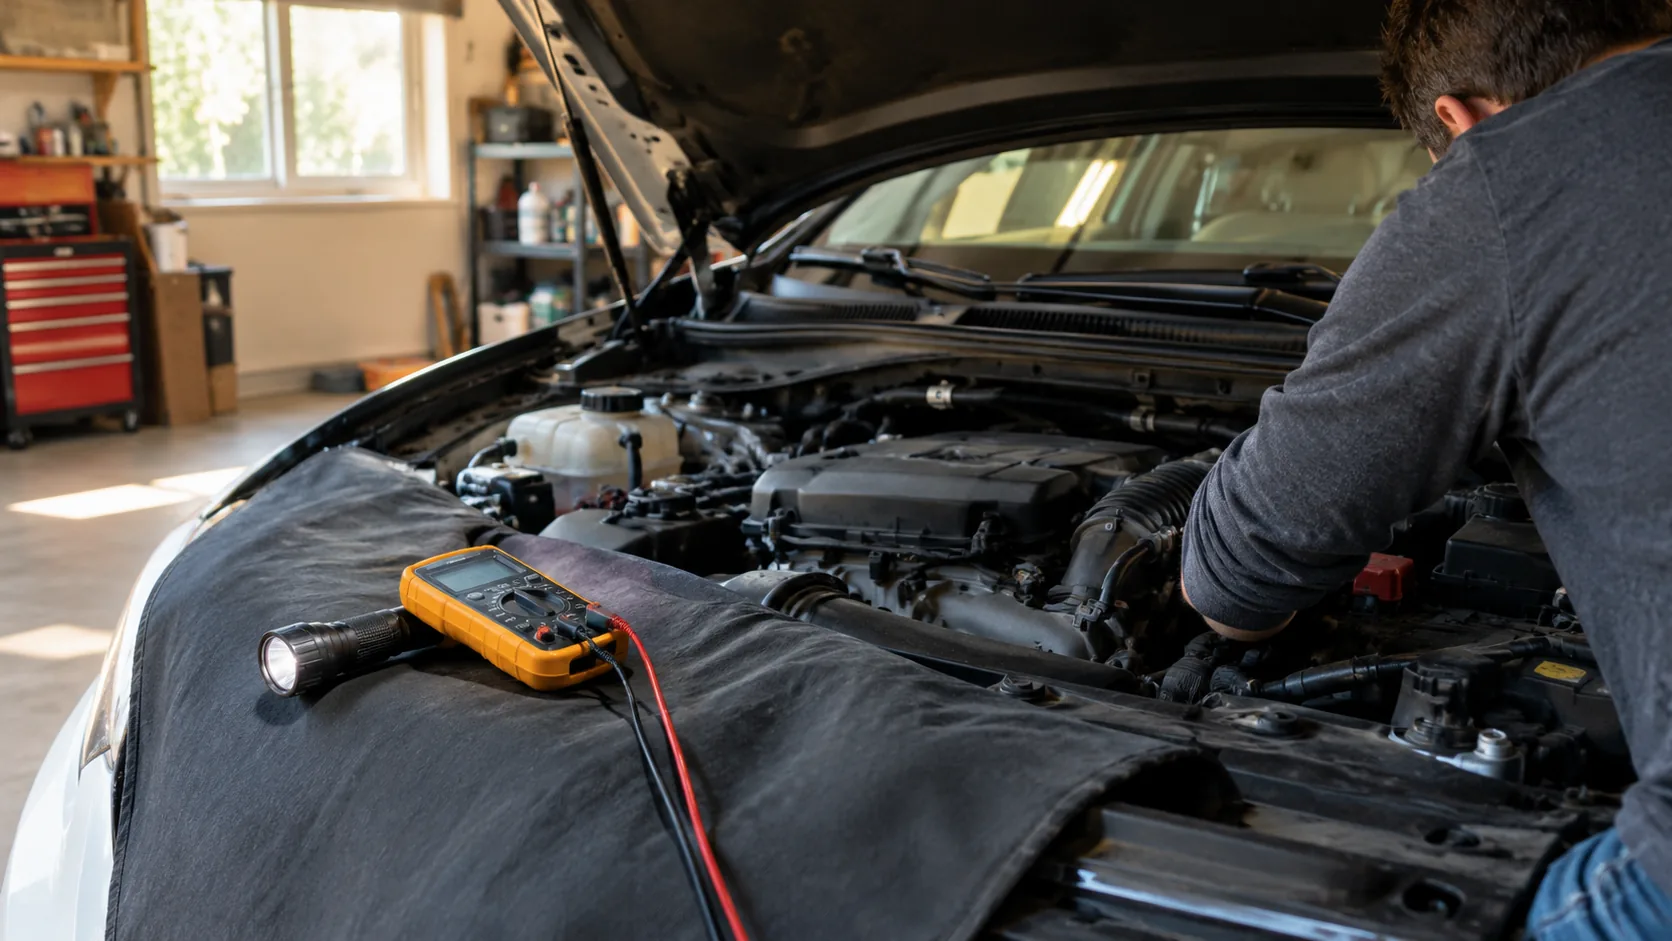
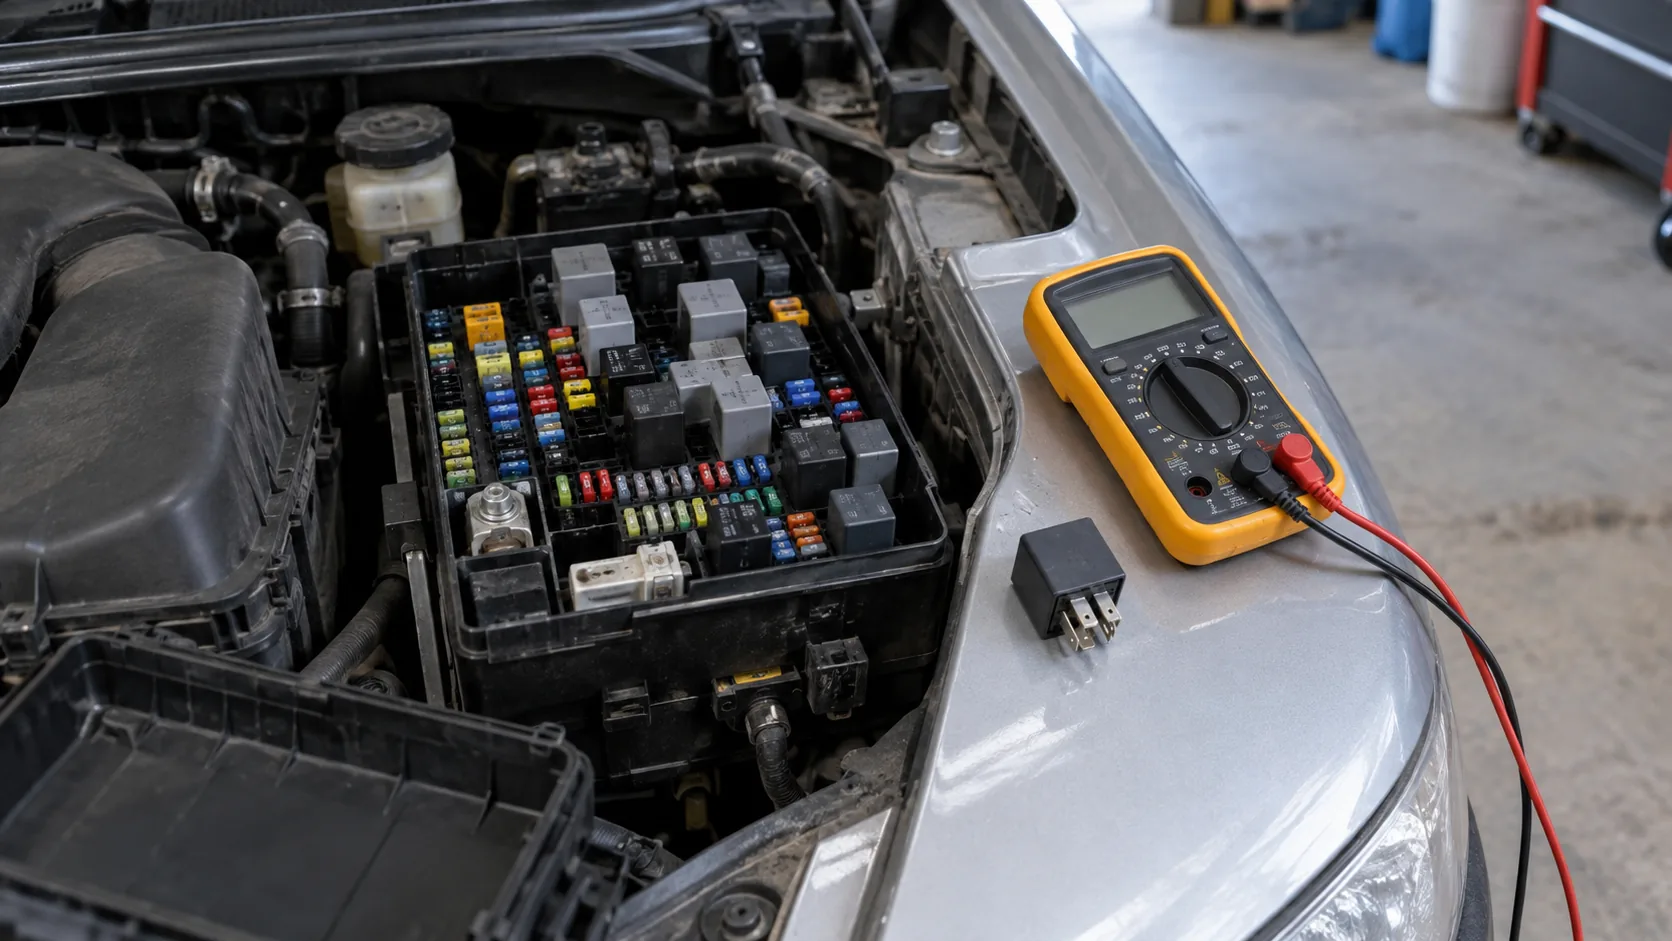
With the engine off and the battery rested, a multimeter on DC volts across the posts reads about 12.6V on a full 12V lead-acid battery. A reading near 12.4V suggests a partial charge, and a reading under about 12.0V suggests a discharged battery. Start the engine and read again: a charging system typically shows roughly 13.7V to 14.7V.
| Reading | What it points to | Next step |
|---|---|---|
| About 12.6V, engine off | Full charge | Watch for buildup returning |
| 12.0V to 12.4V, engine off | Partial or low charge | Recharge, then recheck |
| Under about 12.0V | Discharged or failing | Recharge and load check |
| Under about 13.5V, engine running | Weak charging | Have the alternator and wiring checked |
| Above about 15V, engine running | Possible overcharging | Have the charging system checked |
A load or conductance check
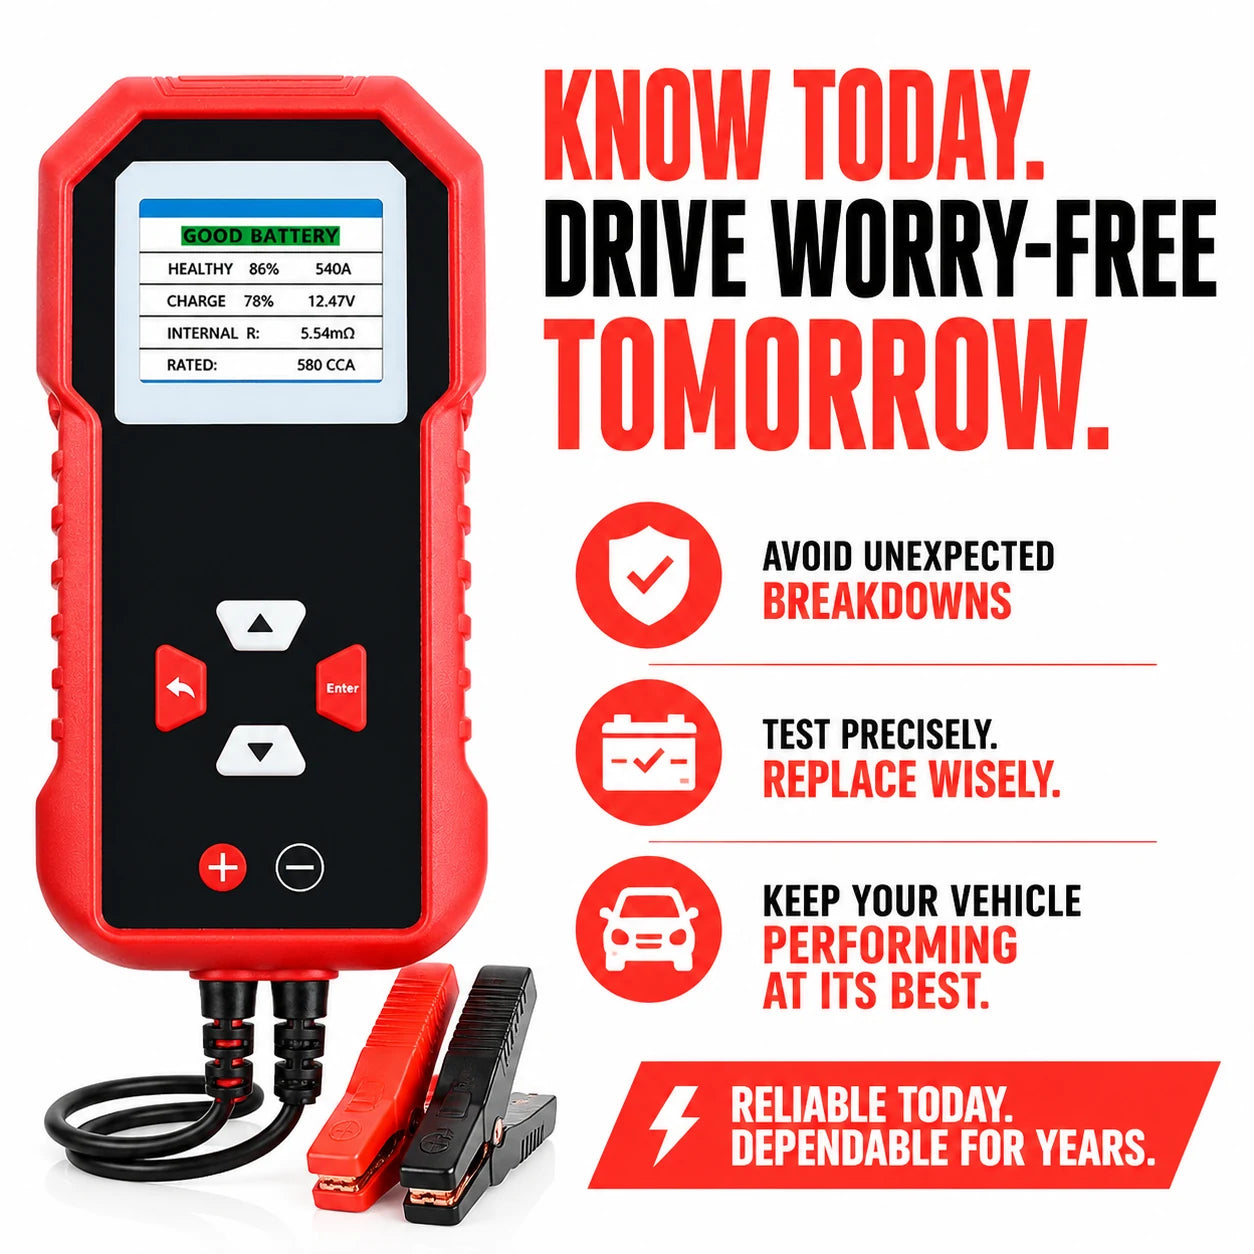
Resting voltage can look fine on a worn battery, so add a load-style check. The VoltProbe car battery tester clips copper clamps onto the 12V battery terminals with the engine off, and the battery can stay in the vehicle. You select Flooded, AGM or GEL, enter the CCA value printed on the battery label and start the test. The color LCD then shows a GOOD, CHARGE or REPLACE verdict with the health figure, CCA and an alternator and charging system result.
 In this guideVoltProbe$99.99View
Reading the result and fixing the cause
- GOOD battery and normal charging: the buildup was likely moisture and normal venting. Keep the terminals clean and coated.
- CHARGE verdict: the battery is low. Recharge it, and see how to use a battery charger for a car, step by step for the connection order.
- REPLACE verdict: corrosion is likely tied to a worn battery. Replace it, and clean the cable ends before installing the new one.
- Charging result outside the normal range: the alternator, belt or wiring needs attention from a technician.
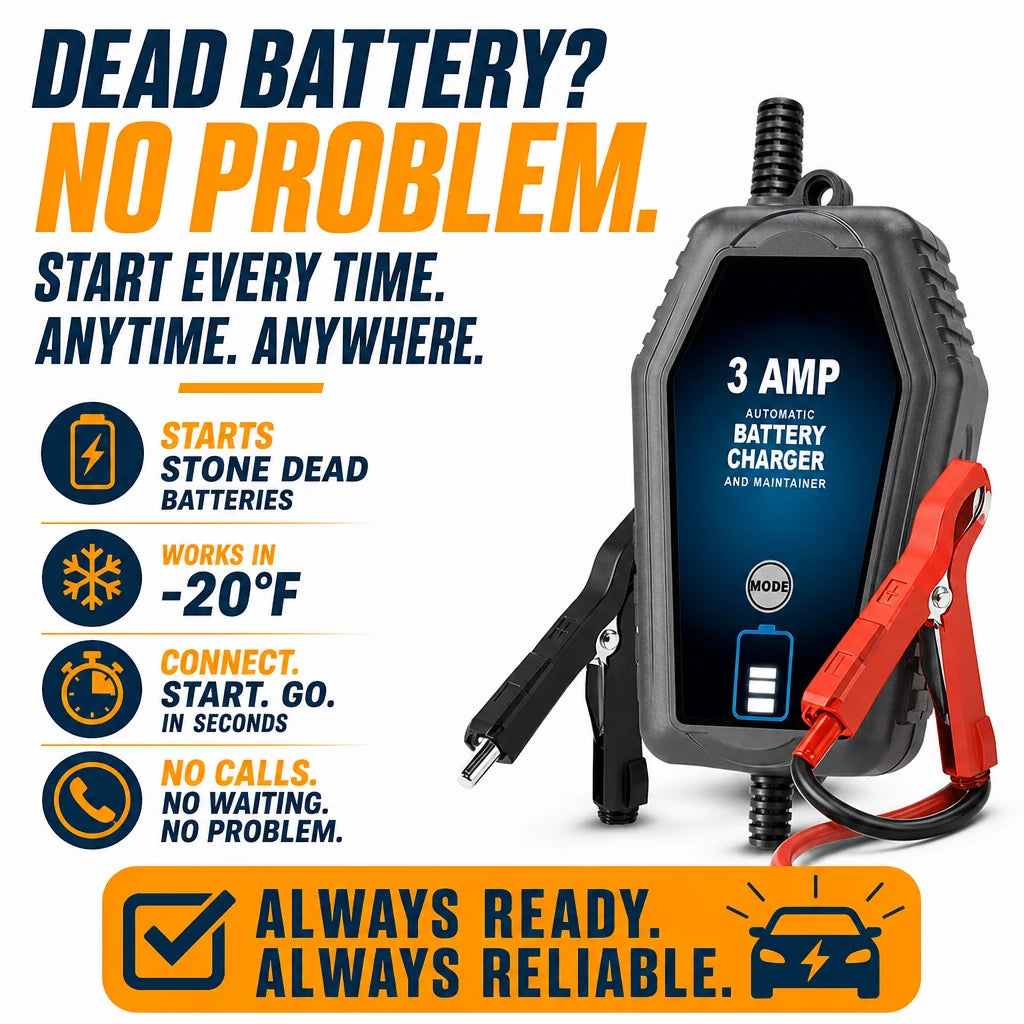
If a low battery leaves the engine unable to start, VoltCore is a portable car battery charger and jump starter with clamp connectors that have reverse polarity protection. You clip it to the battery terminals, check the indicator light, then start the engine. Follow its manual, and keep the clamps on clean metal. Our piece on what a trickle charger is explains how maintainers differ from other chargers.
 In this guideVoltCore$99.99View
Corrosion in toys, controllers, cameras and other electronics
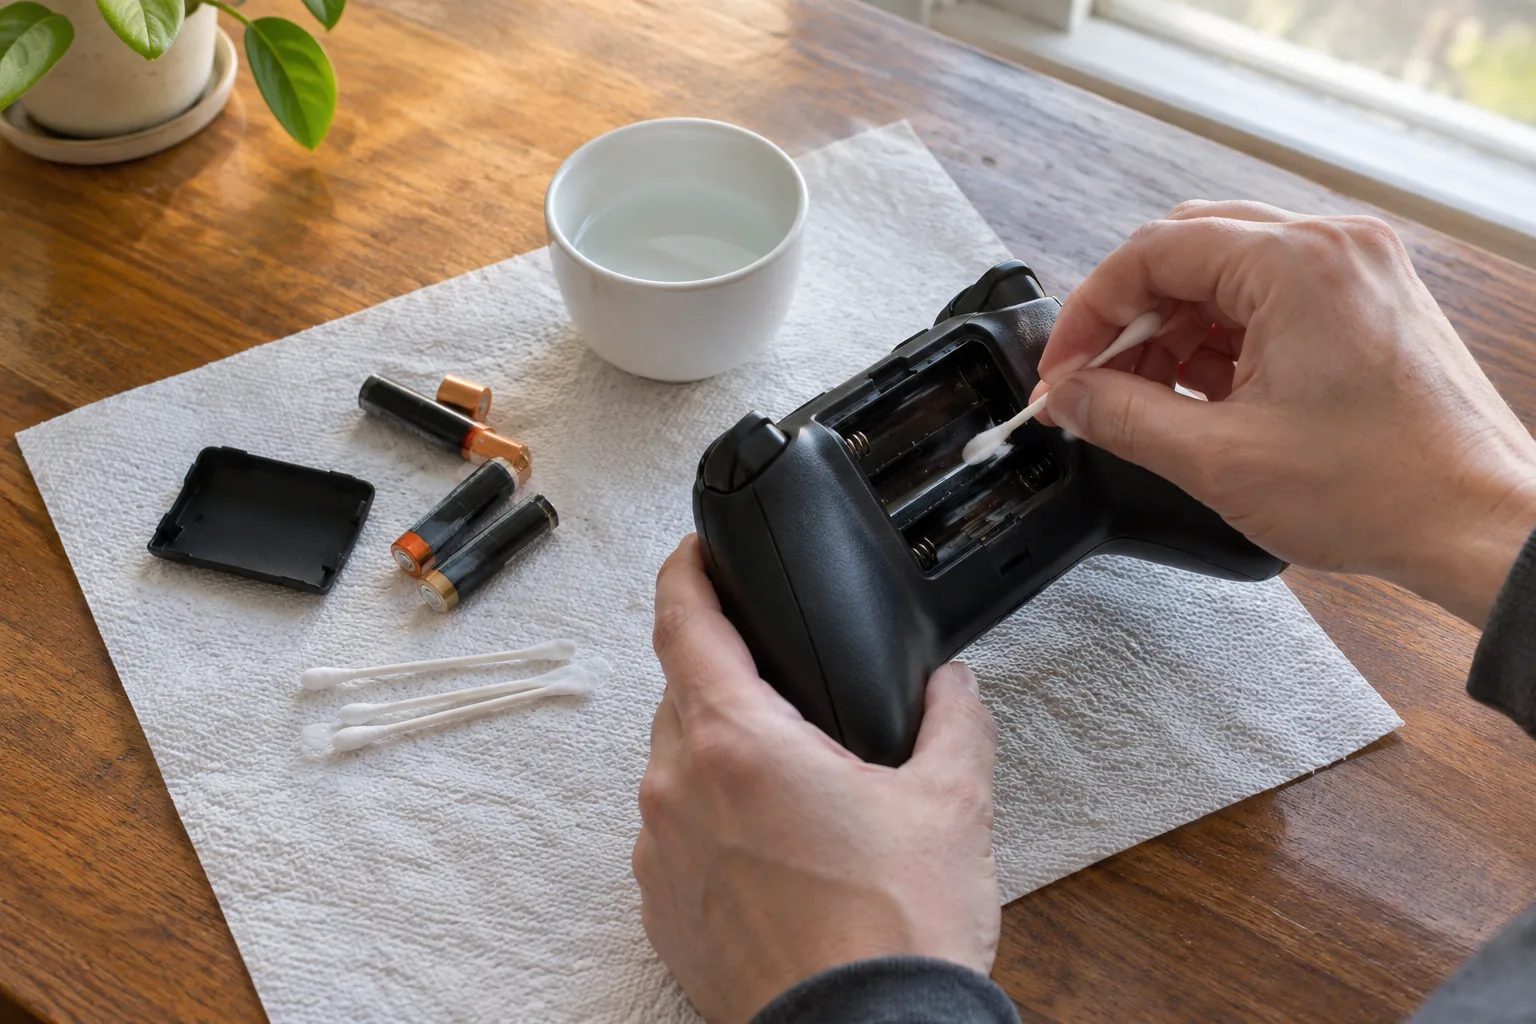
Remove the batteries first and discard leaking cells in line with local rules. Wear gloves and glasses while you handle leaked material.
- Dip a cotton swab in white vinegar, wring it nearly dry, and rub the crust off the springs and contacts of an alkaline-cell compartment.
- Use a toothpick to lift flakes from tight corners.
- Wipe with a swab of isopropyl alcohol and let the compartment air dry fully.
- Check that the metal contacts look bright and that no green or white residue has crept onto the circuit board.
Keep liquid off the board and out of the device body. Use only a lightly damp swab, and ask a repair shop if residue reaches components.
You can use the device again if the contacts are clean and bright and it powers on with fresh cells. If contacts are eaten through, loose or the board is stained, the device needs repair or replacement. For storage, take the cells out of items you will not use for a while.
Common mistakes and a care schedule
- Disconnecting the positive clamp first, which risks a wrench touching metal and sparking.
- Pouring water over the whole battery instead of wiping with a damp rag.
- Scrubbing with bare hands or without eye protection.
- Leaving the clamps loose after cleaning.
- Skipping the voltage check and cleaning only the crust.
Look at the terminals whenever you check oil, and clean them when you see powder. Check that the hold-down bracket is tight and that the cable ends are not cracked or green under the insulation. For more charging and battery gear, browse the Battery, Tire & Air Care collection.