How to Test a Starter and Starter Solenoid in the Car
Check the battery first, then run voltage-drop and solenoid tests in the car to tell a starter fault from a solenoid or wiring fault.
The Quindrel Team
November 2, 2026 · 7 min read
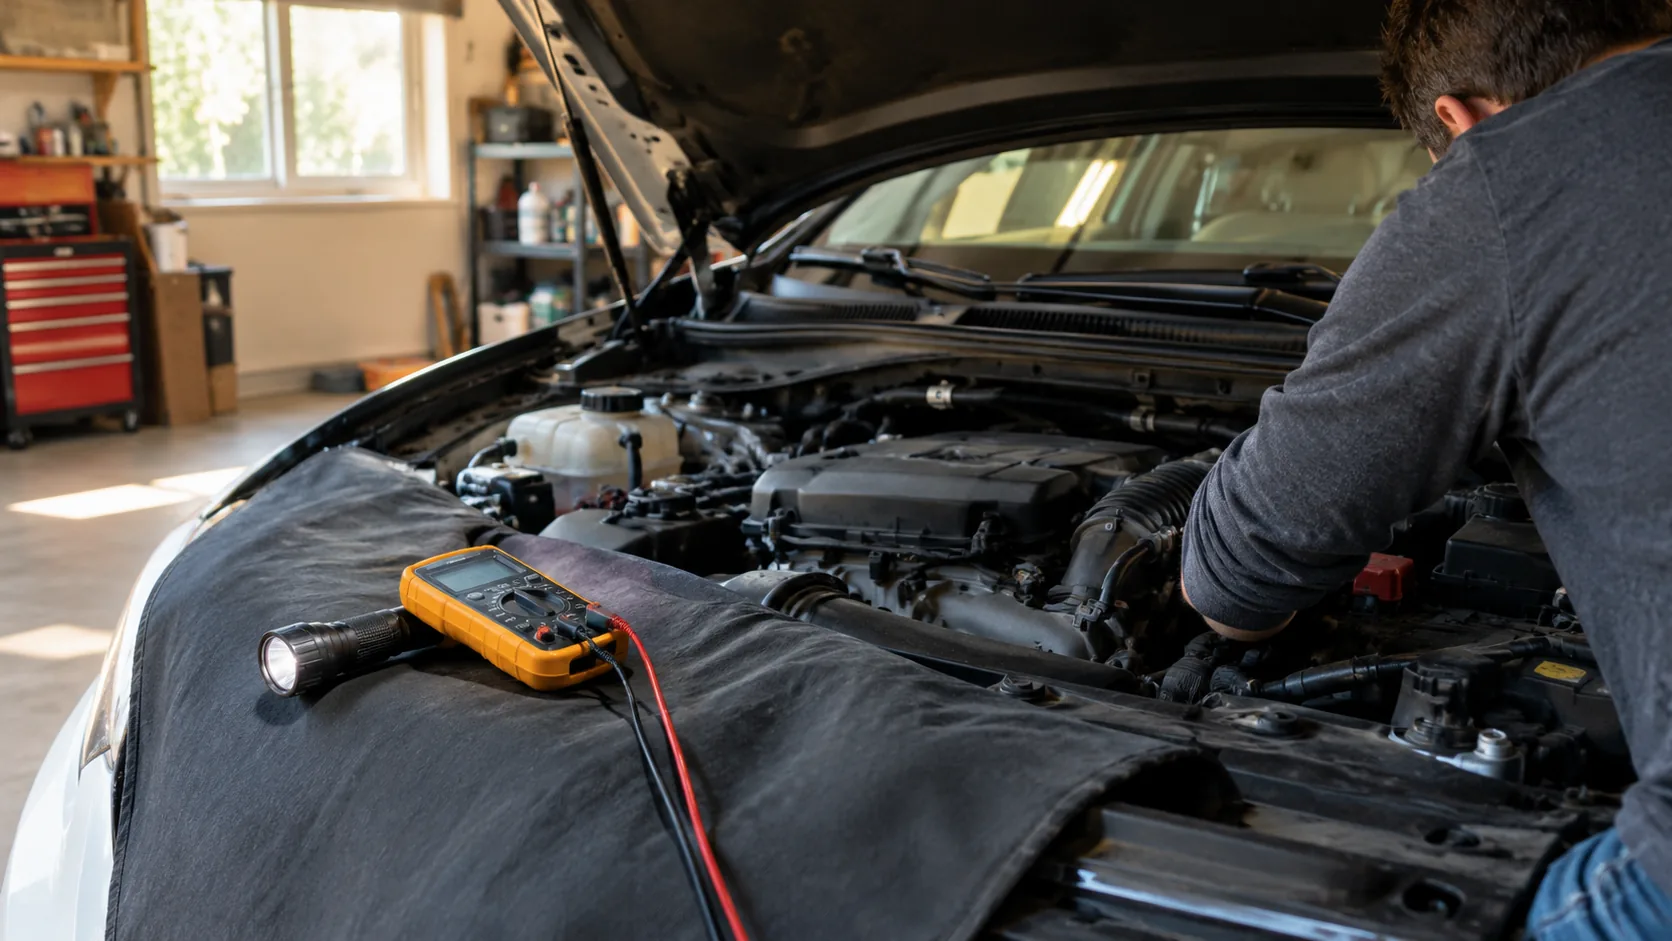
To learn how to test a starter, start with the battery, then measure voltage drop on the cables and the solenoid while someone turns the key. A charged battery with a clean click but no crank points to the solenoid or starter. A weak battery, a big voltage drop in a cable, or no click at all points elsewhere. This guide walks through those checks in the car, so you can tell a starter fault from a solenoid or wiring fault before you unbolt anything.
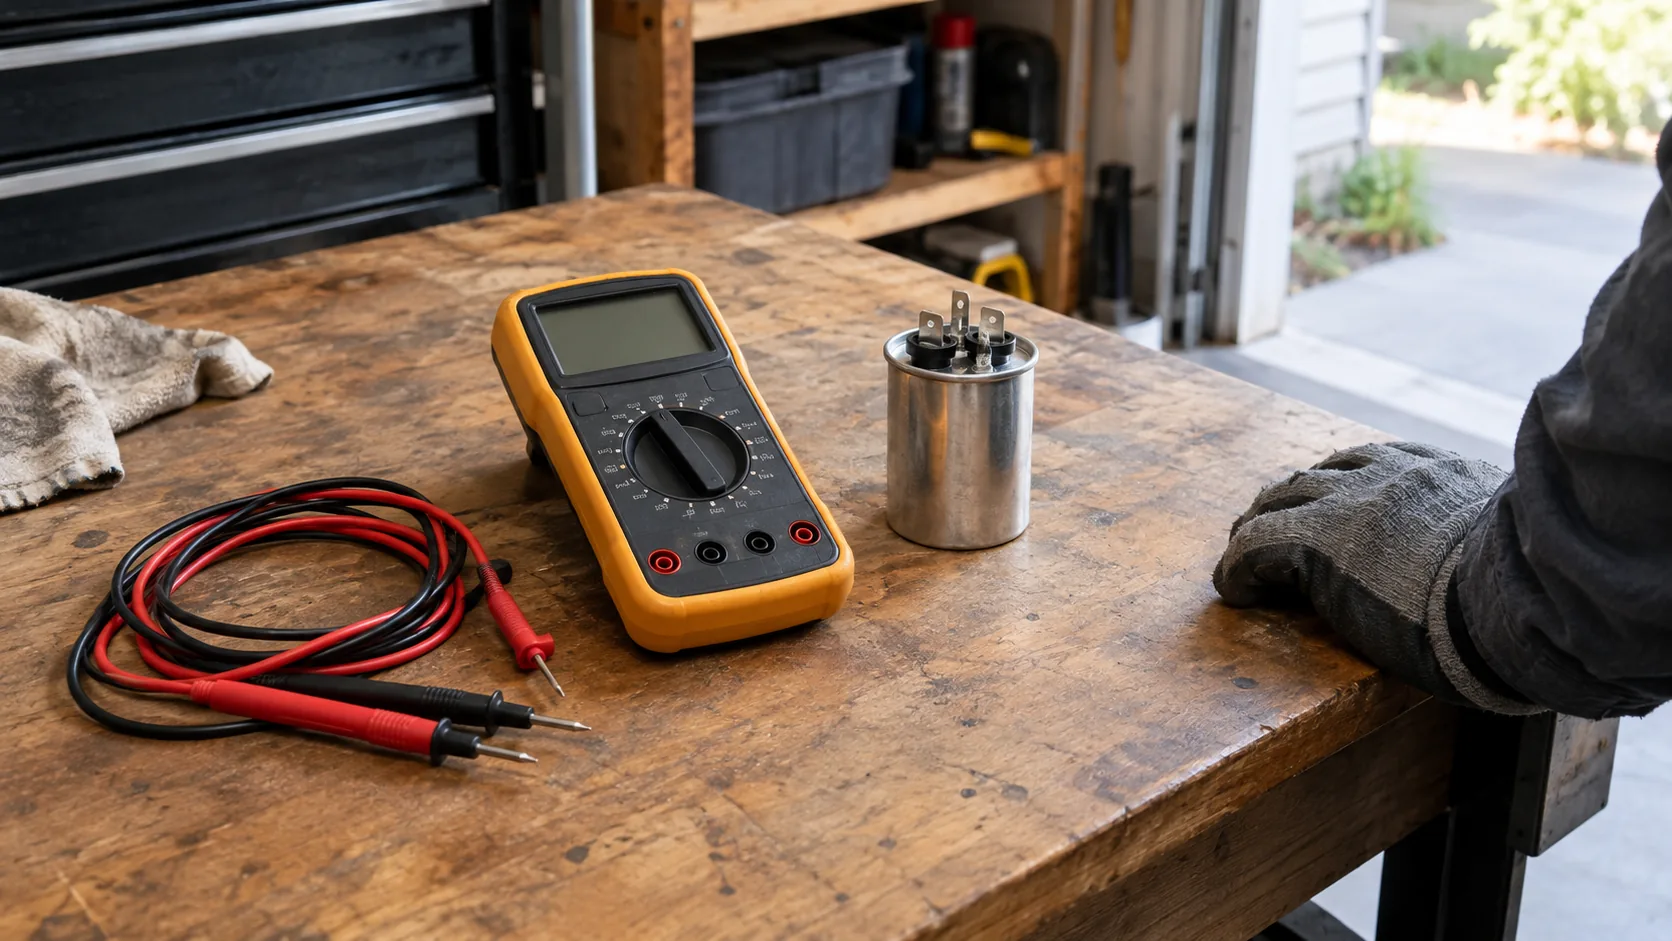
You need a digital multimeter, a helper to turn the key, and the service manual for your vehicle. Wire colors, terminal locations and voltage limits differ between models, so the manual wins over any general number here.
Rule out the battery first
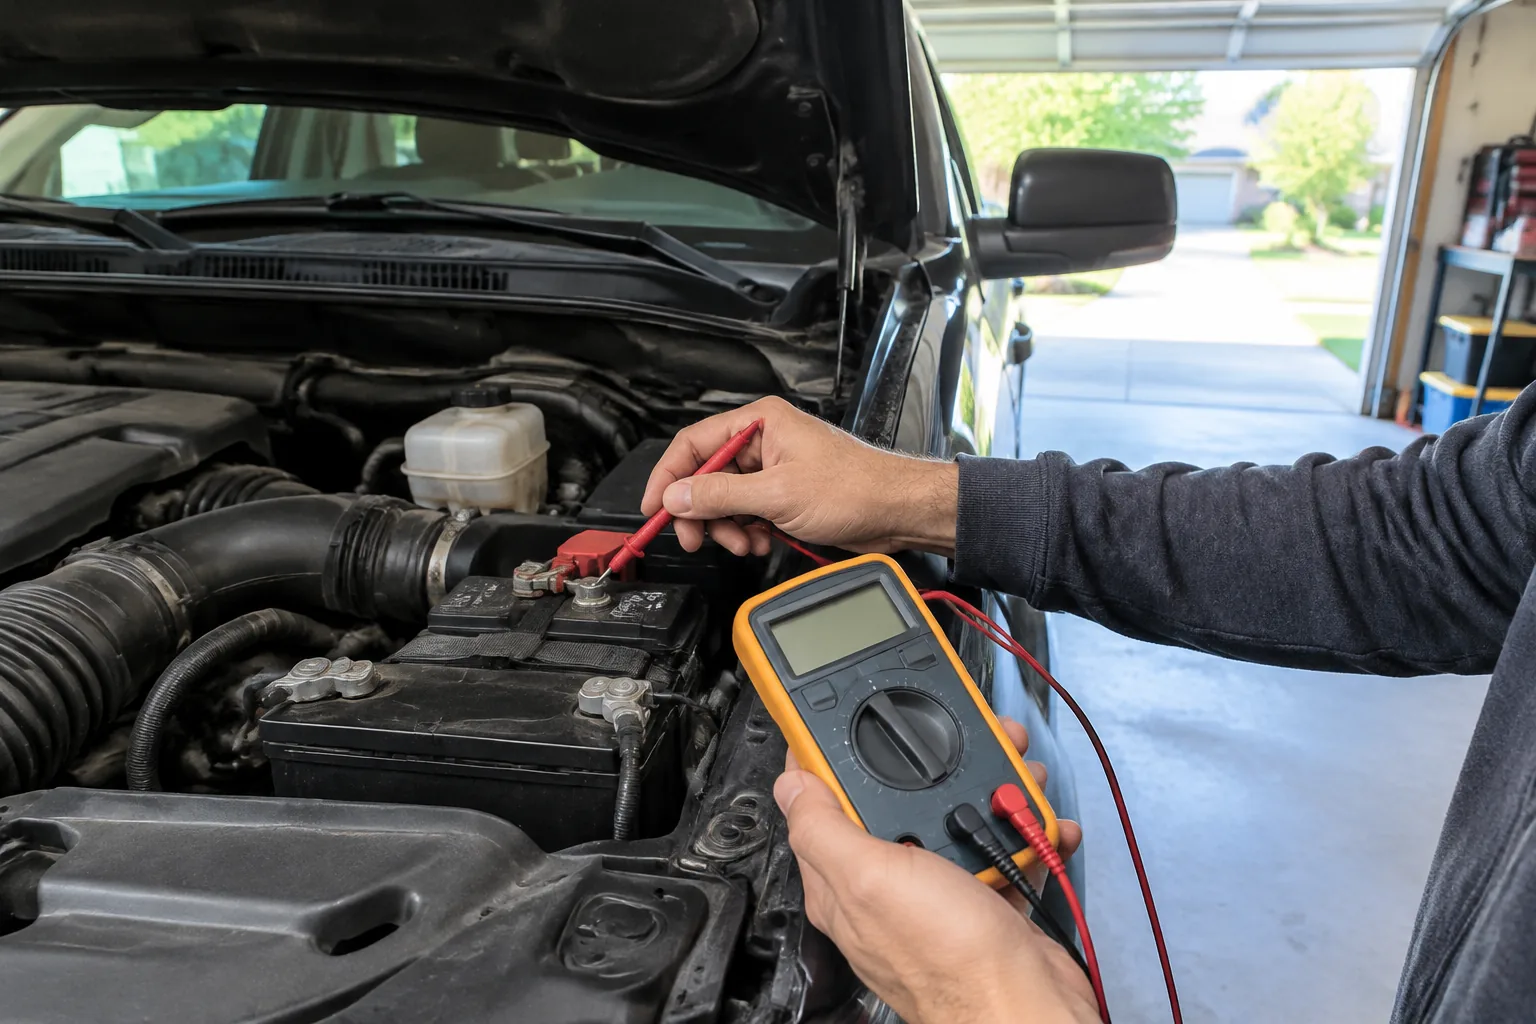
A weak battery is a frequent reason a starter seems dead, because the starter draws far more current than any other circuit. Set the multimeter to DC volts and touch the probes to the battery posts with the engine off. A fully charged 12V battery rests around 12.6 volts. A reading near 12.0 volts or lower means the battery is badly discharged and every other test will mislead you.
A voltage reading alone does not show battery condition, because a worn battery can show normal voltage and still collapse under load. A conductance tester reads that directly. The VoltProbe clips onto the terminals with the battery still in the vehicle, and you select Flooded, AGM or GEL and enter the CCA value printed on the battery label. It then shows a GOOD, CHARGE or REPLACE verdict on its color LCD, plus an alternator and charging system result.
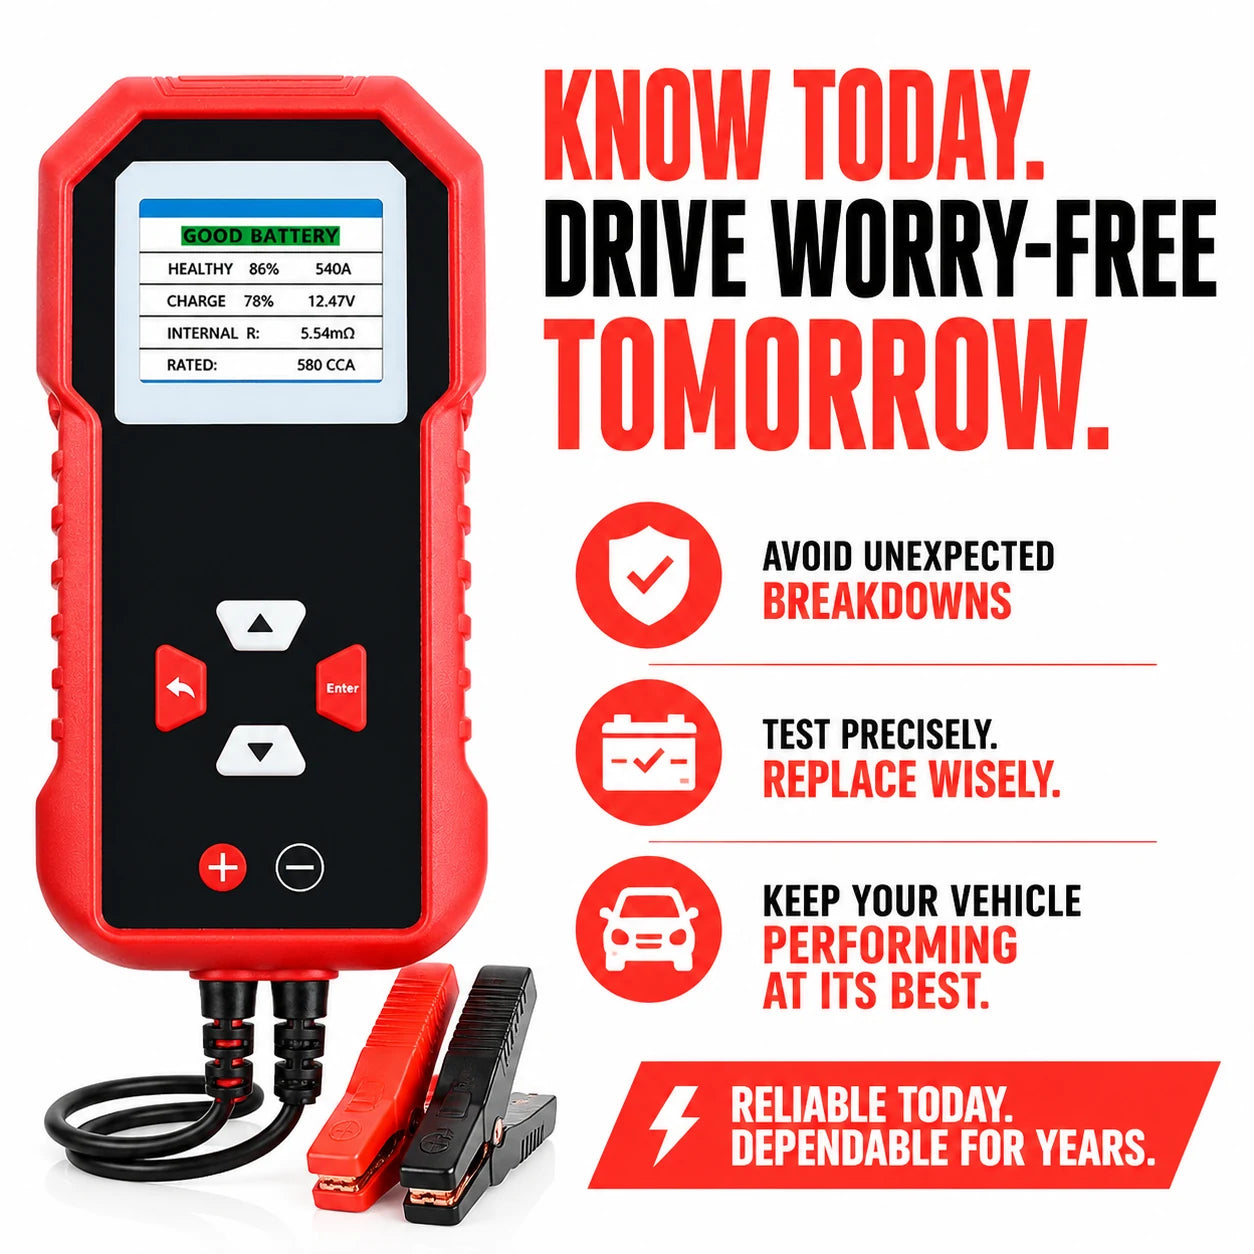 In this guideVoltProbe$99.99View
If the verdict is CHARGE, charge the battery and test again. Our guide to using a battery charger for a car covers the connection order. If it says REPLACE, replace the battery before you blame the starter.
Read the sounds before you pick up a tool
What you hear when you turn the key narrows the fault. Use this table to choose which test to run first.
| What happens | Likely cause | First check |
|---|---|---|
| Rapid clicking, dim dash lights | Low battery or poor terminal connection | Battery voltage, terminal cleanliness |
| One loud click, no crank, lights stay bright | Solenoid contacts or starter motor | Voltage at the solenoid and starter during cranking |
| No sound at all, lights bright | Starter relay, ignition switch, neutral safety switch or control wire | Voltage at the small signal terminal |
| Slow, labored crank | Weak battery, corroded cable or worn starter | Voltage drop on both cables |
| Whirring but engine does not turn | Starter drive not engaging the flywheel | Remove the starter and inspect the drive and teeth |
| Intermittent: works, then does not | Loose connection or heat-affected solenoid | Wiggle and voltage-drop test cables |
How to test a starter with a multimeter in the car
A voltage-drop test shows resistance in the circuit while current flows. It works without removing the starter. Before you start, set the parking brake, put an automatic in Park or a manual in neutral, keep hands and meter leads clear of belts and fans, and follow the manual for disabling the engine from starting if it advises that for cranking tests.
Step 1: Check voltage at the battery while cranking
- Connect the meter across the battery posts.
- Have your helper turn the key and hold it briefly.
- Watch the lowest reading. Compare it to the minimum cranking voltage in the manual.
If the voltage collapses far below the manual figure, the battery or the starter load is the problem. A starter that drags because of worn bearings or an internal fault pulls the battery down hard, so a charged battery that sags badly suggests a failing starter motor.
Step 2: Voltage drop on the positive side
Place the red probe on the battery positive post and the black probe on the large cable terminal at the starter. Crank and read the meter. A reading close to zero means the cable is carrying current well. A high reading means resistance in the positive cable, a corroded clamp or a bad connection.
Step 3: Voltage drop on the ground side
Place one probe on the battery negative post and the other on the starter housing or the engine block near it. Crank again. A high reading points to a loose or corroded ground strap. Clean and tighten the connection, then repeat the test.
Step 4: Voltage at the starter during cranking
Measure from the large starter terminal to a clean ground while cranking. If battery voltage reaches the starter but the motor turns slowly or not at all, the starter motor itself is the suspect. If voltage is missing here, the fault is upstream, in the cable or the solenoid contacts.
Field note
Measure with the circuit under load. A cable that reads fine with the key off can show a large voltage drop the moment current flows, because resistance only shows up when current passes through it.
How to test a starter solenoid
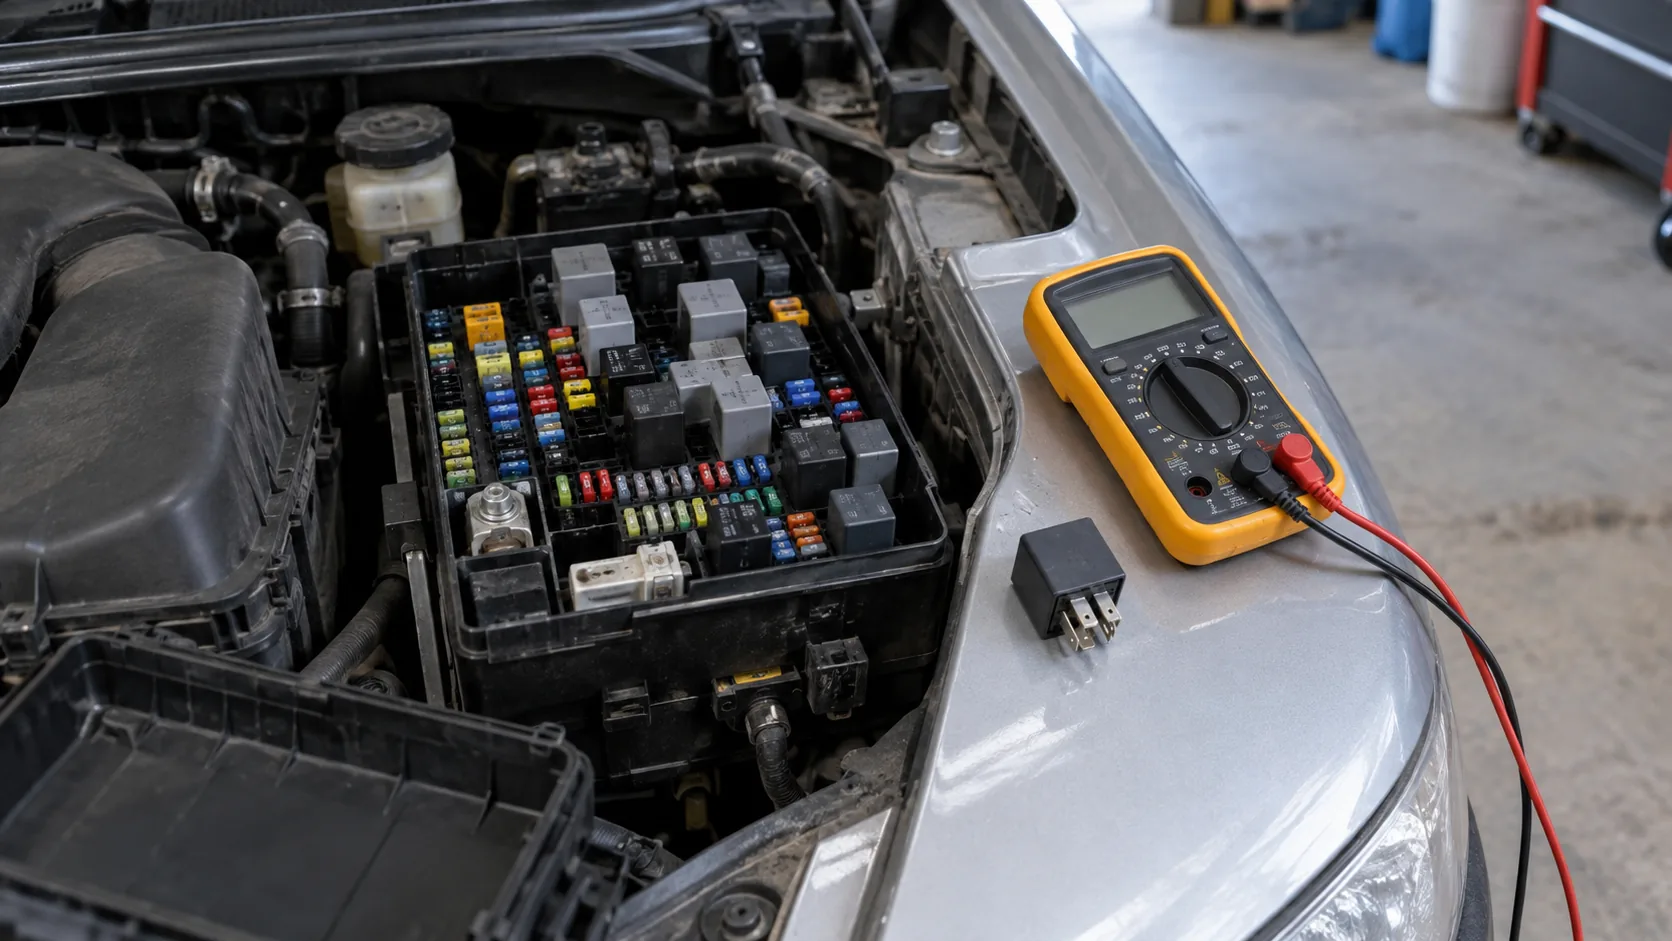
The solenoid does two jobs: it pushes the drive gear toward the flywheel and closes heavy contacts that send battery current to the motor. On many vehicles it is mounted on the starter; others use a separate remote solenoid or relay. Check your manual to see which you have. Our guide on how to test a relay helps if your car uses a separate starter relay.
Check the control signal
Find the small signal terminal on the solenoid. Connect the meter to it and to ground, then have your helper turn the key to start. You should see close to battery voltage. No voltage here means the problem is before the solenoid: ignition switch, relay, neutral safety switch, clutch switch or wiring.
Check the output side
With signal voltage present, measure from the large terminal that leads to the motor to ground while the key is held at start. If the input large terminal shows battery voltage but the motor-side terminal does not, the internal contacts are not closing. That is a failed solenoid. If both show voltage and the starter still does not turn, the motor is the likely fault.
Solenoid or starter: how to tell
| Finding | Points to |
|---|---|
| No signal voltage at the small terminal | Wiring, relay or switch |
| Signal present, click, no voltage on motor side | Solenoid contacts |
| Voltage on both large terminals, motor does not turn | Starter motor |
| Voltage drops high on a cable | Cable or connection |

Other ways to test a starter without removing it
Test light
A test light on the small signal terminal shows whether the key is sending power at start. It confirms voltage is present but gives no number, so use a multimeter to judge voltage drop.
Jumper or screwdriver at the solenoid
Some mechanics bridge the large battery terminal to the small signal terminal to trigger the solenoid directly. This makes sparks and can turn the engine without warning if the vehicle is in gear. Follow the manual, keep the transmission in Park or neutral, and ask a professional if you are unsure.
Bench testing
A bench test runs a removed starter from a known-good battery. Some parts stores offer this for a removed starter, so call ahead. Disconnect the negative battery cable before you remove any starter wiring, and support the starter on the bench so it cannot twist when powered.
What can be mistaken for a bad starter
- A discharged or worn battery, including a failing alternator that did not recharge it.
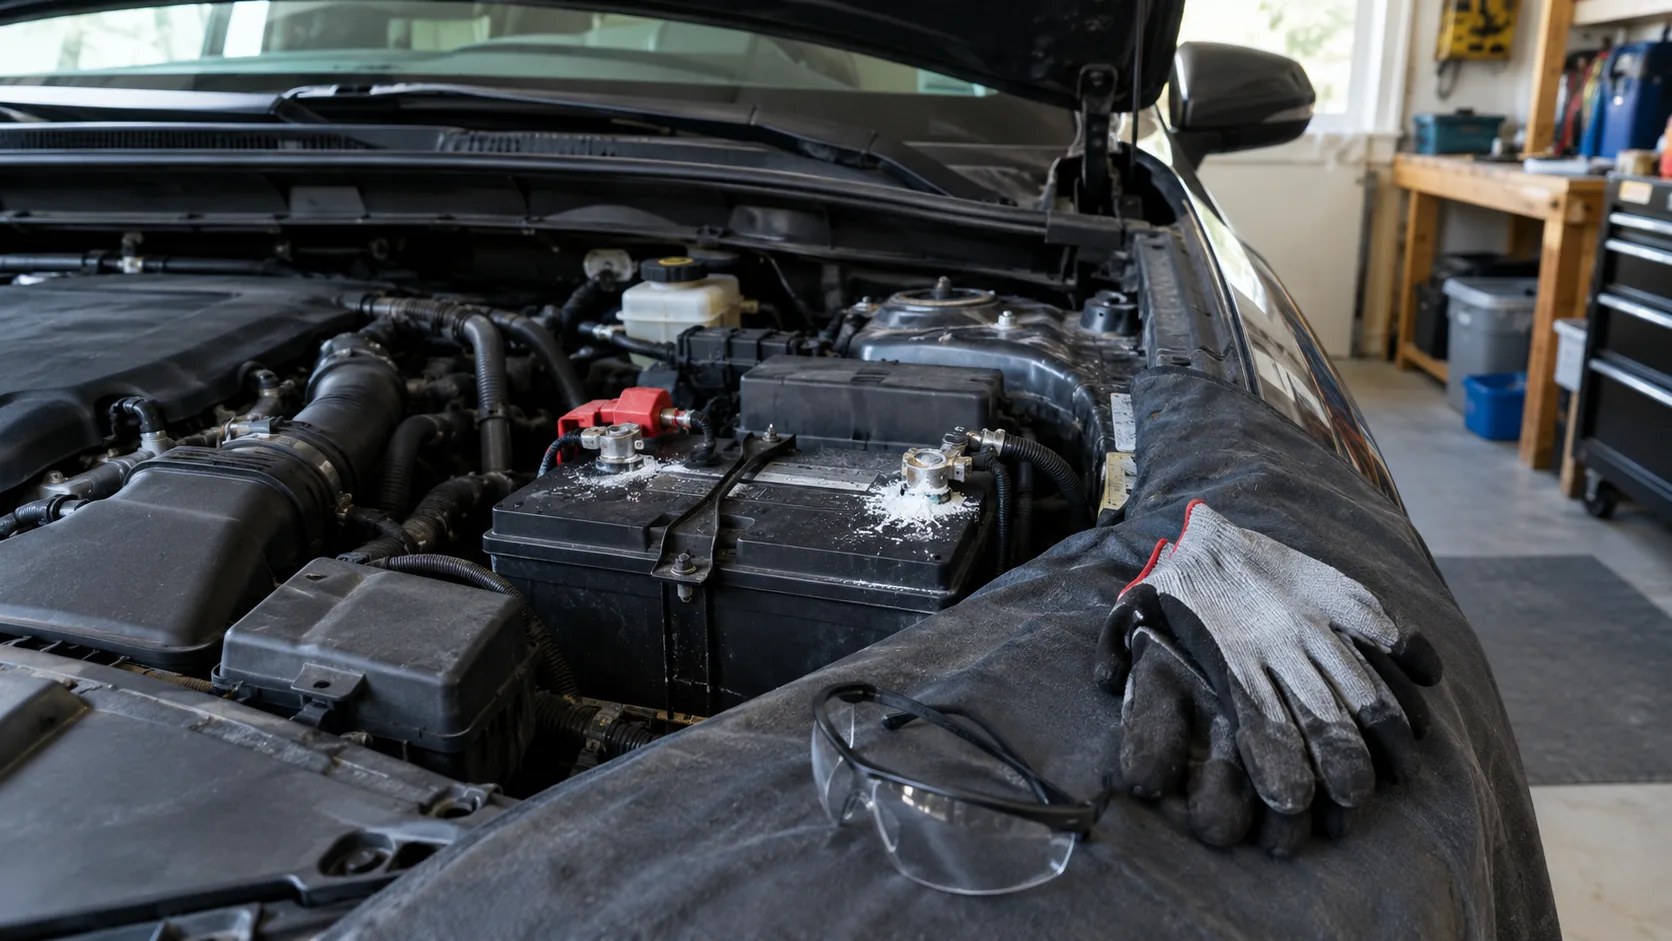
- Loose, corroded or swollen battery terminals.
- A worn ground strap between engine and body.
- A faulty starter relay, ignition switch or neutral safety switch.
- A clutch switch that does not signal in a manual car.
- Seized engine components or a hydraulic lock, which stop the engine from turning even with a working starter.
The VoltProbe's alternator and charging system result is useful for the first item on the list: a battery that keeps going flat. For general voltage readings, see how to use a digital voltage meter, and browse the electrical and signal testers if you need a meter for the checks above.
Starter testing checklist
- Measure resting battery voltage and run a battery test.
- Clean and tighten both battery terminals.
- Listen: rapid clicks, single click, silence or whirring.
- Measure battery voltage while cranking.
- Run voltage-drop tests on the positive and ground sides.
- Check for signal voltage at the small solenoid terminal.
- Compare voltage on the input and motor-side large terminals.
- Remove the starter only when the circuit checks point to it.
Work through the steps in that order. Each one rules out a cheaper, closer part before you buy a starter, and the readings you write down give a parts counter or a technician something concrete to work from.