How to Patch a Hole in Drywall, From Nail Pops to Large Holes
Match the repair to the hole: spackle for small dents, a mesh patch for holes of about 6 inches or less, a cut-in backer for larger holes. Scan for studs and wires first.
The Quindrel Team
November 10, 2026 · 7 min read
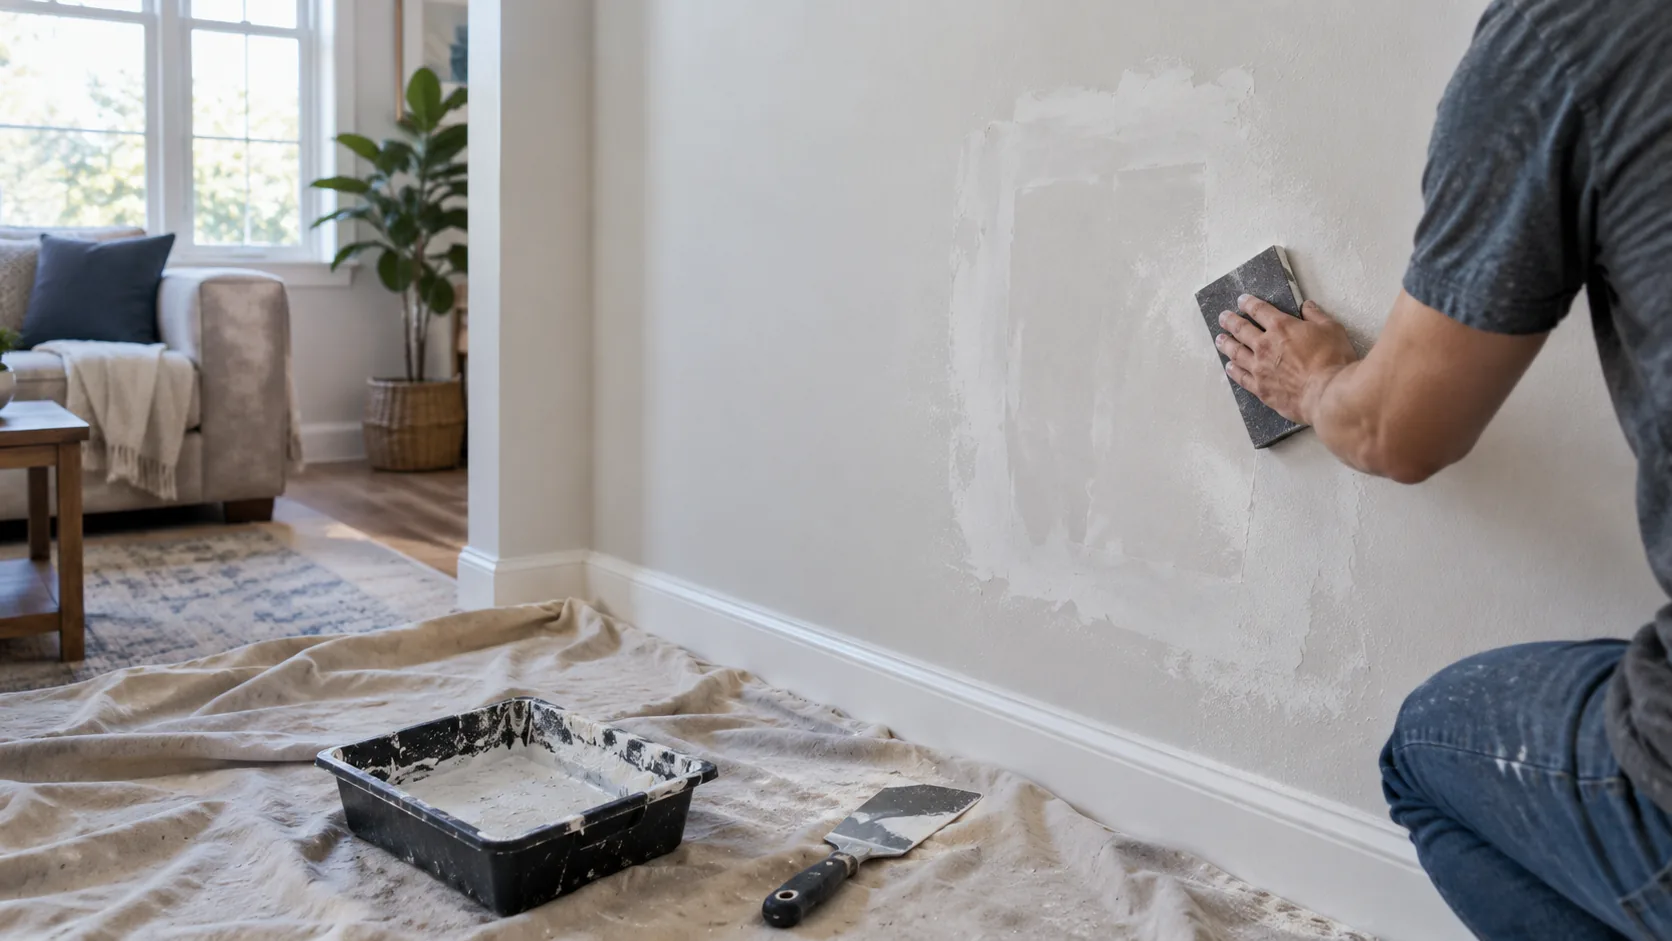
To learn how to patch a hole in drywall, start with the size of the hole. Nail holes and dents take spackle, holes from 1/2 inch to about 6 inches take a self-adhesive mesh patch, and anything larger needs a cut-in backer with a new piece of drywall. Before you cut anything, check behind the wall for studs, wires and pipes.
This guide follows that order: pick the method, scan the wall, then patch, sand and paint. It also covers ceilings, a simple materials list and the mistakes that leave a patch visible.
How to patch a hole in drywall: pick the method by size
Measure the hole at its widest point, including any cracked paper around the edge. Then use the table to choose a repair.
| Damage | Size | Method | Main materials |
|---|---|---|---|
| Nail pop, screw pop, nail hole, small dent | About 1/2 inch or smaller | Spackle or lightweight joint compound | Putty knife, fine grit sanding sponge |
| Doorknob hole, anchor hole | 1/2 inch to about 6 inches | Self-adhesive mesh patch, then compound | Mesh patch, 6-inch knife, joint compound |
| Large hole | Over about 6 inches | Cut-in backer and new drywall piece | Drywall scrap, backer strips or scrap wood, screws, fiber mesh tape |
| Hole spanning studs | Wider than the stud gap | Cut to stud centers and screw in a new piece | Drywall saw, screws, mesh tape, compound |
If you are unsure which row fits, choose the larger method. A patch with solid support behind it gives the compound a firm base for sanding and painting.
Check for studs and wires before you cut
Drywall hides framing, electrical cable, plumbing and sometimes ducts. Cutting a square opening into one of those is a costly mistake in this job, so scan first, especially near outlets, switches, bathrooms and kitchens.
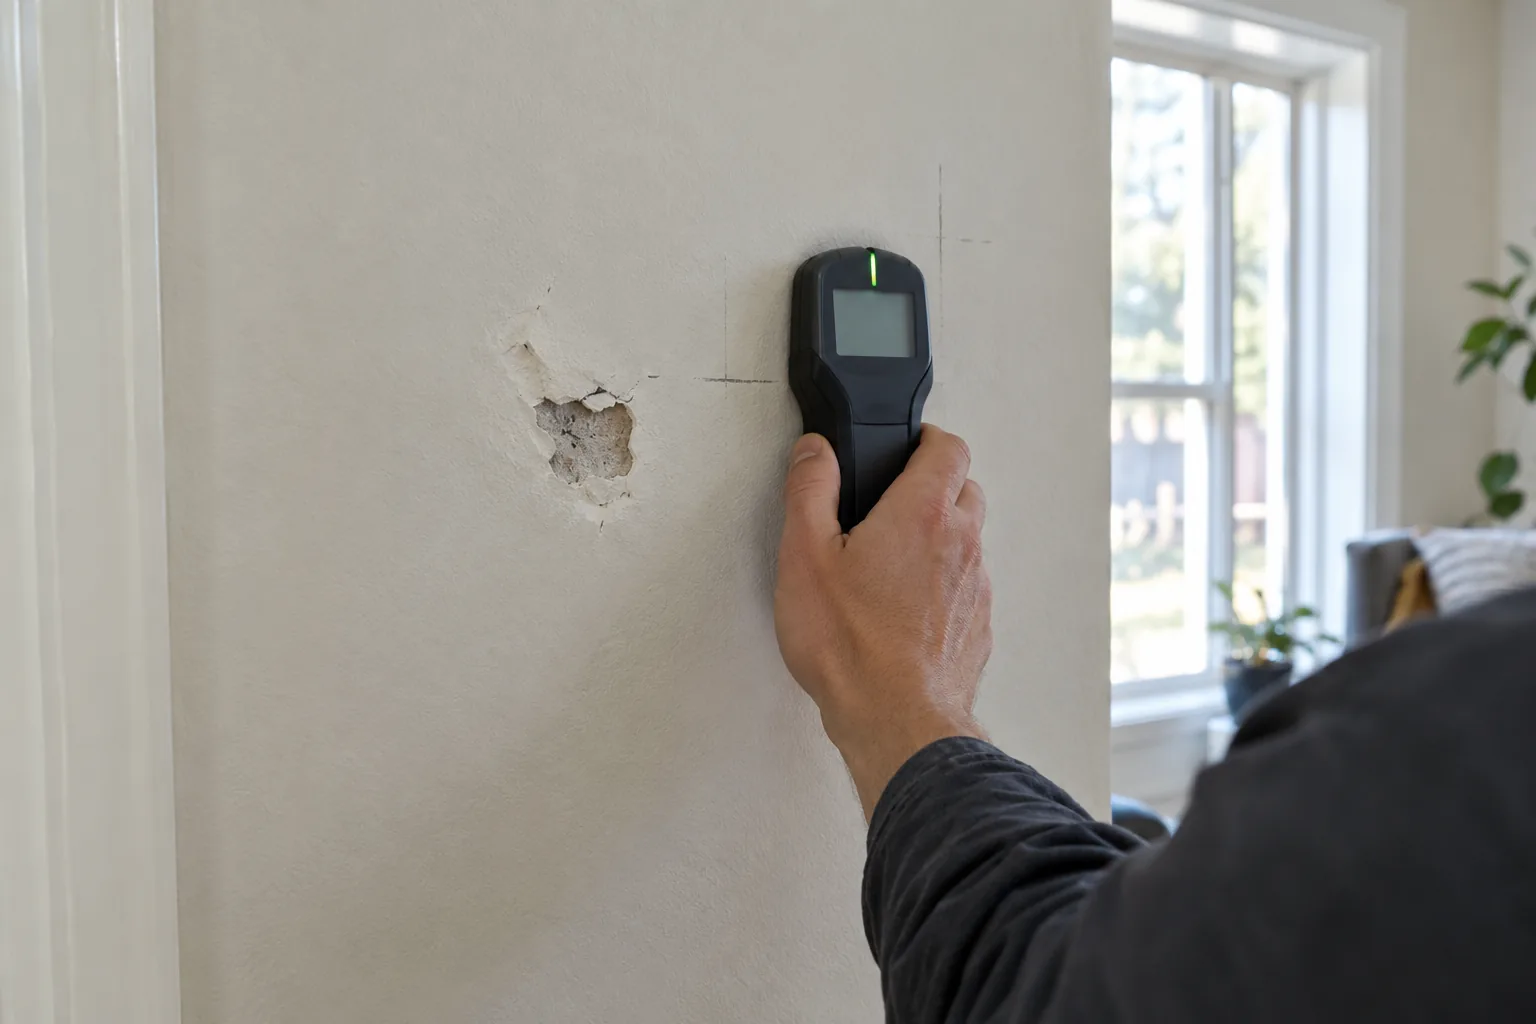
- Scan with the power still on, because an AC wire mode can only alert on live wiring. Cover an area a few inches wider than the hole on every side, using each mode your tool offers (wood, metal and AC), and follow its manual.
- Mark the edges of any stud, and mark every spot where the tool alerts for metal or live wiring.
- Turn off power to the room at the breaker panel before you cut, especially if the hole is near an outlet or switch.
- If you find wiring or pipes in the cut zone, do not cut. Plan a smaller patch or ask an electrician or plumber. If you are in doubt, do not cut.
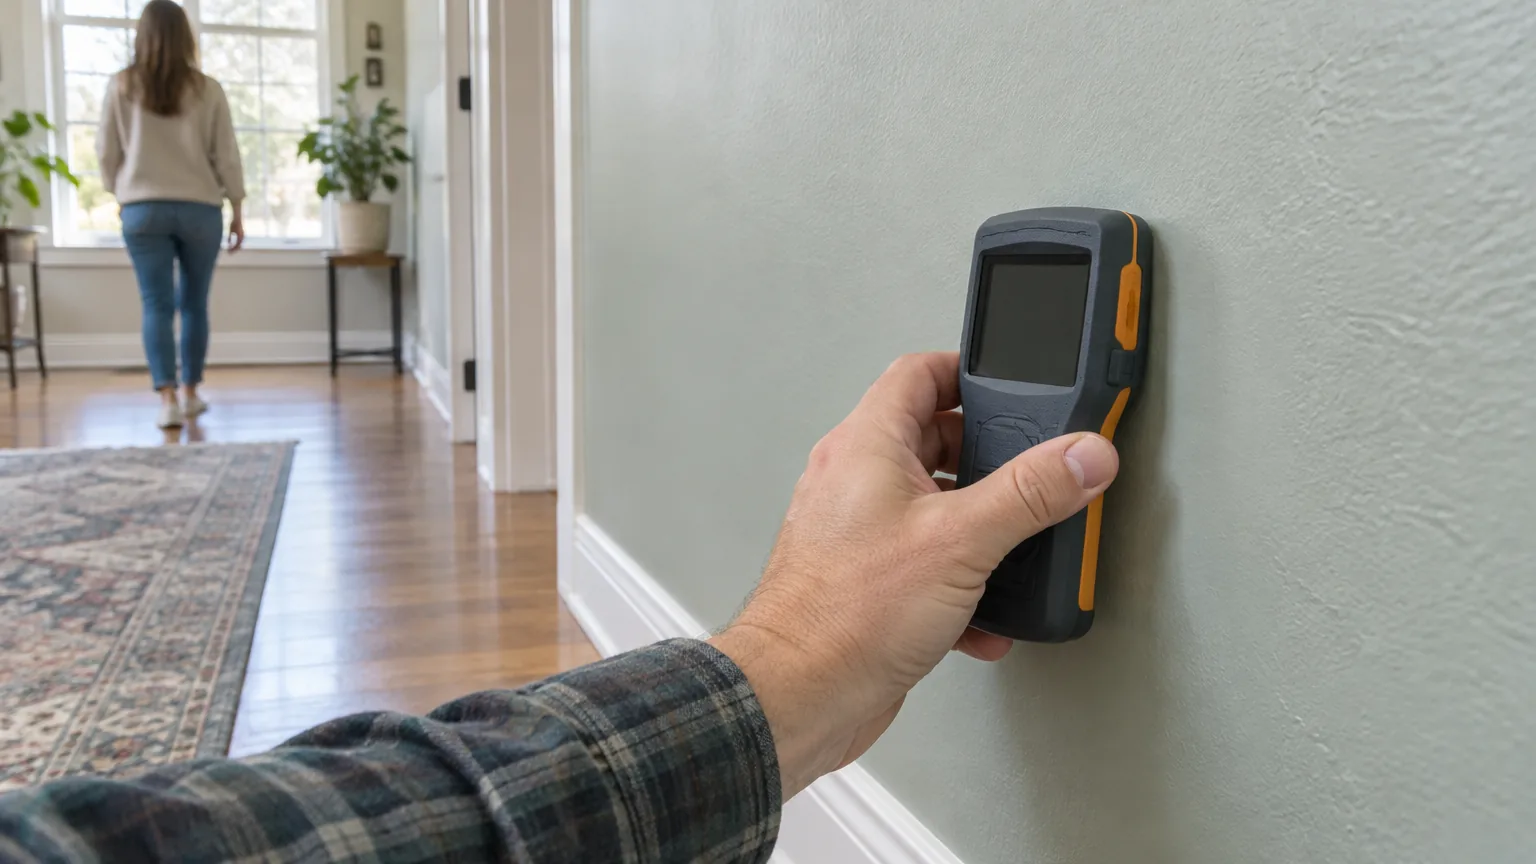
A scan with no alert does not prove the wall is clear, so cut shallow and slowly even then. A stud finder with separate modes covers wood, metal and wiring in one tool. The SensiWall Pro has Exact, Deep, Metals and AC modes, and a backlit display that shows mode, depth and signal strength. You slide it slowly across the wall and mark where the display shows center. It also gives audible and visual alerts when it senses live wiring or metal. Take any alert as a reason to stop and check, and use Deep mode on thicker walls.
 In this guideSensiWall Pro$79.99View
Gather materials and choose a compound
Repairs call for a putty knife, a 6-inch and a 10-inch taping knife, a sanding sponge in fine grit, a utility knife, a drywall saw for larger cuts, primer and paint. For medium and large holes, add a mesh patch or fiber mesh tape, a drywall scrap, and screws.
Joint compound vs. spackle
Spackle suits nail holes and shallow dents because it fills a small area in one pass. Joint compound suits larger patches, seams and tape because you can spread it thin and build it in coats. Lightweight all-purpose compound works for wall repairs; check the label for dry time and recoat guidance.
Fix small holes, nail pops and dents
This is how to fix a hole in the wall when it is no wider than a nail head or a small anchor.
- Scrape away loose paint and paper with the putty knife. For a nail pop, drive the nail or screw back below the surface, or pull it and set a new screw nearby into the stud.
- Press spackle into the hole with the knife held at a shallow angle, and leave it slightly proud of the wall.
- Let it dry for the time on the label. Deep holes may need a second coat.
- Sand with the fine grit sponge until the patch is flush, then wipe off the dust.
- Prime the spot, then paint.
For a dent with intact paper, skip step one and fill it directly. If the paper is torn and fuzzy, seal it with primer before the compound goes on.
Repair medium holes with a mesh patch
For a doorknob dent or a hole of about 6 inches or less, a self-adhesive mesh patch works without cutting a new piece of drywall. Use these steps to repair a hole in drywall of that size.
- Trim ragged edges with the utility knife and brush away crumbs.
- Center the patch over the hole and press it flat so the adhesive grips the wall.
- Spread a thin coat of joint compound over the mesh with the 6-inch knife, pressing it through the weave and extending a few inches beyond the patch edges.
- Let the coat dry as the label directs, then scrape off ridges.
- Apply a second coat with the 10-inch knife, feathering the edges wider than the first.
- Add a third thin coat if you can still see the mesh or edge. Sand lightly, prime and paint.
Keep every coat thin. A heavy coat cracks as it dries and leaves ridges to sand.
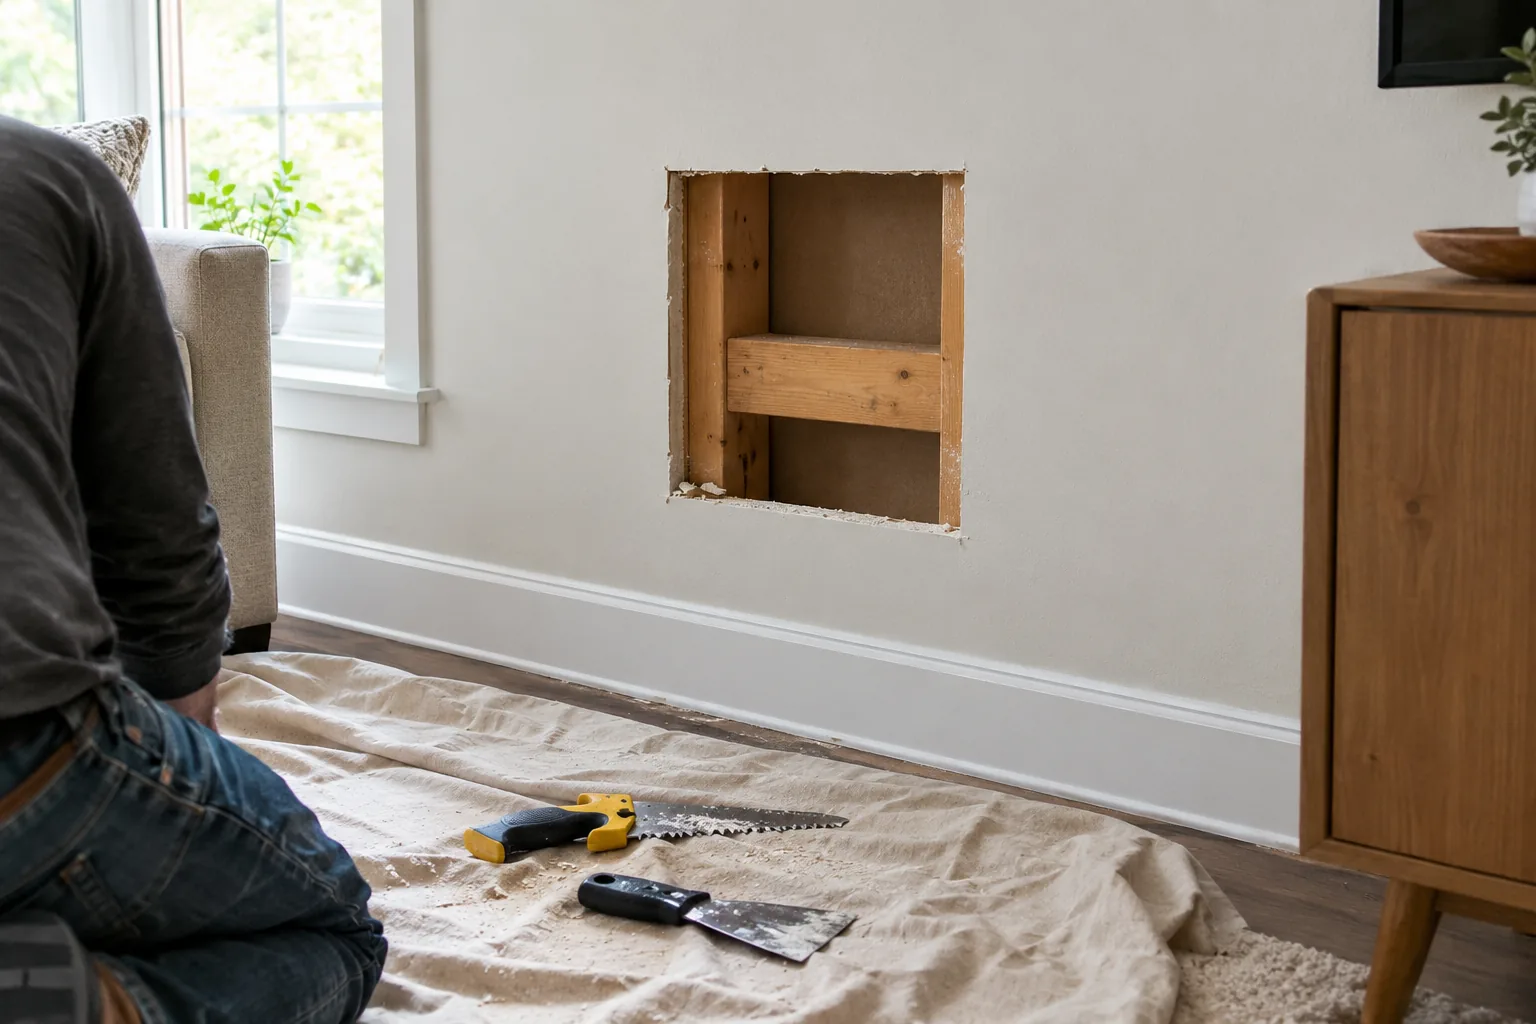
How to patch a large hole in drywall with a backer
When the hole is bigger than about 6 inches, a mesh patch has too little support. Cut the opening to a clean shape, add a backer behind it, and fill it with a new piece of drywall.
Cut the opening
- Confirm the marks from your scan, then turn off power at the breaker before cutting near outlets or switches.
- Draw a square or rectangle around the damage with a pencil and level.
- Score the lines with the utility knife, then cut through with a drywall saw, going slowly and keeping the blade shallow in case of hidden cable.
Install the backer and patch
- Cut two or more backer strips from scrap wood or furring, each a few inches longer than the opening.
- Slide a strip behind the top edge and one behind the bottom, and hold them in place with screws driven through the wall surface. Where the opening reaches a stud, screw into the stud itself.
- Cut a drywall piece to fit the opening with a small gap on each side, and screw it to the backers. Keep screw heads just below the surface.
- Cover every seam with fiber mesh tape.
- Spread a first coat of joint compound over the tape and screw heads. Let it dry as the label directs.
- Apply two more coats, each wider than the last, then sand with fine grit and prime.
If the hole spans a stud, extend the cut to the stud center so the new piece has framing to screw into on each side.
Ceilings, finishing and common mistakes
The steps are the same on a ceiling, but gravity changes the handling. Screw the new piece to a backer or joist rather than relying on adhesive alone, wear safety glasses against falling dust, and apply thin coats. A work light held at a low angle shows ridges that flat light hides.
Common mistakes
- Cutting before scanning for wires, pipes and studs.
- Applying one thick coat of compound instead of thin coats.
- Sanding before the compound is dry, which tears it.
- Skipping primer, so the patch absorbs paint differently from the wall.
- Stopping the compound at the patch edge instead of feathering it past.
Wear a dust mask when sanding and wipe the surface before priming. Patching dents and holes is also a useful step before a showing or walkthrough; the DIY pre-inspection checklist lists other items to check. For more scanning and measuring gear, browse the Precision Measuring & Detection Tools collection.
Field note
Mark the stud edges and any wire alerts in pencil on the wall before you pick up the knife. A visible map guides the saw cut, the backer screws and later picture-hanging.