
Video Borescopes: How They Work and How to Use One on a Car
Video borescopes put a camera on a slim probe so you can see inside engines, cylinders and panels. Learn the specs that matter and the steps for a car inspection.
The Quindrel Team
November 19, 2026 · 7 min read
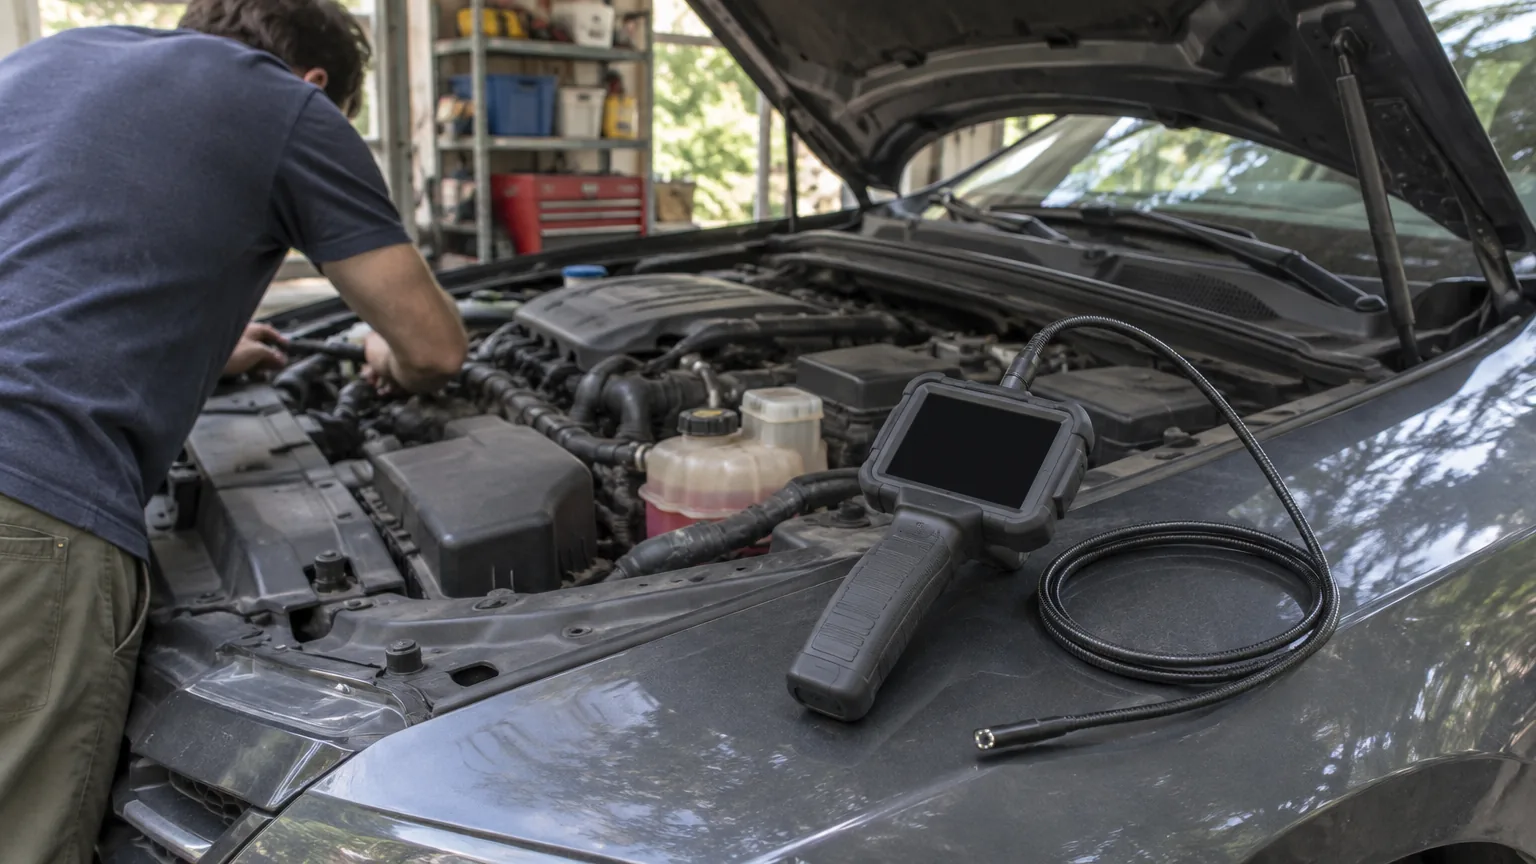
Video borescopes are inspection cameras on a narrow probe that let you look inside engines, pipes and panels without taking them apart. A small camera and LEDs at the tip send live video to a viewing screen, and you steer the probe by hand or, on articulating models, with a control. This guide explains the specs that matter and walks through engine, cylinder and panel checks on a car.
Industrial pages tend to stop at the definition. Here you get the probe diameter, lighting and resolution explained plainly, then a step-by-step routine you can follow in your own garage.
How video borescopes work
A video borescope has three working parts: a camera head, a flexible or semi-rigid cable, and a screen. The camera head holds a sensor and small LED lights. The cable carries the image back to the handheld unit, where you watch it live and save photos or clips.
Older optical designs, such as rigid borescopes and fiberscopes, pass light through tubes or glass fibers to an eyepiece. A videoscope replaces the eyepiece with a sensor and display, which is why you can record what you see and show it to someone else.
Rigid, semi-rigid and articulating probes
A rigid borescope is a straight tube. It suits straight access ports but cannot turn a corner. A semi-rigid cable holds the shape you bend it into, so you can angle the view by hand. An articulating videoscope has a control that bends the tip, a feature found on industrial inspection equipment used in confined spaces.
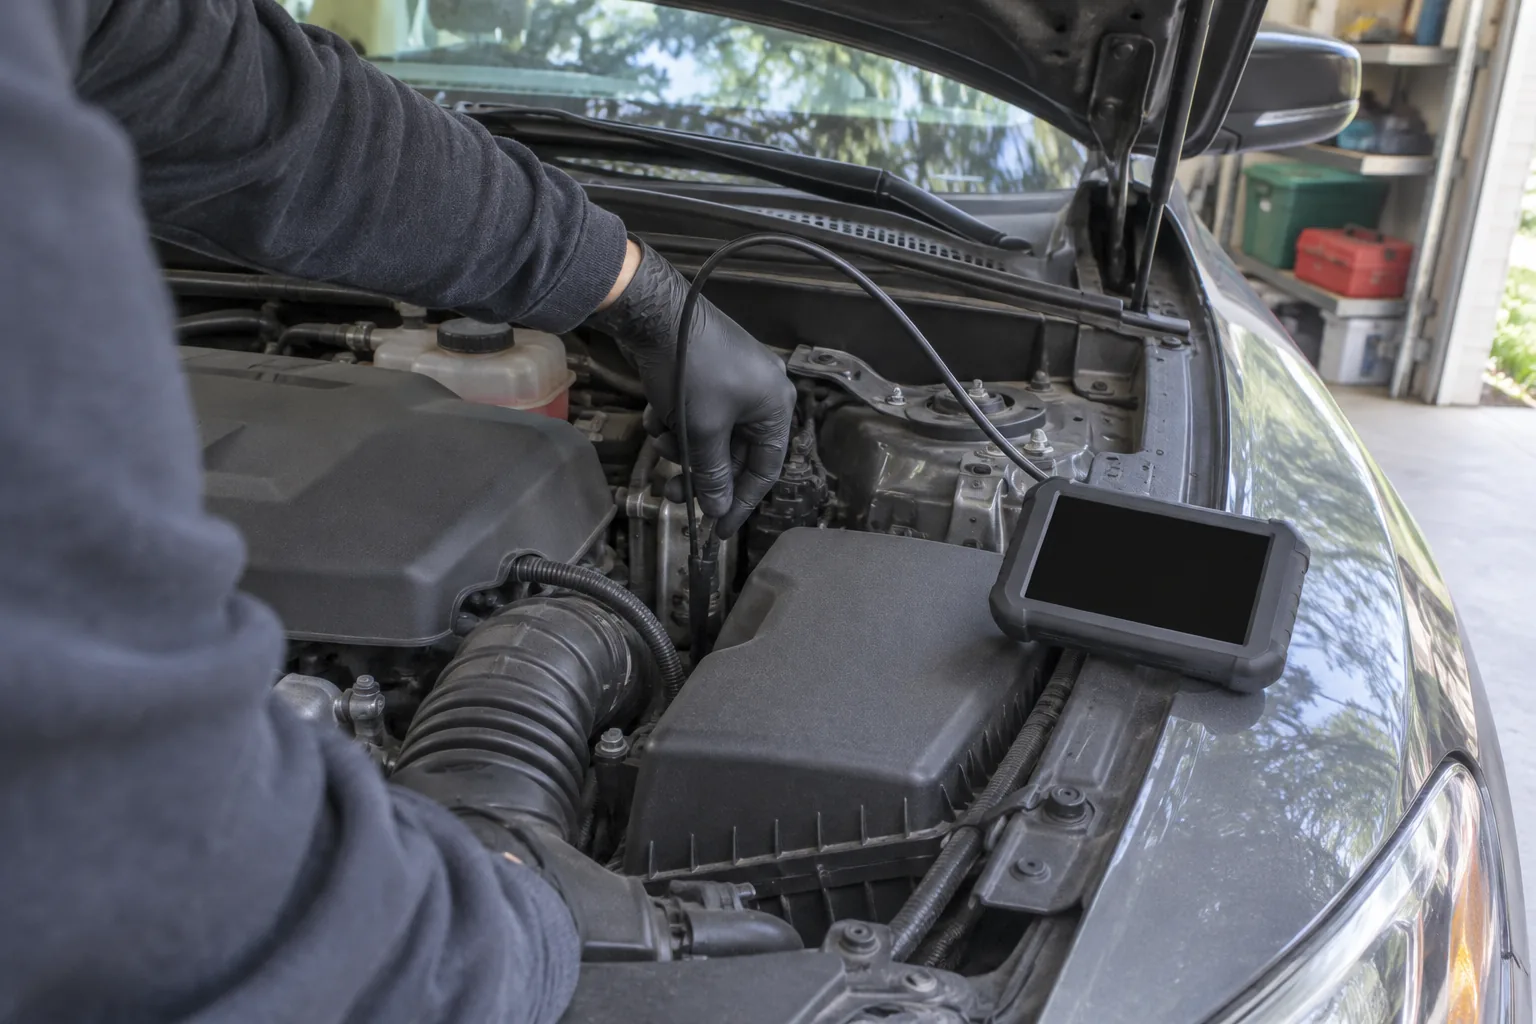
Probe diameter, articulation, lighting and resolution
These four specs decide what a video borescope can reach and what you can see once it gets there. Use the table to match each one to a car job.
| Spec | What it means | What to check for car work |
|---|---|---|
| Probe diameter | Width of the cable and camera head | Compare the head and cable width with the opening you plan to use. A wider head fits fewer openings. |
| Articulation | How the tip is aimed | Articulating tips steer by control. Semi-rigid cables are bent by hand to angle the view. |
| Lighting | LEDs at the tip | Look for adjustable LEDs, because shiny or wet metal throws back glare. |
| Resolution | Detail the sensor captures | 1080p shows fine detail such as scoring, cracks and corrosion on the screen. |
| Screen and storage | Where video appears and is saved | A built-in screen needs no phone pairing. A memory card holds photos and clips. |
Diameter is the spec to settle first, since a camera that does not fit the opening is no use however sharp the image. The DepthLens has a flexible 8mm (about 0.3 inch) probe, built-in LED lights and its own 4.3-inch screen, with a 1080p camera and an included 32GB card.
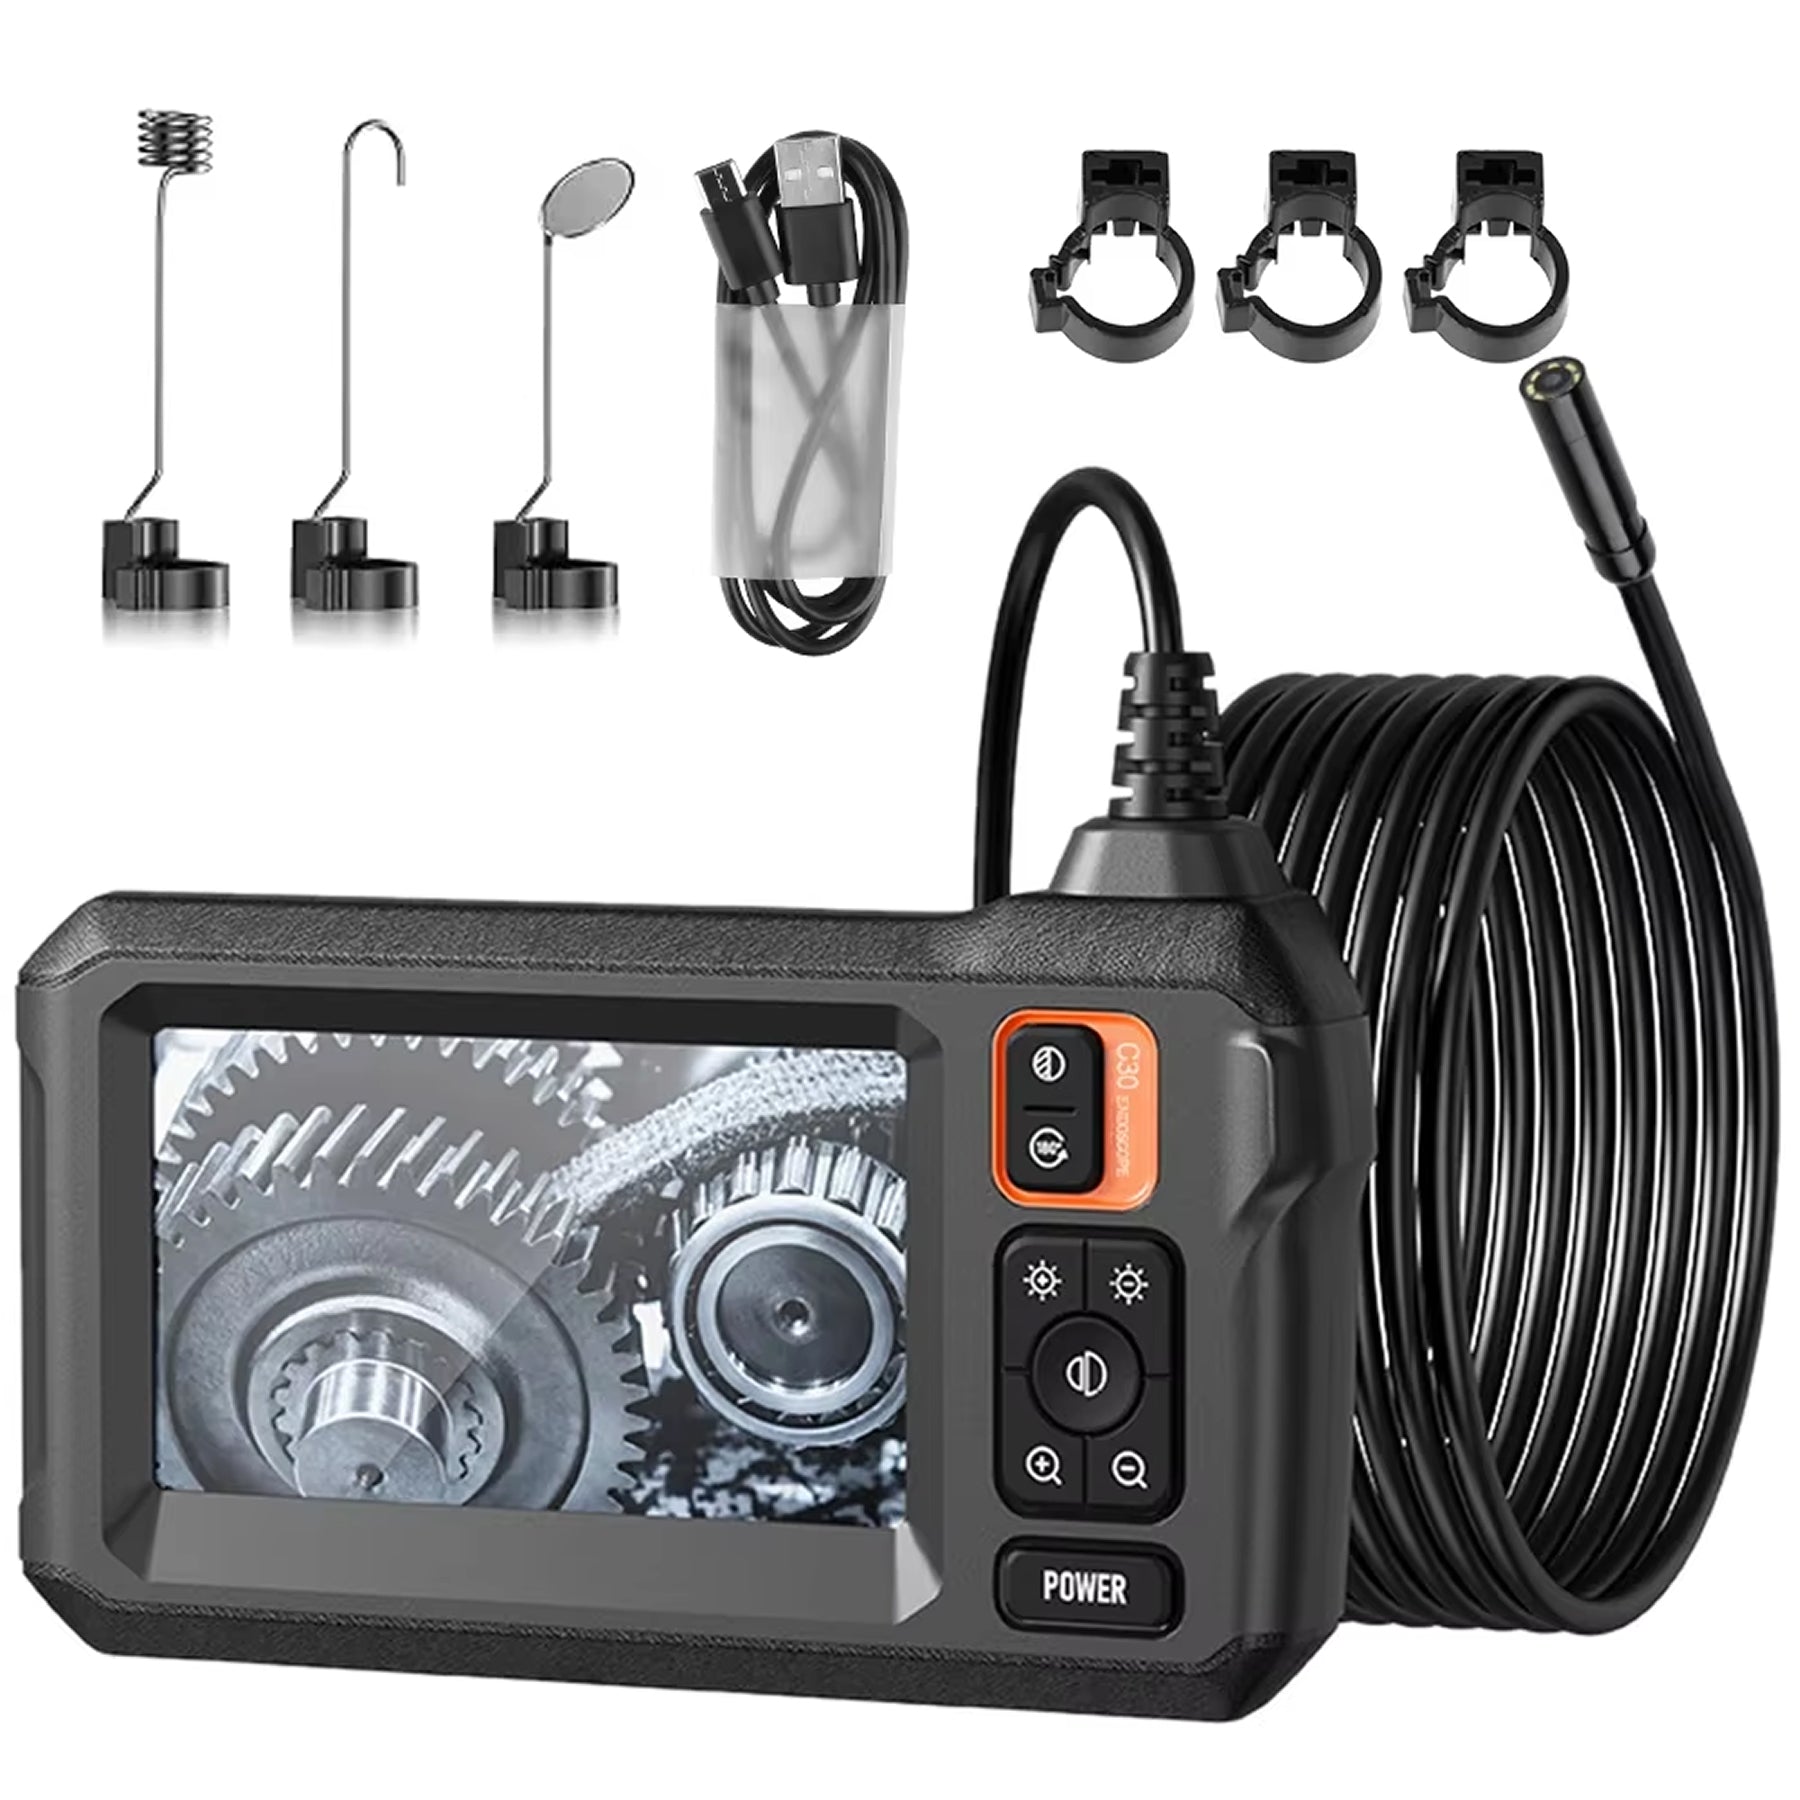 In this guideDepthLens$99.99View
Borescope, videoscope and endoscope: how the terms differ
Borescope, videoscope and inspection camera are names for closely related tools. Borescope is the older word from machinery inspection, and videoscope stresses that the image is digital. Endoscope is a broader label that covers scopes used well outside engine work, so for cars you will see borescope or inspection camera.
In aviation, borescope inspection means looking inside a turbine engine through small access ports instead of disassembling it. The idea carries over to your car: look first, then decide whether a part has to come off.
Phone-based units send video to a smartphone through an app. A handheld unit with its own viewing screen, like the ones below, needs no app or pairing.
How to use video borescopes on a car, step by step
Work with the engine off and cool, and follow the vehicle manual and the borescope manual. The steps below apply to any engine bay or panel check.
- Charge or power the unit and confirm the screen shows live video before you go near the car.
- Clean the lens with a soft cloth. Oil and fingerprints blur the picture.
- Park on level ground, turn the engine off and let it cool.
- Pick the opening: a spark plug hole, a gap beside a hose, a drain, or a panel gap.
- Check that the probe and tip are narrower than the opening, using the probe spec in the manual or on the product page.
- Feed the probe in slowly. Let the cable follow the path instead of pushing against a stop.
- Adjust the LEDs until glare on wet or shiny surfaces drops.
- Save a photo or clip of anything you plan to act on, and note where the probe was.
- Withdraw the probe slowly, wipe it down and store it coiled loosely.
Field note
Keep the cable moving gently and do not force it past resistance. If the probe snags, back out a little and change the angle.
Engine, cylinder and panel inspection: what to look for
Each job below uses the same probe but a different entry point. Capture a still image of each finding so you can compare it later.
| Job | Entry point | What to look for |
|---|---|---|
| Engine bay leaks | Gaps around hoses, gaskets and the back of the engine | Wet or oily residue, cracked hoses, seeping seams |
| Cylinder wall check | Spark plug hole | Vertical scoring, deposits on the piston top, pooled liquid |
| Door and panel cavities | Drain holes, grommets, access plugs | Rust, blocked drains, loose wiring, trapped debris |
| Exhaust and intake runs | Open ends or removed sensors | Carbon buildup, loose fragments, damaged ducting |
| Retrieval | Any tight bay | Dropped bolts, clips or small tools |
Engine bay checks
Start with the gaps around hoses and gaskets, and sweep the view slowly so the picture stays steady. If you are tracing a part around the engine block, what a knock sensor is and how to check it explains one sensor you may meet there.
Cylinder inspection through a spark plug hole
This step carries the most risk, so the condition is stated clearly: only remove a spark plug with the engine off and cool and the manual open, and if you are not comfortable doing it, ask a professional mechanic. A socket wrench guide covers ratchet direction and sockets if you need a refresher.
Before you insert anything, confirm that the probe and its tip are narrower than the spark plug hole, and check this against the probe spec rather than by eye. If the head is wider than the opening, do not force it; pick another entry point or ask a professional mechanic.
With the plug out and the fit confirmed, feed the probe straight into the hole and angle the view toward the cylinder wall and the top of the piston. Look for vertical lines, heavy deposits or liquid, and save a photo. Then refit the plug as the manual describes.
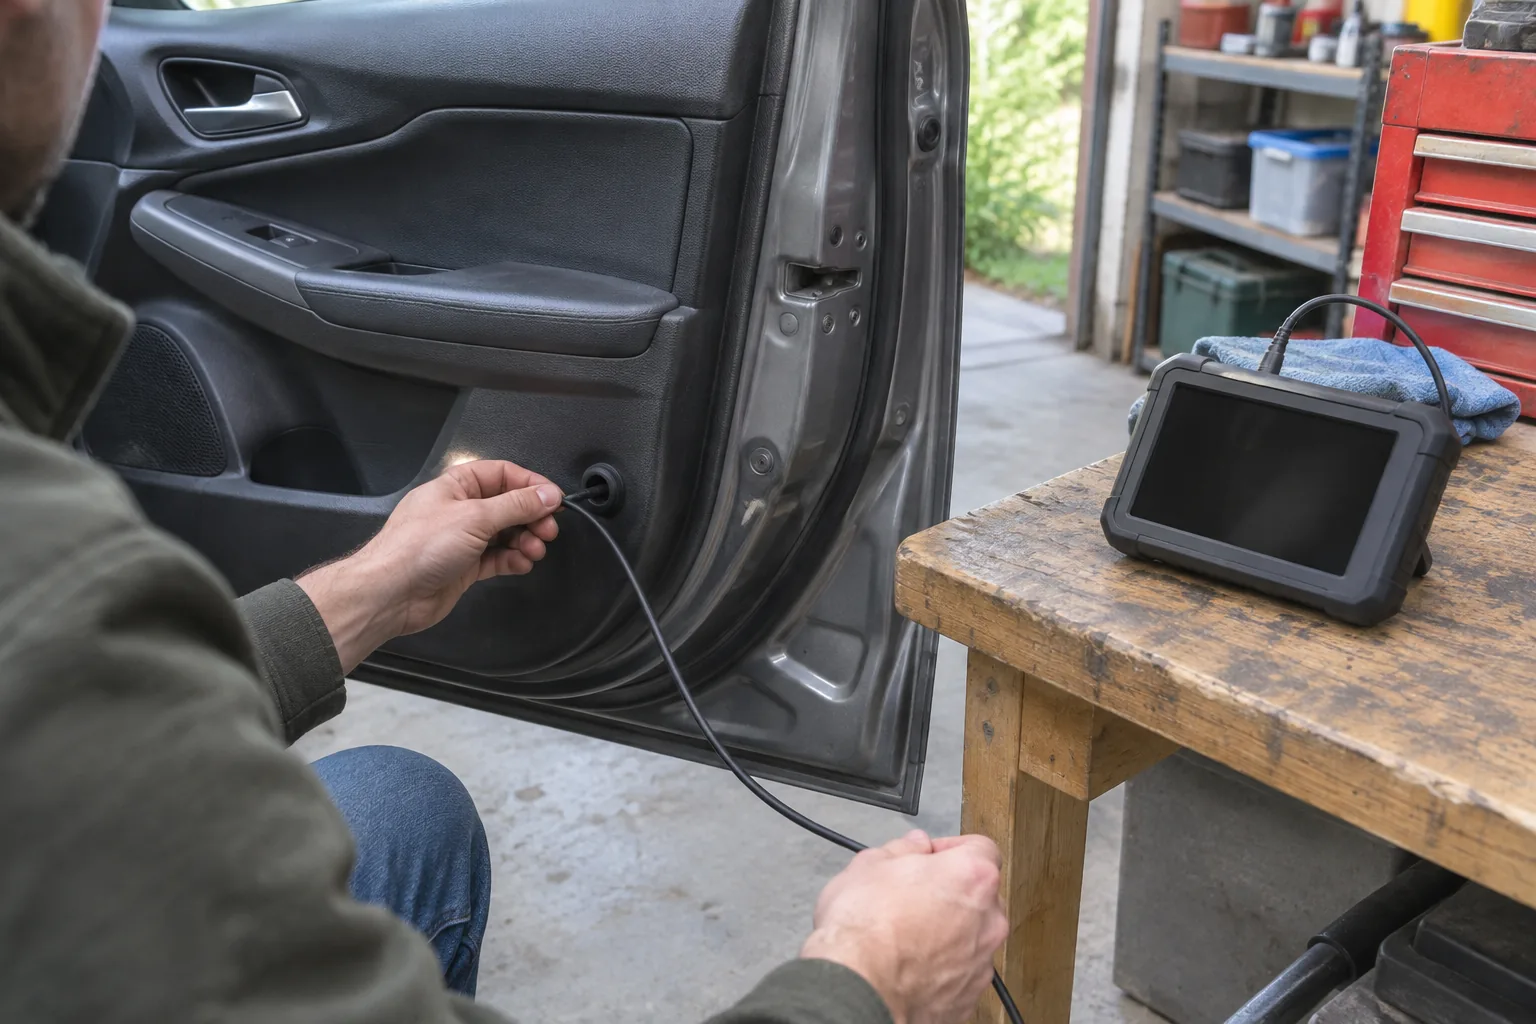
Panel and cavity checks
Use existing drain holes and rubber grommets instead of cutting new openings. Angle the view upward to see seams where moisture collects. Rust, blocked drains and loose wiring show up as dark, flaking or tangled shapes, so save a photo of each one.
Reading the picture
Glare is the most frequent reason a clear image looks unclear. Lower the LED level on shiny metal, and raise it in deep cavities. Pause the probe for a moment before you take a photo, so the saved frame is steady and the detail is readable later.
Choosing a handheld unit for car work
For garage use, pick on diameter, lighting and display first. The ScopeCraft is a handheld car inspection camera with a built-in display and a 2.9cm (about 1.1 inches) lens on a semi-rigid cable. It has LED lighting at the tip and a 1080P CMOS sensor, and the probe and cable are made to be used in water, mud and grime. Magnet, hook and mirror attachments fit on the probe for retrieval and angled viewing.
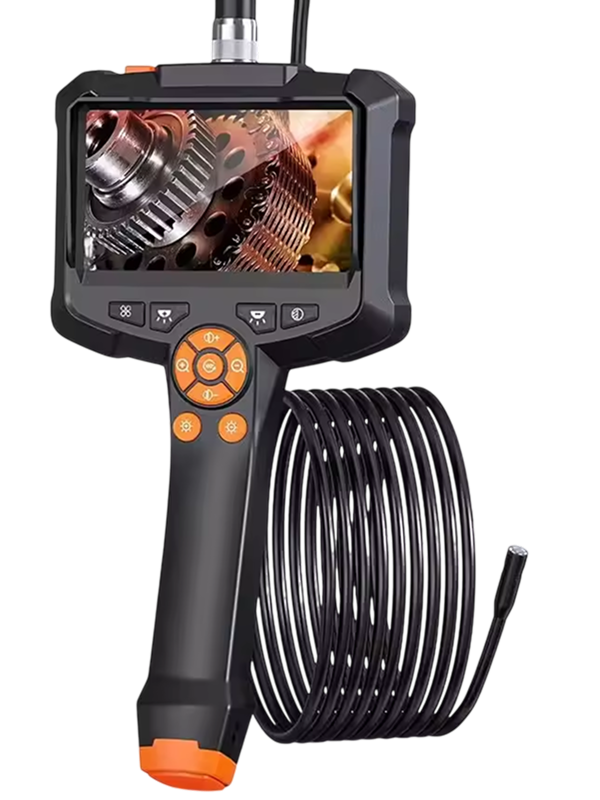 In this guideScopeCraft$129.99View
If you want a slimmer probe for narrow openings, the DepthLens above has the 8mm probe. Both show live video on their own screens, so no app is involved. You can browse the full range of inspection cameras and scopes to compare probes and attachments.
Common mistakes with video borescopes
- Skipping the lens wipe, then blaming the camera for a smeared image.
- Pushing the cable against a stop instead of changing the angle.
- Leaving LEDs at full level on wet metal, which washes out detail.
- Inspecting a hot engine, or working with the engine running or the key in the ignition.
- Forgetting to save photos, then having to repeat the inspection.
- Trying a probe or tip that is wider than the opening.
- Storing the probe tightly kinked.
Care and storage checklist
After each use, wipe the lens and cable with a soft cloth. The ScopeCraft probe can be rinsed off before it goes away, as its product page notes. Coil the cable loosely, keep the unit charged or powered as the manual says, and keep the memory card in place so saved photos are not lost.
Frequently asked questions
Keep reading
 Weather, Air & Moisture MetersHow Does a Moisture Detector Work? Readings and What Skews Them9 min read
 Battery, Tire & Air CareHow to Test a Camshaft Position Sensor With a Meter and Scanner7 min read
 Precision Measuring & Detection ToolsHow Do Metal Detectors Work? VLF, Pulse Induction and Pinpointers8 min read