How to Put On Tire Chains: Fitting, Tensioning, Test Drive
Park on level ground, put chains on the drive wheels, fasten them snug, then drive a few hundred feet and tighten again. This guide covers each step, plus a home practice run.
The Quindrel Team
November 10, 2026 · 7 min read
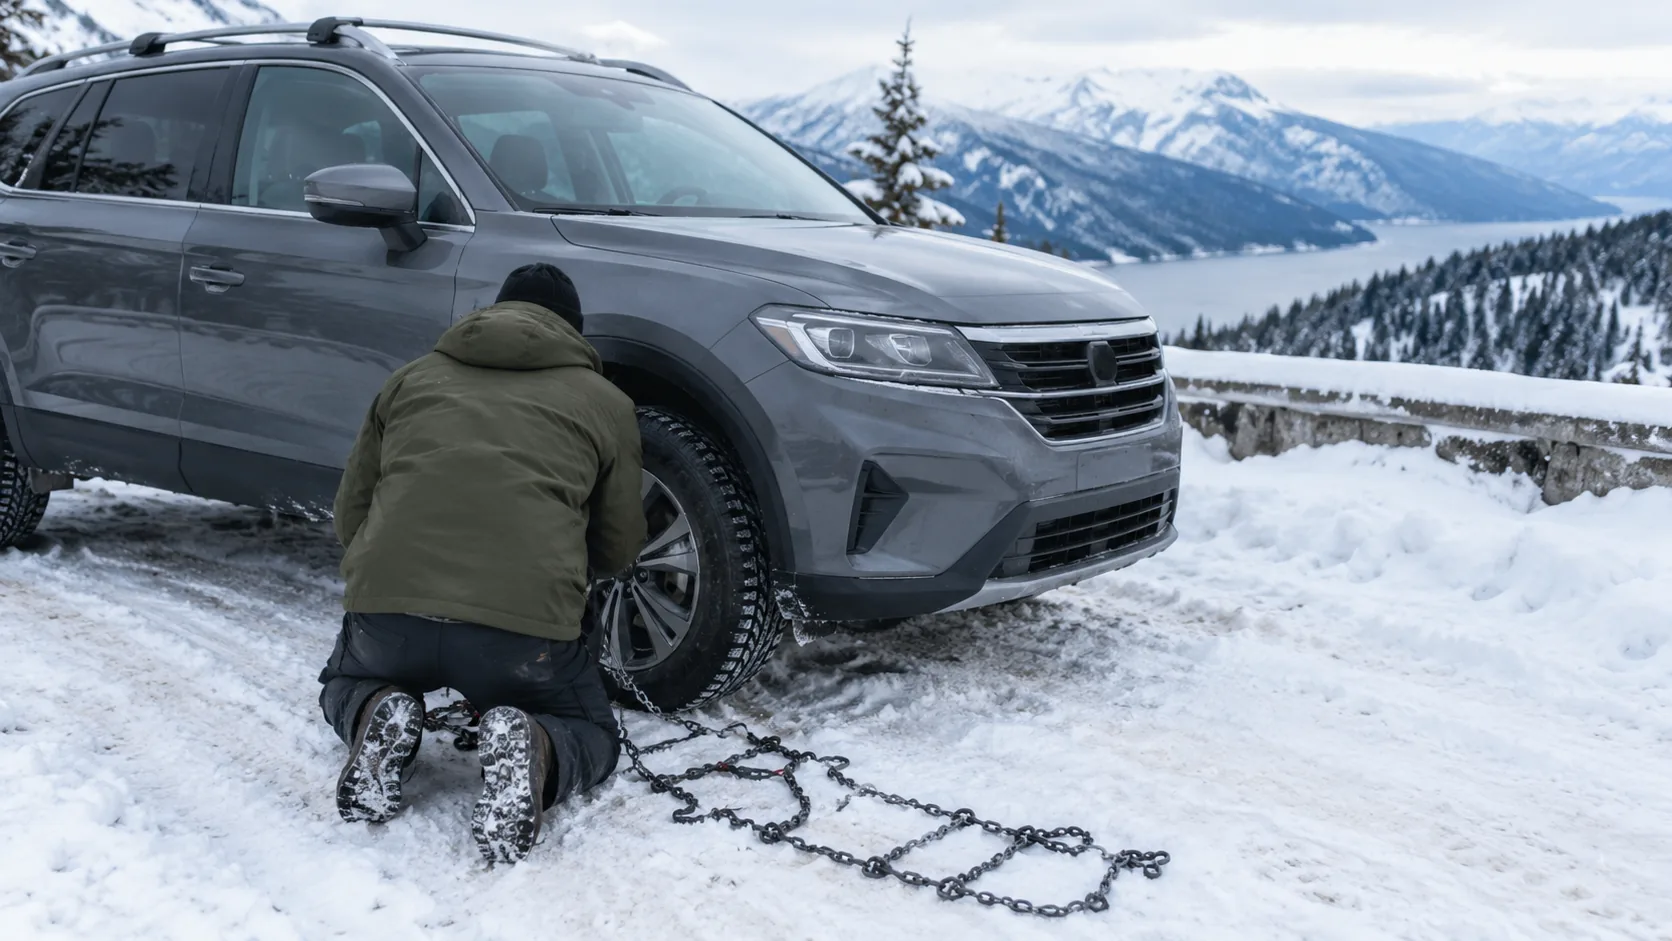
To learn how to put on tire chains, park on a flat, clear spot, lay the chains out untangled, and fit them to the drive wheels, either by draping them over the tire or by driving onto them. Fasten and tighten each chain, drive a few hundred feet, then stop and tighten again. Keep to the speed limit printed in your chain manual.
This guide puts the whole job in one checklist: which wheels get chains, a practice run in your driveway, fitting steps for two common styles, re-tensioning, and the mistakes that cause trouble.
How tire chains work and which wheels get them
Tire chains wrap around the tread and put steel, hard links or raised pillars between the tire and the snow or ice. Those raised parts dig into the surface, so the tire has something to grip instead of spinning on a smooth, packed layer.
Because the chain rides on the tire, a loose or twisted chain moves around while you drive. That is why fitting, tightening and a second tightening after a short drive matter as much as the chain itself.
Chains go on the drive wheels, the ones that push the vehicle. Check the owner's manual first, because it may restrict which chain types fit your wheel wells and may say where chains belong on all-wheel-drive models.
| Drivetrain | Where chains go | Chains needed |
|---|---|---|
| Front-wheel drive | Front axle | 2 (one pair) |
| Rear-wheel drive | Rear axle | 2 (one pair) |
| All-wheel drive or 4x4 | Follow the vehicle manual; some call for all four wheels | 2 or 4 |
That answers how many snow chains you need for two-wheel drive: one pair, on the axle that drives the vehicle. Both sets below include four chains.
Before you start: a setup checklist
- Check the chain size against the tire width printed on the tire sidewall.
- Lay the chains out and untangle them so no link is twisted.
- Keep gloves, a flashlight, and a mat or piece of cardboard to kneel on.
- Read the step-by-step manual that came with your chains.
- Pull off the road onto level ground, switch on hazard lights, and set the parking brake.
- Turn the engine off and keep your hands clear of moving parts while you work.

How to put on tire chains, step by step
If you are wondering how to put chains on a tire, the answer depends on the design, so the manual for your set comes first. The two styles below cover many consumer sets, and the steps that matter apply to both.
Style 1: drape-over chains
- Unfold the chain and find the side that faces the tread.
- Drape it over the top of the tire so it hangs evenly on both sides.
- Pull the buckle tight until the chain sits snug against the tread.
- Repeat on each tire you are fitting, then drive off slowly.
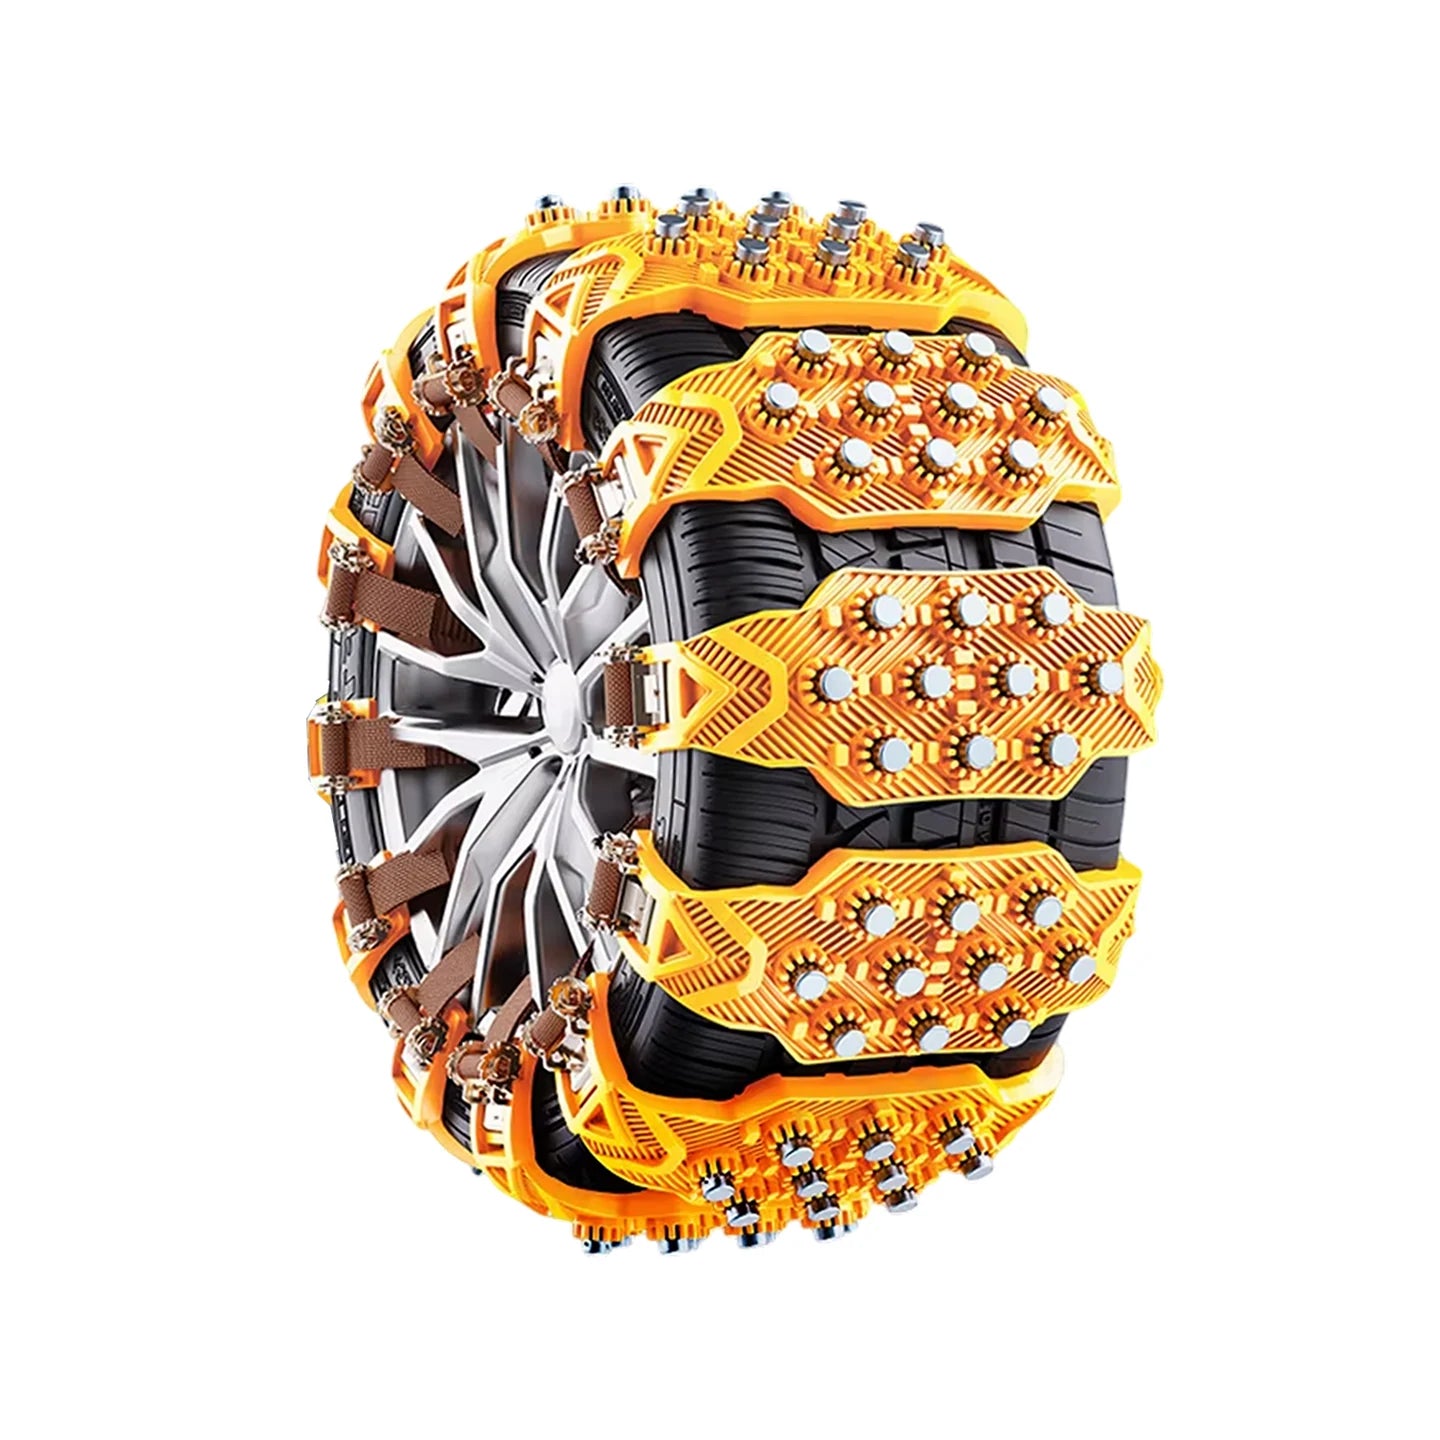
If your set has ends to join or hooks to seat, the manual shows where. The GripArmor set follows the drape-and-buckle pattern: each chain drapes over the top of the tire and is pulled snug with a gear buckle. The buckle sits above the chain, clear of the hub and rims, and it goes on by hand. It fits tire widths of 295mm (about 11.6 in) or less.
 In this guideGripArmor$119.99View
Style 2: drive-onto chains
- Lay the chain flat behind the tire, centered against the tread.
- Drive forward slowly until the tire sits fully on top of the chain.
- Stop, set the parking brake, and pull the chain up around the tire.
- Fasten the tightener by hand and pull out the slack.
- Repeat on the other drive wheel.
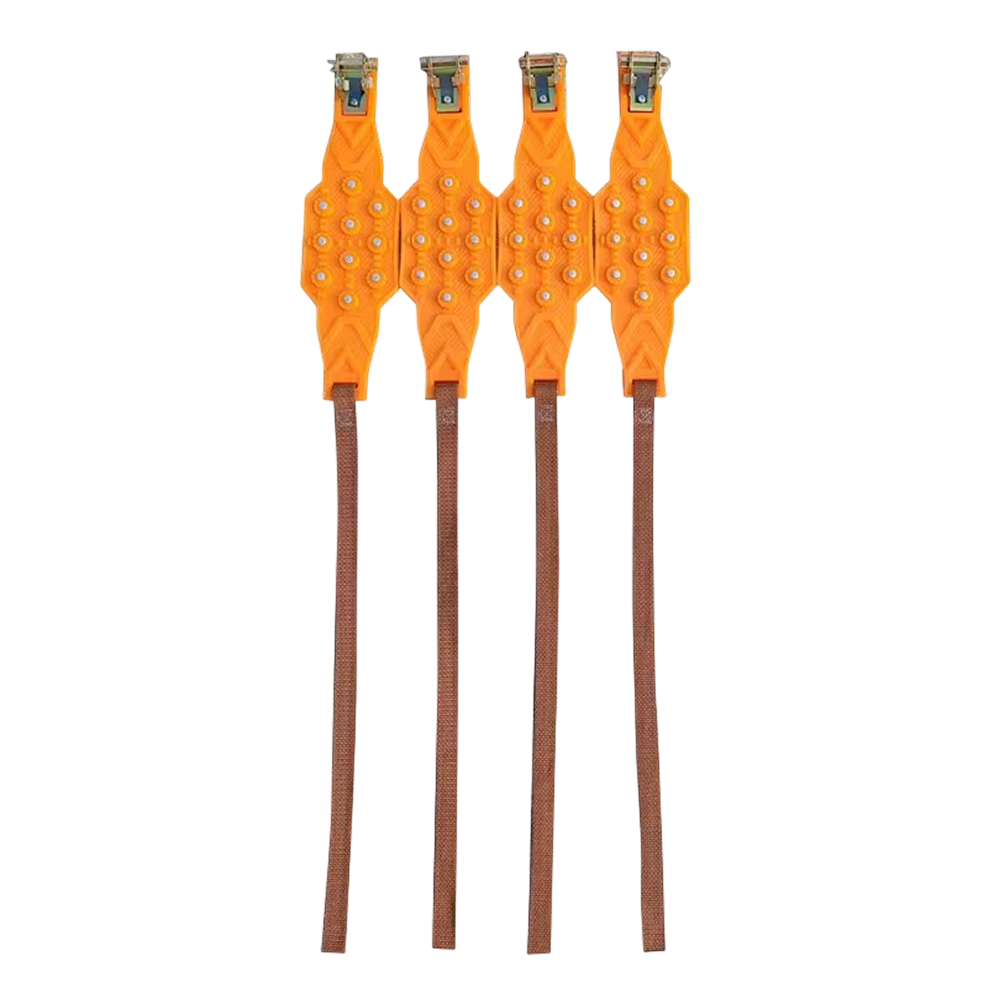
The SureTrax set follows this pattern. It is a one-piece TPU design with a manganese steel tightener that you fasten by hand, so no tools are needed. It suits sedans, SUVs, crossovers and light trucks with tire widths of 6.50 to 9.65 in (16.5 to 24.5 cm), and it folds into a carrying case for trunk storage.
 In this guideSureTrax$99.99View
Practice run at home
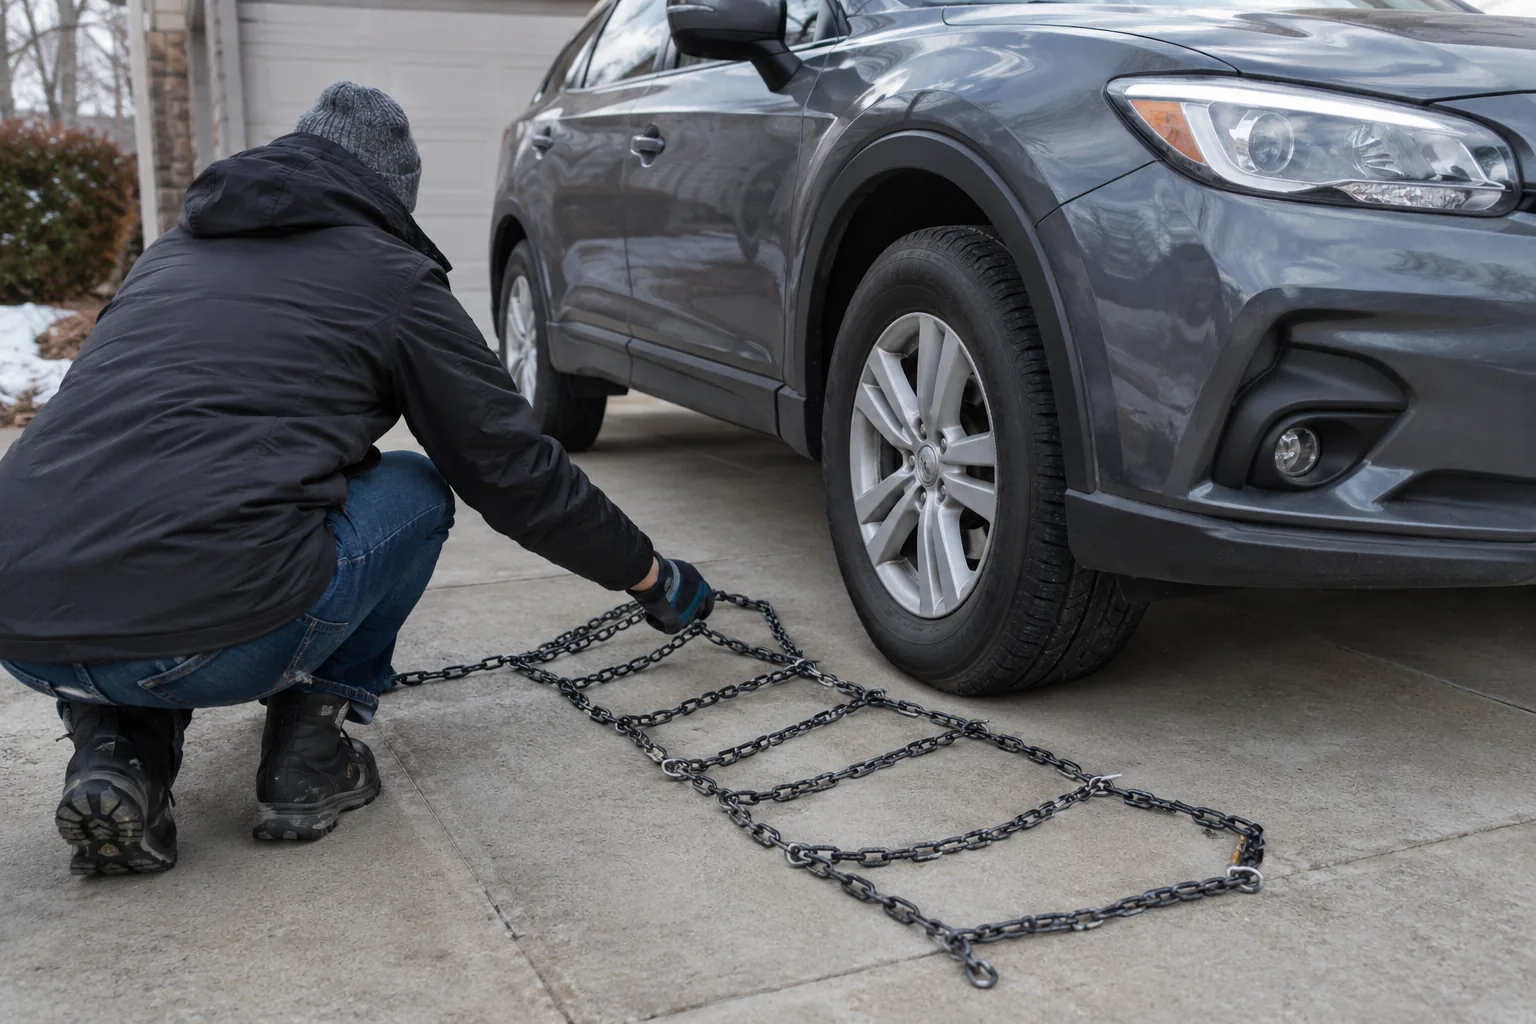
Learning how to put tire chains on in a snowstorm with cold hands is the hard way. A dry-driveway practice run lets you spot a twisted link, a missing part, or a wrong size while the garage is still close.
- Fit one set on a level driveway or garage floor, following the manual.
- Note which side of the chain faces the tire and where the fastener ends up.
- Take the chains off and fold them back the way the case or manual shows.
- Keep the manual with the chains in the trunk.
Roll the vehicle forward a short distance on pavement only if the manual allows it. Chains are made for snow and ice, and running them on bare road is hard on the chains and the tires.
Field note
Do the practice run once with your work gloves on. Fasteners feel different when your fingers are bulky, and you will know where to reach before you are kneeling in slush.
Re-tension and test drive
Re-tension after the first few hundred feet
New chains settle onto the tread once the tire rolls. Slack that was not visible during fitting shows up after you move, so plan a stop.
- Drive forward slowly for a few hundred feet.
- Pull over on level ground and set the parking brake.
- Check each chain for slack, twisted links, or a fastener that has shifted.
- Tighten again as the manual describes.
- Repeat the check after the next stretch if the chain still looks loose.
A loose chain can slap against the fender, so listen for tapping or clanking while you drive. If you hear one, stop and re-check.
Test drive and speed limits
Start slowly and keep steering, braking and acceleration steady. Chains give the tire something to grip on snow and ice, but they do not make the road any less slick, so leave extra following distance.
- Stay under the maximum speed printed in your chain manual.
- Brake early and ease off the throttle before turns.
- Avoid spinning the wheels, which can wear the chain and the tire.
- Stop and re-check if you feel vibration or hear a new noise.
Chain makers print a speed limit in the manual. Follow that number even when the road ahead looks clear.
If vibration lingers after the chains are tight, a worn component may be the cause. Our guide on what a wheel bearing is and how to check one explains what to look for.
Trucks, 4x4s and other vehicles
The steps for how to install tire chains on a pickup or SUV match the car routine: chains go on the drive axle, you fit them on level ground, and you tighten again after a short drive. For a four-wheel-drive truck, the owner's manual states whether chains go on the front, the rear or all four wheels.
Cable-style chains, semi trucks and lawn tractors each have their own instructions. Use the manual that came with that chain or machine, and ask the chain maker or a qualified mechanic if the wheel well clearance looks tight.
Taking chains off and storing them
Remove the chains once you reach bare pavement. Park on level ground, loosen the fastener as the manual shows, and pull the chain clear of the tire, then roll the vehicle forward if the chain sits partly under the tread.
Rinse off road salt and let the chains dry before you pack them into their case or bag. Check for broken links or cracks before the next winter. You can browse more cold-season gear in our Winter & Weather Protection collection.
Common mistakes to avoid
| Mistake | What to do instead |
|---|---|
| Chains on the wrong axle | Fit them to the drive wheels and check the owner's manual |
| Fitting on a slope or traffic lane | Pull onto level ground well off the road |
| Skipping the re-tension | Stop after a few hundred feet and tighten again |
| Twisted links | Untangle and lay out the chain before fitting |
| Wrong size for the tire | Match the chain to the tire width on the sidewall |
| Driving too fast | Keep to the speed limit in the chain manual |
If you are unsure about clearance, brake components, or an all-wheel-drive setup, ask a qualified mechanic before you head out.