How to Use a Portable Tire Inflator, Step by Step
Find the sticker PSI, connect to the valve, set the shut-off, then verify with a gauge. Here are the steps, duty-cycle limits and mistakes to avoid.
The Quindrel Team
November 12, 2026 · 7 min read
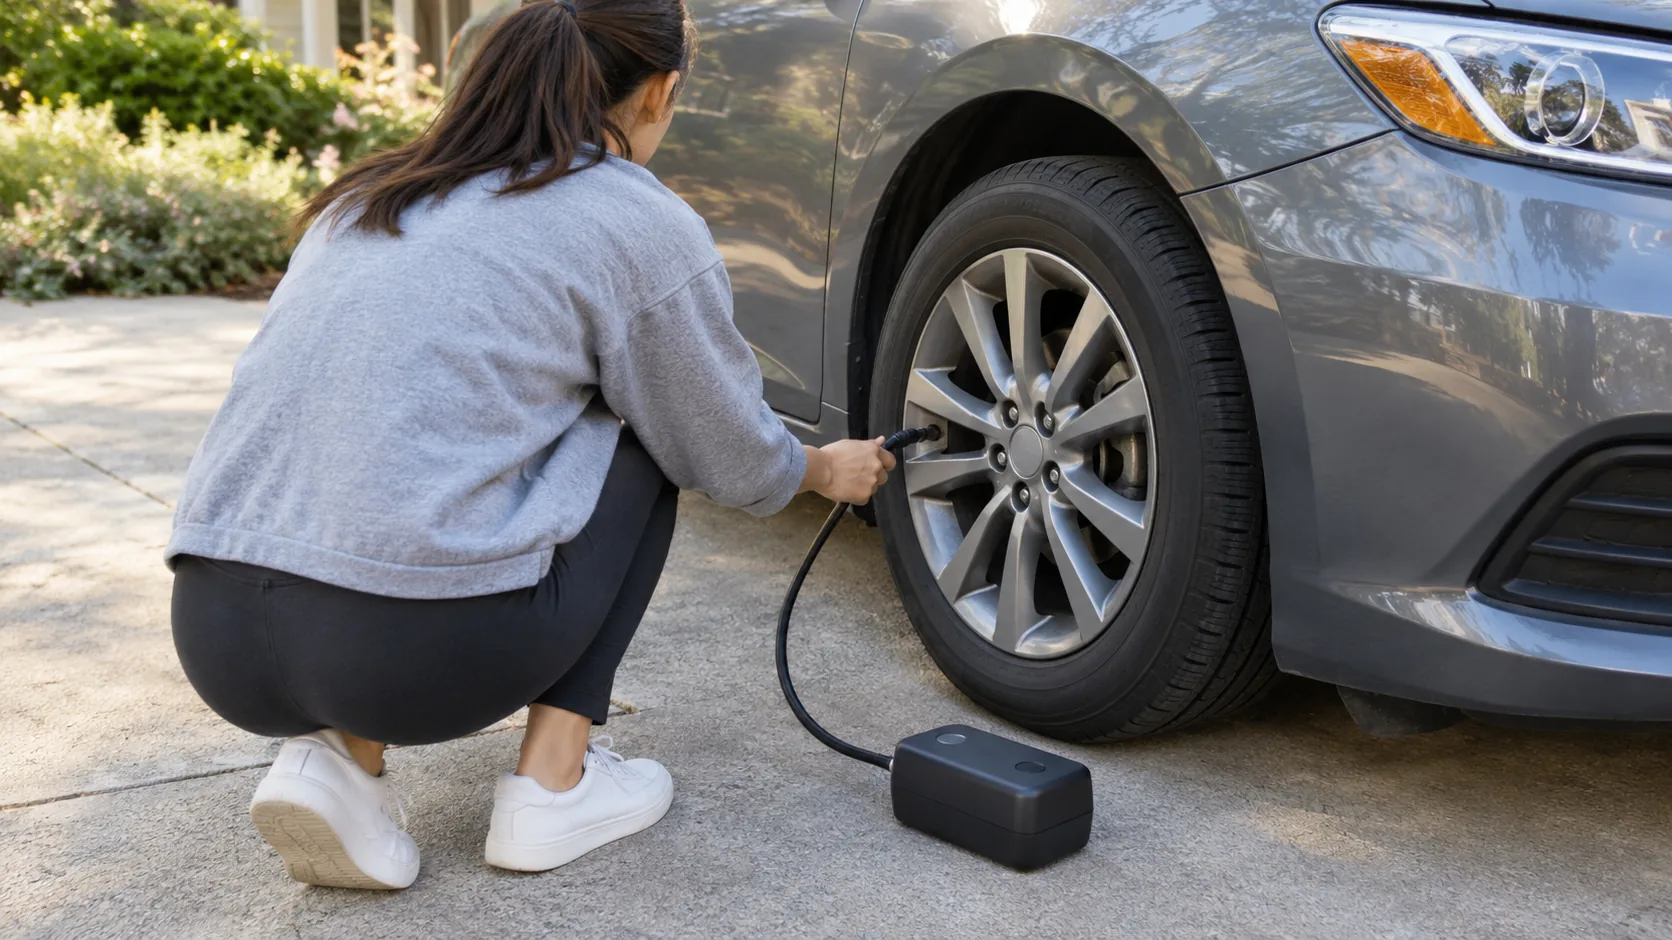
To learn how to use a portable tire inflator, find your vehicle's target PSI on the door-jamb sticker, connect the hose or nozzle to the valve stem, set the target pressure if the unit has auto shut-off, and start it. When the inflator cuts off, remove the connector, refit the valve cap and confirm the result with a separate gauge.
This guide walks through each step in order, then covers duty-cycle limits, a setup checklist and the mistakes that lead to over- or underinflated tires. It applies to cordless and plug-in units, with notes on a digital model we stock.
The steps at a glance
- Park on level ground, set the parking brake and turn the engine off unless the manual says otherwise.
- Find the target PSI on the door-jamb sticker.
- Check the current pressure with a gauge while the tires are cold.
- Power the inflator and prepare the hose and connector.
- Remove the valve cap and connect to the valve stem.
- Set the target pressure, then start the inflator.
- Disconnect, refit the cap and recheck with a gauge.
- Let the unit cool before packing it away.
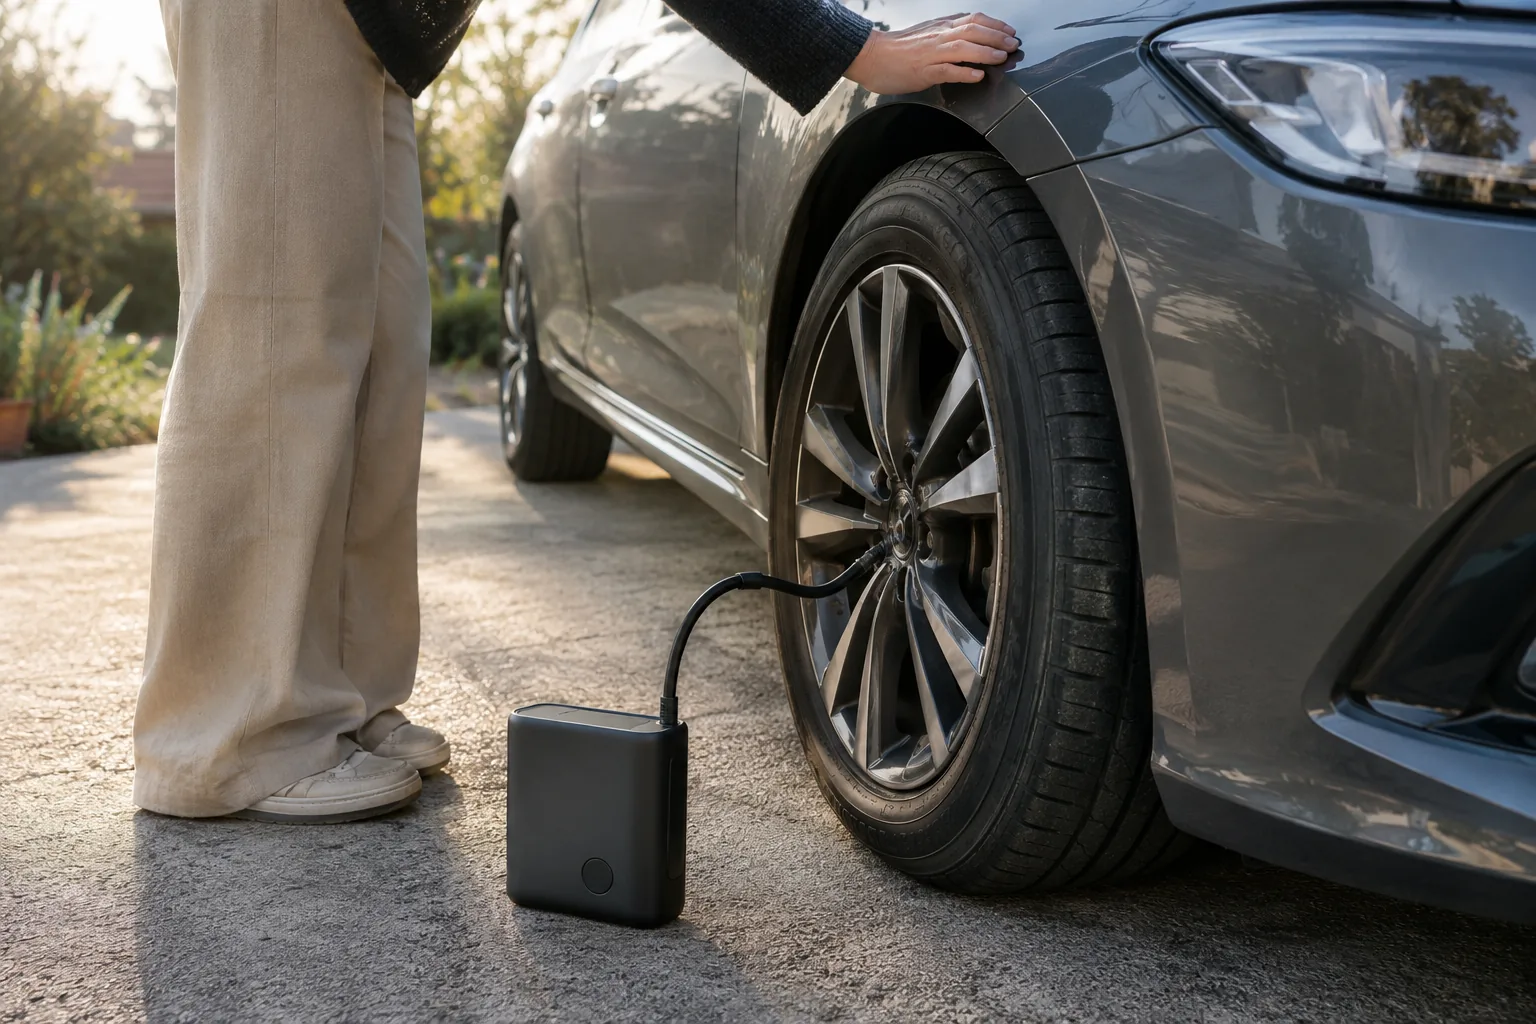
Step 1: Find the correct PSI before you connect anything
The number you need is the vehicle manufacturer's cold pressure, not the figure printed on the tire. The tire sidewall shows a maximum pressure for the tire itself, which is not the same as the target for your car.
| Where to look | What it shows |
|---|---|
| Door-jamb sticker | Front and rear target PSI for the original tire size |
| Owner's manual | Target PSI, plus loaded or towing values and spare tire pressure |
| Fuel door (some vehicles) | A repeat of the sticker values |
| Tire sidewall | Maximum pressure of the tire, not your target |
Front and rear values can differ, so write both down. Measure with the tires cold, meaning the car has sat for a few hours or has been driven only a short distance. Warm tires read higher and can lead you to fall short of the real target.
If you want to confirm your gauge before trusting it, our guide to using a tire pressure gauge and checking its accuracy covers the reading technique and a comparison check.
Step 2: Set up the inflator
Power
Corded units plug into a vehicle power socket or a household outlet, depending on the model, so check the manual for the connection it lists. Cordless units need a charged battery before you start. Keep the cord clear of the tire, the wheel and hot exhaust parts.
Hose and connector
Screw on or clip in the hose and the connector (chuck or nozzle) that match your valve. Car, motorcycle and bicycle valves differ, so use the fitting the manual names for the valve in front of you. Lay the hose out so it is not kinked or pinned under the tire.
Pick the mode and unit
If the display offers units, select PSI to match your sticker. Some inflators show bar or kPa as well, and entering a bar number as PSI leaves you far off target.
Step 3: Connect to the valve and set auto shut-off
Unscrew the valve cap and keep it in a pocket, not on the ground. Press the connector straight onto the valve stem. A clip-on chuck needs its lever closed, and a screw-on connector needs to be threaded fully by hand. A hissing sound means the seal is not seated, so reseat it before you turn anything on.
Now enter the target PSI. On an inflator with auto shut-off, you set the number on the display and the unit cuts off airflow when the tire reaches it. If your model has no preset, you watch the gauge and switch it off by hand.
Start the inflator and stay beside the tire. Some units show an accurate pressure only when the pump is idle, so the display may jump while it runs. Follow the manual if it says to pause and let the reading settle.
How to use a portable tire inflator with a digital display: PneumaCore
The PneumaCore is a cordless digital tire inflator with a piston motor and a display for setting a target pressure. You carry it to the tire rather than running a cord from an outlet or the vehicle.
- Read the target PSI from the door-jamb sticker.
- Enter that number on the digital display.
- Select the mode that matches the tire: cars, SUVs, motorcycles, bikes or balls.
- Attach the air tube and the right nozzle to the valve.
- Press start. The inflator cuts off airflow at the preset pressure.
- Remove the nozzle and refit the valve cap.
The box includes three nozzles, one air tube, a USB charging cable and a user manual. The pressure range tops out at 150 PSI, so always enter the sticker value and not the maximum. The unit can also act as a USB power bank for a smartphone, using the same charging cable.
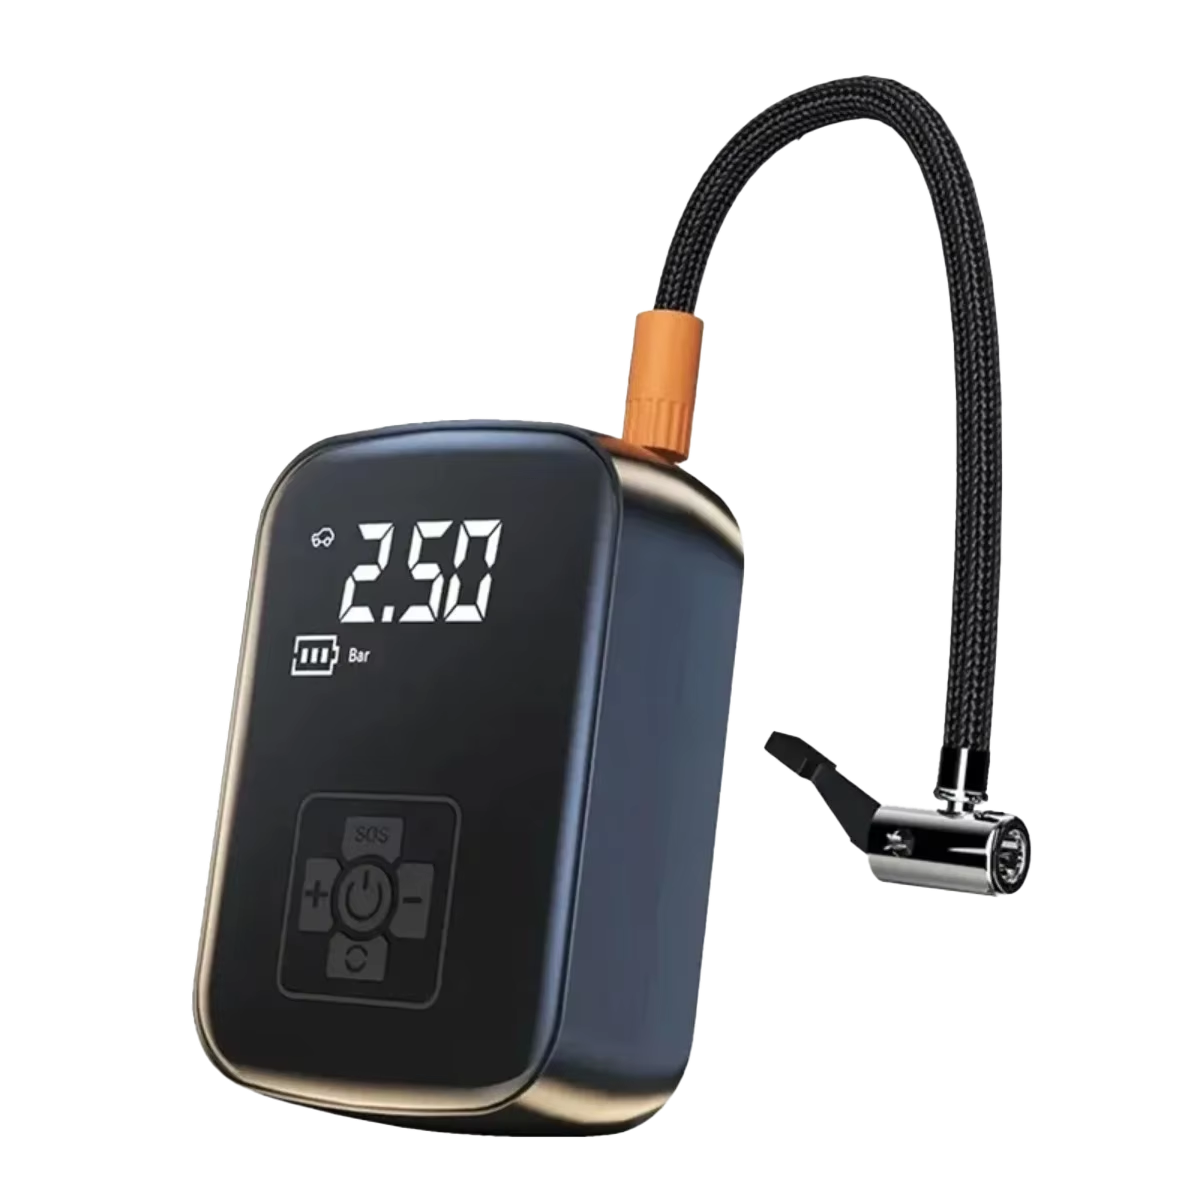 In this guidePneumaCore$99.99View
Field note
Write the front and rear target PSI on a strip of tape and stick it inside the inflator's case or on the lid. That way you do not have to walk back to the door jamb mid-job.
Step 4: Disconnect and verify the reading
When the inflator cuts off, pull the connector straight off the valve. A short hiss as it releases is normal, but a steady leak is not. Refit the valve cap right away, because the cap keeps dirt out of the valve core.
Then check with a separate gauge. Built-in inflator gauges can drift, so a second reading is how you confirm the number. If the tire reads higher than the target, press the valve pin briefly to release a little air and measure again. If it reads lower, reconnect and add air in short bursts.
Repeat for each tire, including the spare if the manual lists a spare pressure. If a dashboard pressure warning light stays on after all four tires match the sticker, check the manual for the reset procedure.
Duty cycle: how long a portable inflator can run
Small compressors build heat as they work. The duty cycle is the run time the manufacturer allows before the unit needs to cool, and it appears in the manual or on the label. Follow that figure and not a guess.
In practice, this means:
- Inflate one tire at a time and let the unit rest between tires if the manual calls for it.
- Do not run it continuously to fill a large, fully flat tire when the manual sets a run-time limit.
- Pause if the body, hose or connector becomes too hot to hold, and wait until it cools.
- Keep vents clear and do not run it on a soft surface such as a blanket.
Follow the manual, keep hands and hoses away from moving parts and hot surfaces, and unplug or power the unit down before changing fittings. Ask a qualified tire technician about a tire that is cracked, bulging or repeatedly losing air.
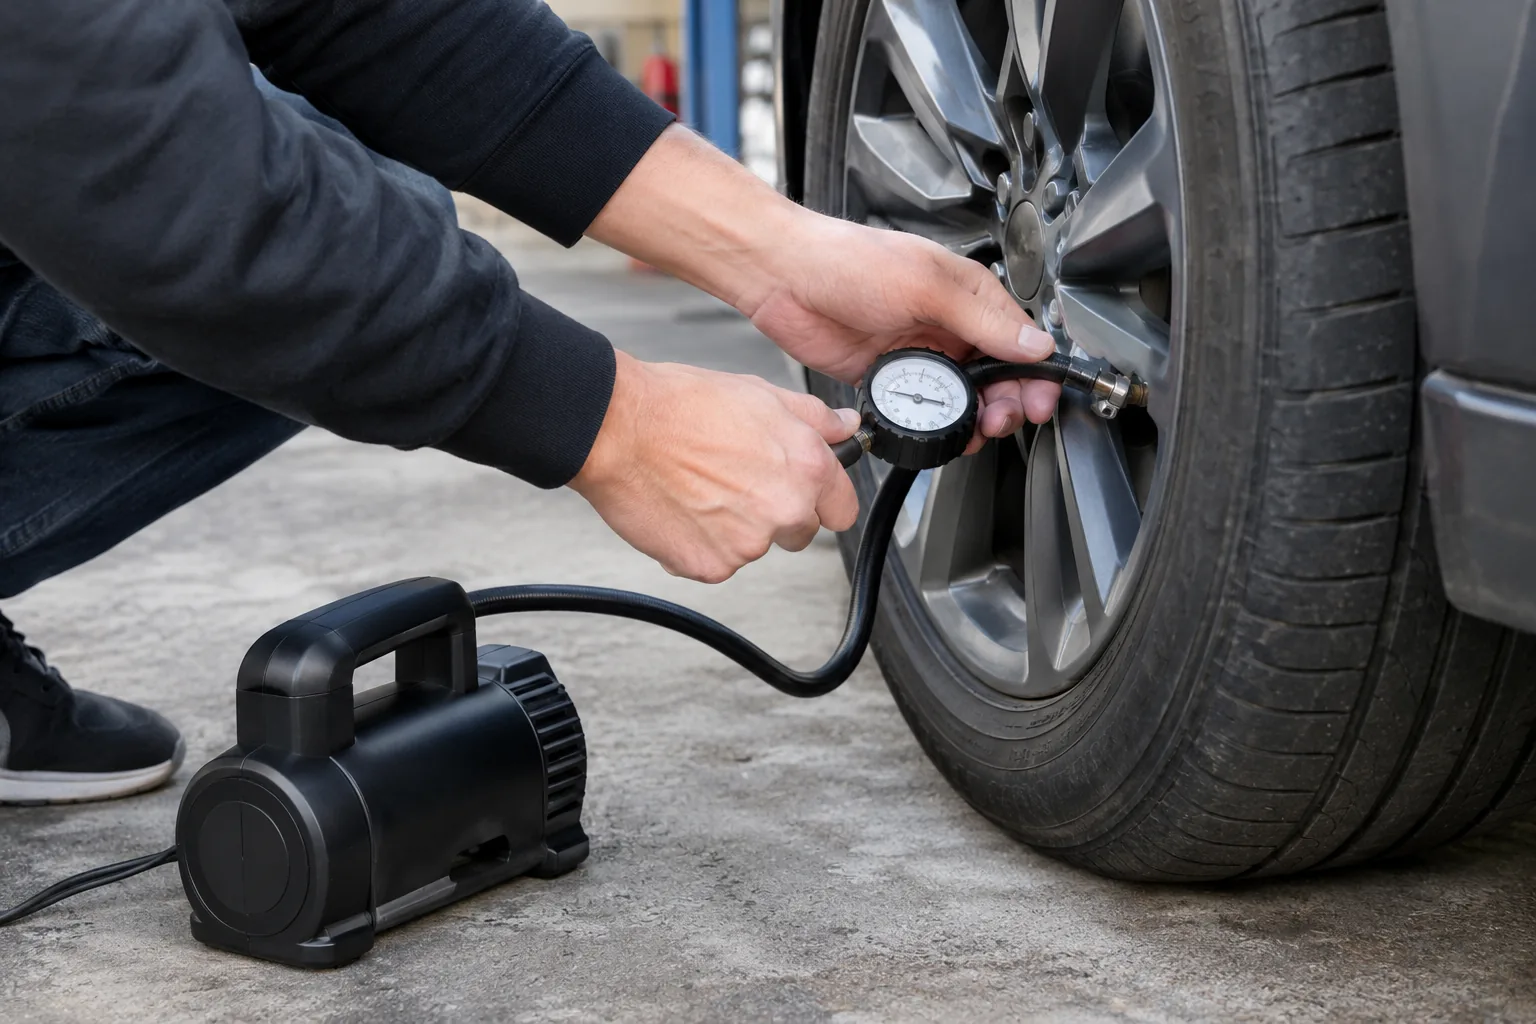
Common mistakes and a setup checklist
| Mistake | What to do instead |
|---|---|
| Using the sidewall number as the target | Use the door-jamb sticker value |
| Measuring after a long drive | Check with cold tires |
| Hissing connection left running | Reseat the chuck or nozzle first |
| Skipping the second gauge | Verify with a separate gauge |
| Ignoring the duty cycle | Rest the unit as the manual lists |
| Losing the valve cap | Pocket it, then refit it |
Before you put it away
- Coil the hose without sharp bends.
- Wipe dust from the connector and nozzles.
- Recharge a cordless unit as the manual describes.
- Store it in a dry spot such as the trunk or a garage shelf.
The same approach works for other valves, with different pressure targets. For bicycles, see our bike tire guide covering Presta, Schrader and the right pressure. You can browse more gear in the Battery, Tire & Air Care collection.
How to use a portable tire inflator at home
A driveway or garage floor is a good place to work because the ground is level and you can take your time. Check tires on a set schedule, such as monthly and before long trips, since pressure shifts with temperature and with slow leaks through the tire or valve. Keep the sticker values on a note in the garage so each check starts with the right number.
If you have a cordless unit, keep it charged between uses so it is ready when a warning light comes on. Keep a spare set of valve caps with the inflator, and replace any cap that is cracked or missing.