How to Use a Tire Pressure Gauge and Check Its Accuracy
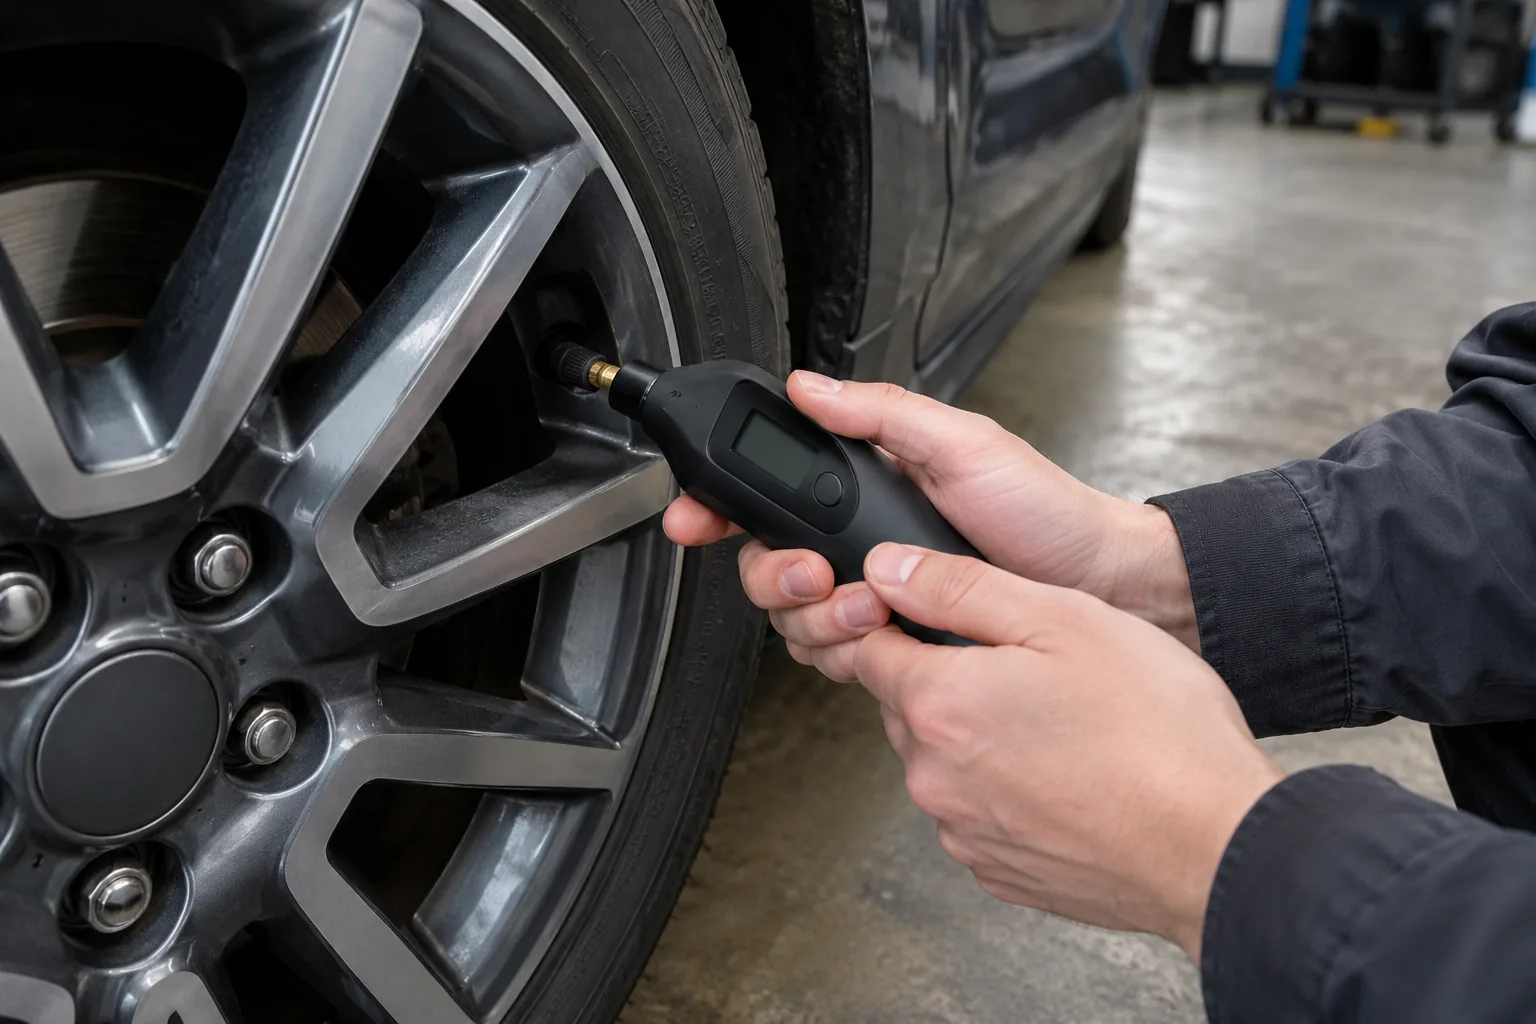
Check tires cold, press the gauge straight onto the valve stem, and match the reading to the door jamb placard. Then cross-check the gauge against the dashboard display.
The Quindrel Team
November 11, 2026 · 6 min read
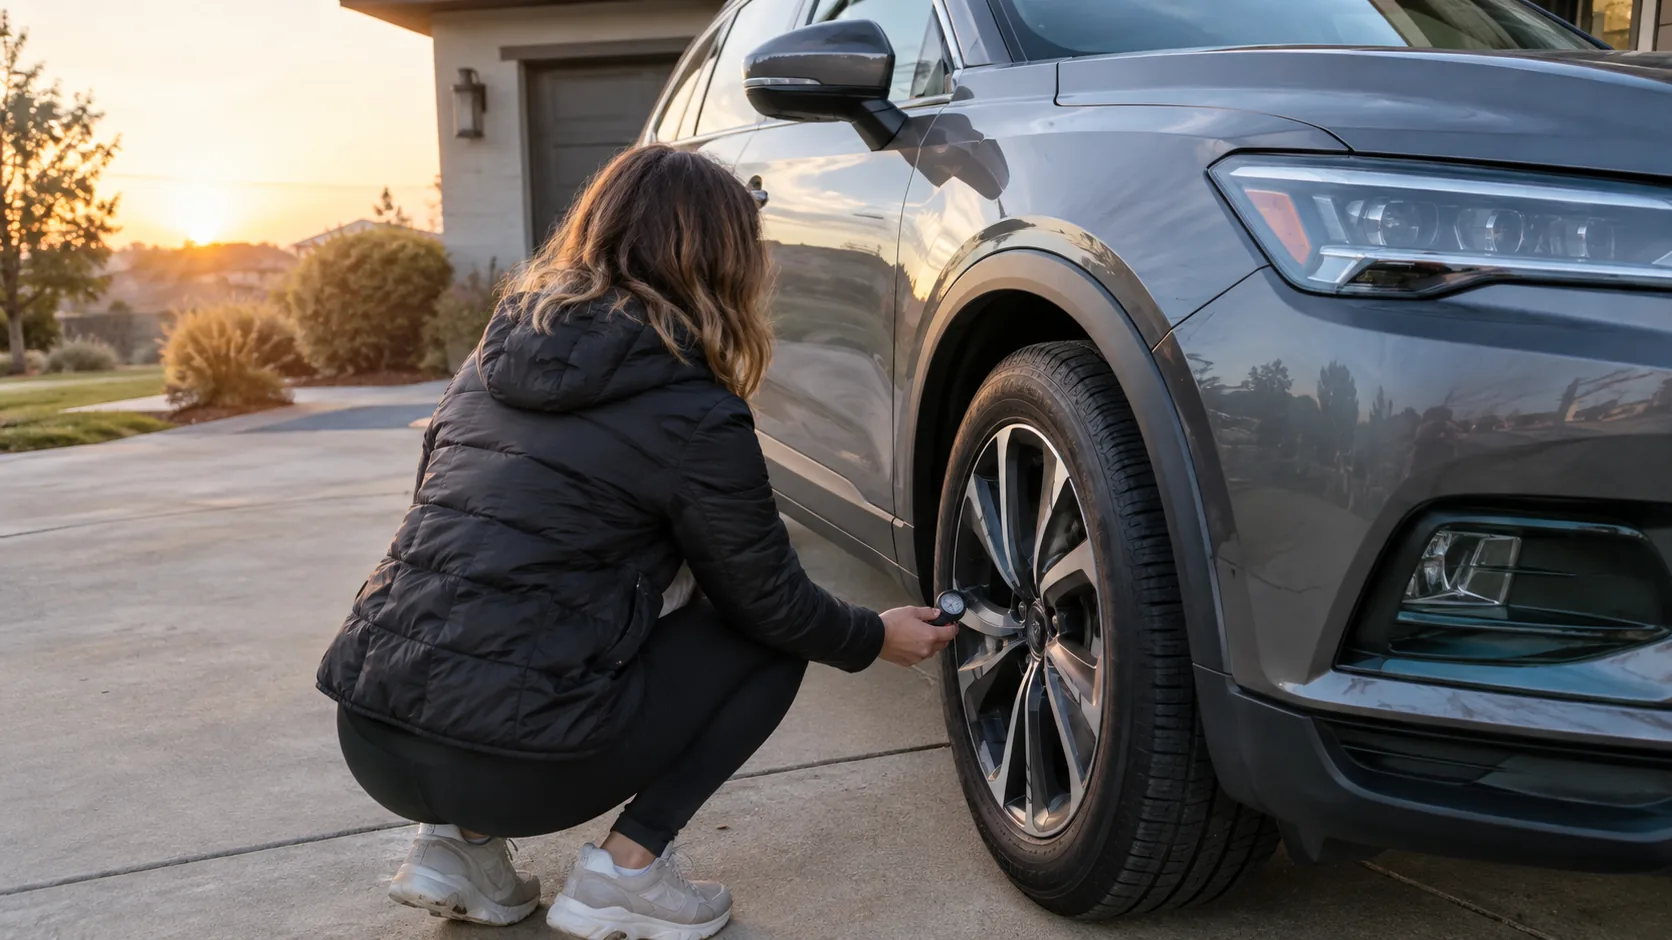
Here is how to use a tire pressure gauge: check the tires cold, remove the valve cap, press the gauge straight onto the valve stem until the hissing stops, and read the number. Compare it with the PSI printed on the placard in the driver's door jamb, not the number molded into the tire sidewall. Add or release air until each tire matches the placard.
This guide covers the full cold-tire procedure, where to find the correct PSI, how to read digital, dial and pencil gauges, how to use a gas station air hose, and how to cross-check your gauge against the dashboard display.
What You Need Before You Start
- A tire pressure gauge (digital, dial or pencil style)
- An air compressor or a station air hose
- A clean rag to wipe dust off the valve stem
- A pen and paper, or a phone note, to log each tire
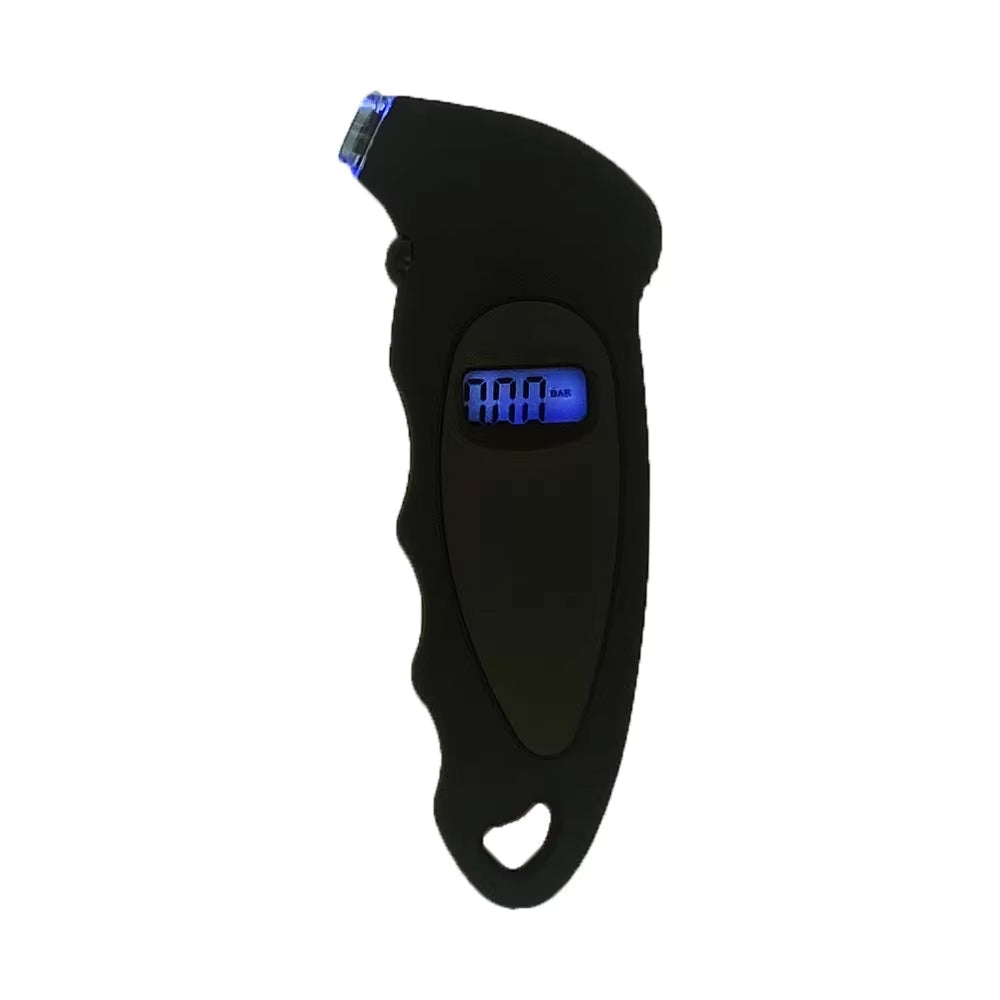
A digital model such as TrueTread shows the pressure as a number on an oversized LCD. It reads in PSI, BAR, KPA or KG/CM², and one button cycles through the units. It uses a replaceable LR44 battery.
 In this guideTrueTread$49.99View
Find the Correct PSI for Your Vehicle
The correct pressure is set by the vehicle maker, not the tire maker. Look in these places, in this order:
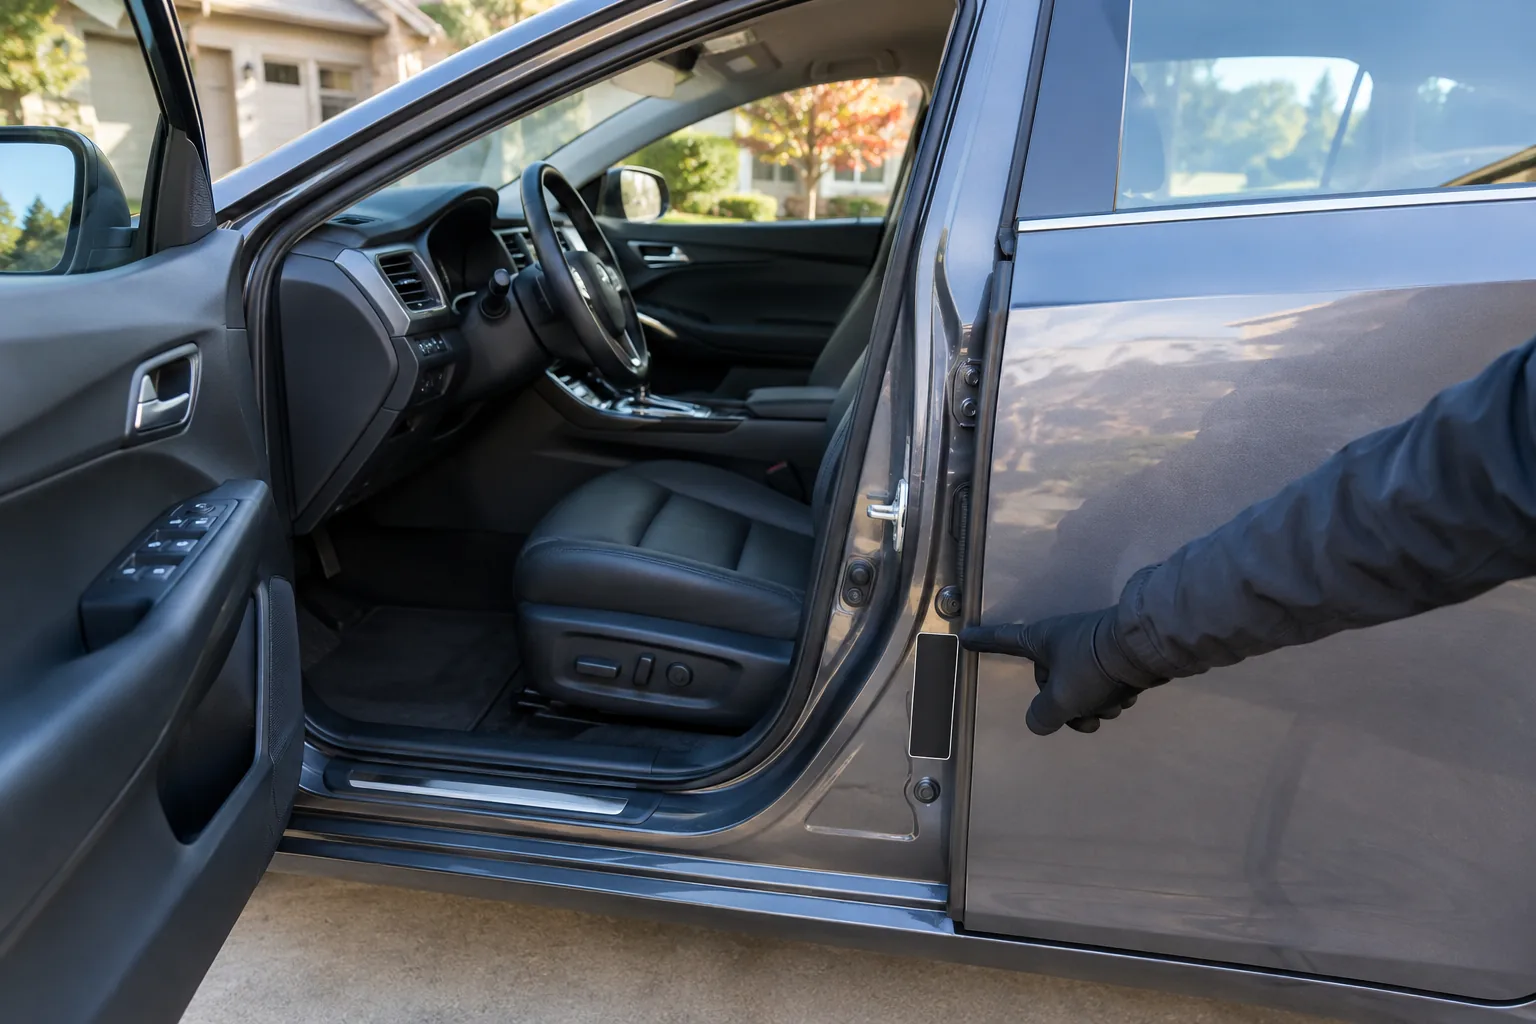
- The placard on the driver's door jamb
- The owner's manual, often in the tire or specifications section
- The inside of the fuel door, on some vehicles
The number on the tire sidewall is the maximum pressure the tire can hold, not the target. Front and rear tires can have different values, so read the placard for each axle. If your spare has its own listed pressure, check it separately.
How to Use a Tire Pressure Gauge, Step by Step
A tire is cold when the car has sat for at least three hours, or has been driven less than a mile. Driving warms the air inside and raises the reading, so a warm tire shows a higher number than its true cold value.
- Park on level ground and wait until the tires are cold.
- Unscrew the valve cap from the first tire and keep it in a pocket.
- Wipe the valve stem with a rag.
- Press the gauge straight onto the stem, with steady pressure, until the hiss stops.
- Read the display and write the number down.
- Add air or release it, then recheck.
- Replace the valve cap and move to the next tire, including the spare if it has a listed pressure.
If you hear continued hissing, the gauge is not seated squarely. Lift it off and press again.
Adding and releasing air
Add air in short bursts and recheck after each one. To release air, press the small pin in the center of the valve stem with the release nub found on many gauges, or a small tool, then measure again. Follow your compressor's manual when using it.
Using a Gas Station Air Hose
Most station hoses have a built-in gauge, but it can be worn or dirty, so confirm the result with your own gauge. Press the hose chuck onto the stem, add air in short bursts, then remove it and measure with your handheld gauge.
You also arrive with warm tires if you drove there, and warm tires read higher than cold ones. The tip below shows how to handle that.
Field note
Measure each tire cold at home before you drive, and note how many PSI each one is short of the placard value. At the station, add that same amount on top of the warm reading shown there, not on top of the placard value. Recheck cold at home later.
Reading Digital, Dial and Pencil Gauges
| Gauge type | How you read it | Watch for |
|---|---|---|
| Digital | Number on an LCD | Battery condition; the correct unit selected |
| Dial | Needle on a printed scale | Read straight on to avoid angle error |
| Pencil | A marked stick slides out of the barrel | Reset the stick before each use; read at the edge of the barrel |
With a digital gauge, the reading appears as a direct value, so there is no needle to interpret. Check that the display is set to PSI if your placard lists PSI. Manuals sometimes list BAR or KPA, and a multi-unit gauge lets you read whichever the vehicle uses.
To reset a pencil gauge, push the stick back into the barrel with your thumb until it sits flush. Then press the gauge onto the stem and read the number at the edge of the barrel.
How to Check Tire Pressure Without a Gauge
You cannot read an exact value by eye or by kicking the tire. A tire can be well below its placard value and still look normal, so looks are not a reliable guide. If the dashboard monitor light is on, one or more tires are low, but it does not say how much. Use a gauge for the actual number.
How to Check Your Tire Pressure Gauge Is Accurate
A gauge can drift, take a knock, or run on a weak battery. Use these steps to cross-check:
- Measure all four tires cold with your gauge and log the numbers.
- Compare each with the dashboard display of the tire pressure monitor, if your vehicle shows individual values.
- Measure the same tire three times in a row. The readings should match closely.
- Repeat with a second gauge, such as a dial gauge from another source.
- If readings differ, go with the pair that agrees and replace the gauge that disagrees, or have it checked if its maker offers that.
The dashboard display and a handheld gauge may differ by a small amount, since they use different sensors. A large gap or a changing reading on repeat checks points to a gauge problem or a leaking valve. For a digital gauge, replace the LR44 battery first, then test again. A dim display is a reason to swap the cell.
Common mistakes
- Measuring warm tires after a drive
- Using the sidewall number as the target
- Skipping the spare
- Letting dirt into the valve stem
- Forgetting the valve caps
- Pressing at an angle so air leaks
PSI Questions: 29, 40 and What the Gauge Should Say
The gauge should read the number on your door placard. Placard values differ by vehicle, so check yours. A reading of 29 PSI is low only if your placard says a higher number; if the placard lists 35, add air before driving far, and if it lists 29, it is correct. Likewise, 40 PSI is too high if the placard lists 32, but it may match a vehicle or load that lists it. When in doubt, follow the placard and manual.
For related pressure basics, see how to pump a bike tire, which covers valve types and pressure ranges. If you want more tools like this, browse the Battery, Tire & Air Care collection.
A Simple Monthly Routine
- Check all tires cold once a month and before long trips
- Log the numbers so you can spot a slow leak
- Check again after big temperature swings
- Store the gauge in its pouch, away from dirt
- Replace the gauge battery when the display dims
Keeping a written log makes a slow leak easy to spot, because one tire keeps dropping while the others hold steady.