How to Wire a Light Switch: Single-Pole, 3-Way and Testing
Turn off and verify power, put the ground on the green screw and the hots on the brass screws. This guide covers single-pole, 3-way and the meter checks around the job.
The Quindrel Team
November 7, 2026 · 8 min read
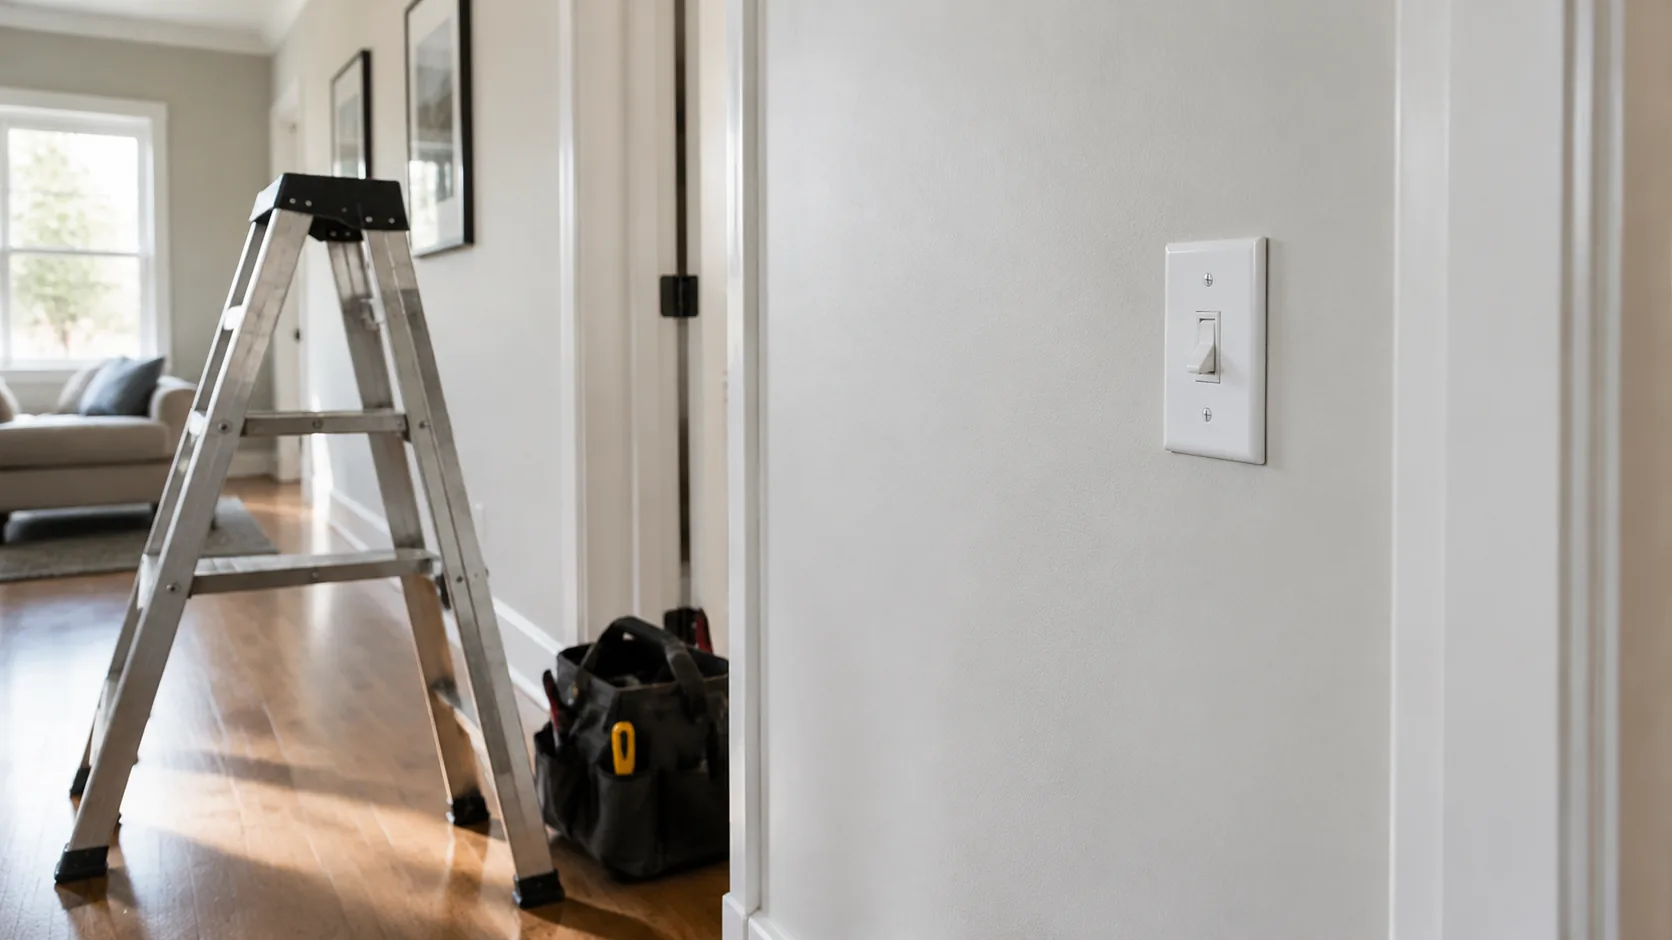
To learn how to wire a light switch, turn off the breaker, confirm the box is dead with a meter, then connect the bare copper ground to the green screw and the two black wires to the two brass screws of a single-pole switch. Either black wire can go on either brass screw. A 3-way switch adds a common terminal and two travelers, so those wires must be identified before you disconnect anything.
This guide adds a dead-circuit checklist, a wire identification table for single-pole and 3-way switches, and meter checks before and after the job. Electrical work carries real hazards, so follow your local code and the manual that came with the switch, and ask an electrician if anything in the box does not match what you read here.
Dead-circuit verification checklist
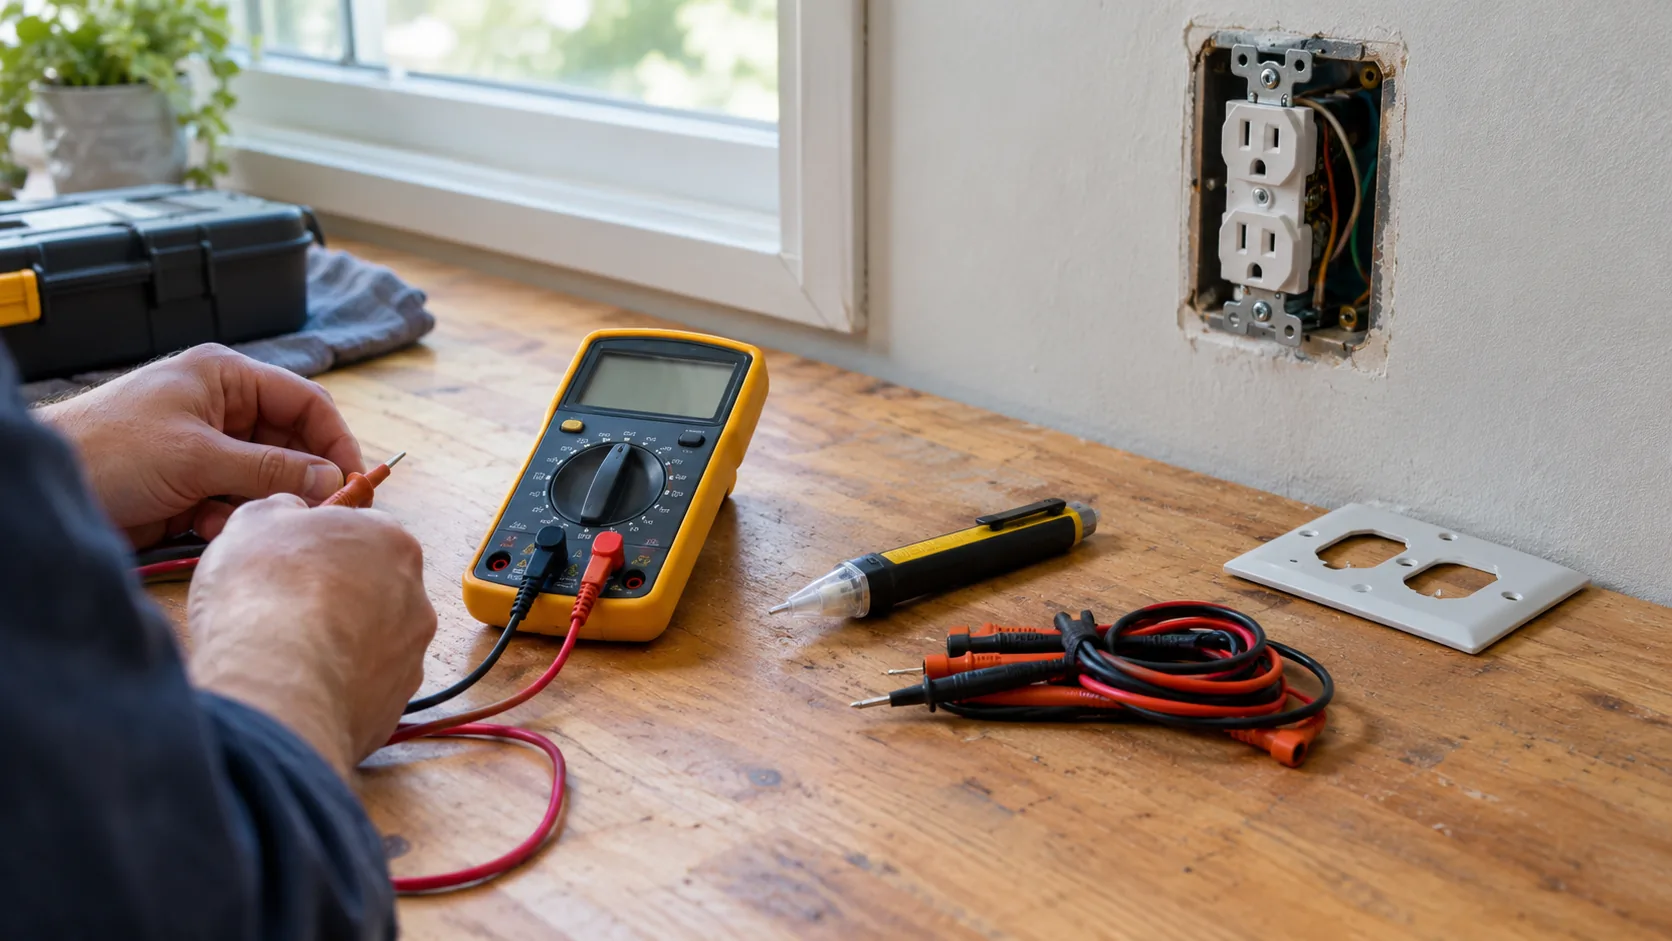
Flipping the wall switch off does not make the box dead. Cut power at the breaker, then confirm it with a tester. Work through this list in order.
- Turn on the light or plug a lamp into the circuit so you can see when it goes dark.
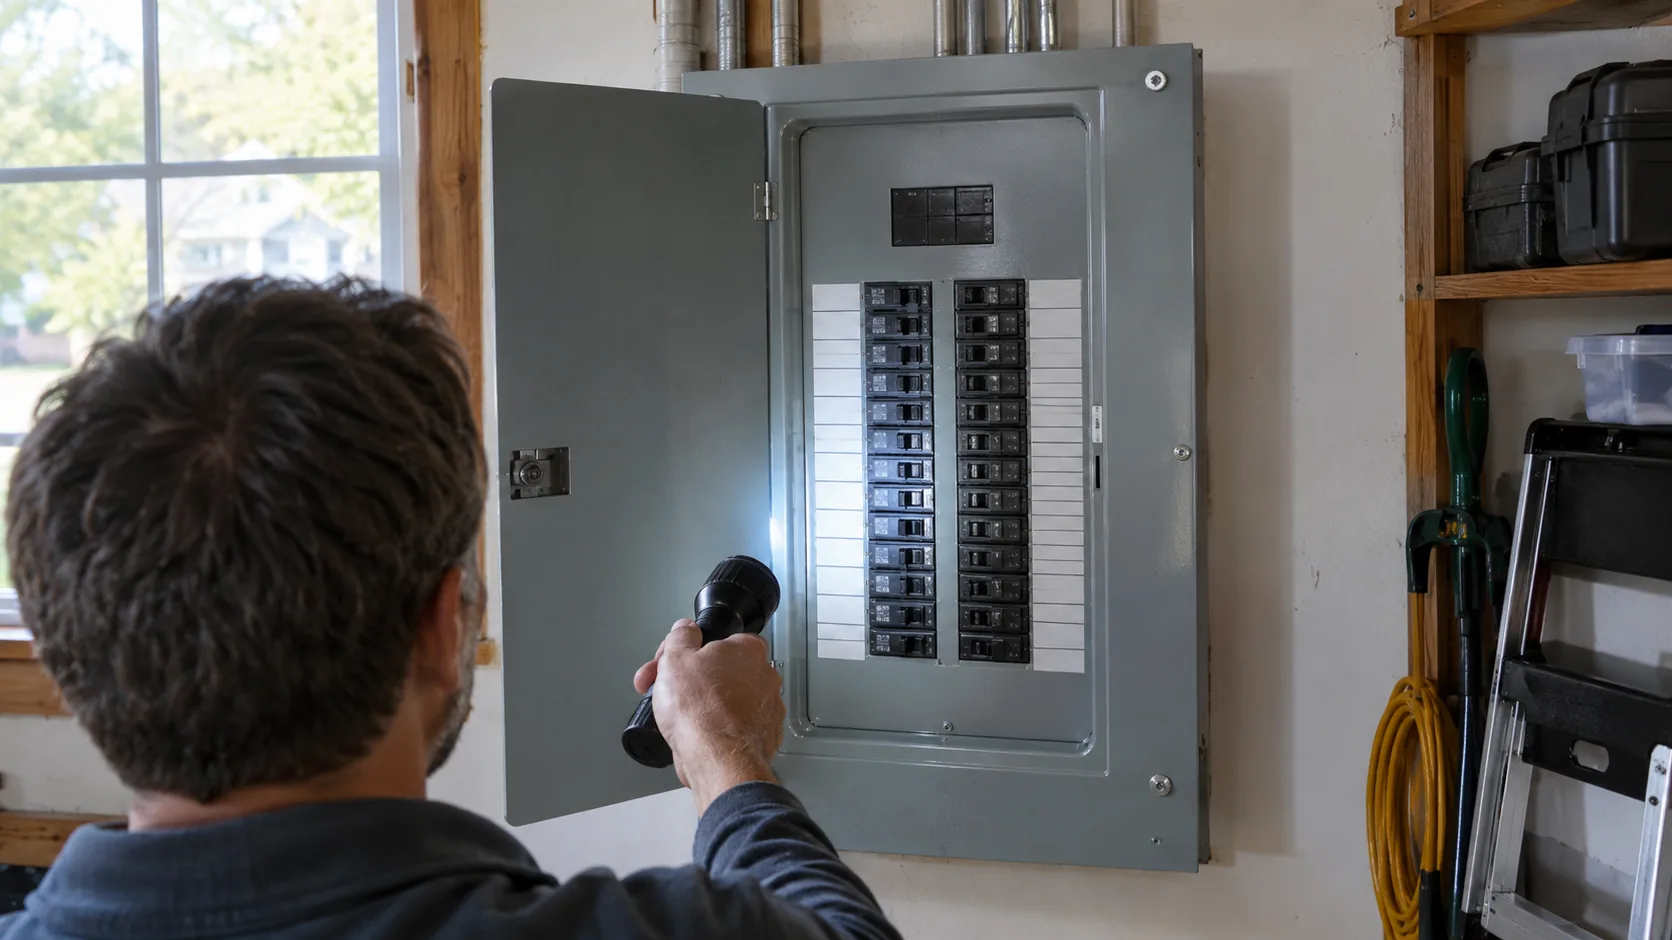
- Switch off the breaker that feeds the box and label it with tape so no one turns it back on.
- Check a working outlet or another known live source with your non-contact voltage tester or multimeter to confirm the tester responds.
- Remove the cover plate and the two screws holding the switch, then pull the switch forward without touching bare terminals.
- Check the switch wires and terminals with the tester. A multimeter set to AC volts should read 0 between each wire and ground, and between the two wires.
- Check the known live source again. If the tester still responds there, the tester is working, so the zero reading in the box reflects the circuit. Still handle every wire as live until each one has been checked.
- Look for other cables in the box. A multi-gang box can hold circuits from more than one breaker, so check every wire you plan to touch.
If you want a refresher on reading a meter, see How to Use a Digital Voltage Meter on 12V and Household Circuits. If the breaker will not stay on, read How to Reset a Breaker and Find What Keeps Tripping It before opening the box.
Tools and materials
- Non-contact voltage tester and a multimeter
- Slotted and cross-head screwdrivers
- Wire strippers and needle-nose pliers
- Replacement switch of the correct type (single-pole or 3-way)
- Wire connectors and electrical tape
- Your phone camera, to photograph the old wiring
Browse the Electrical & Signal Testers collection if you need a tester for the verification steps above.
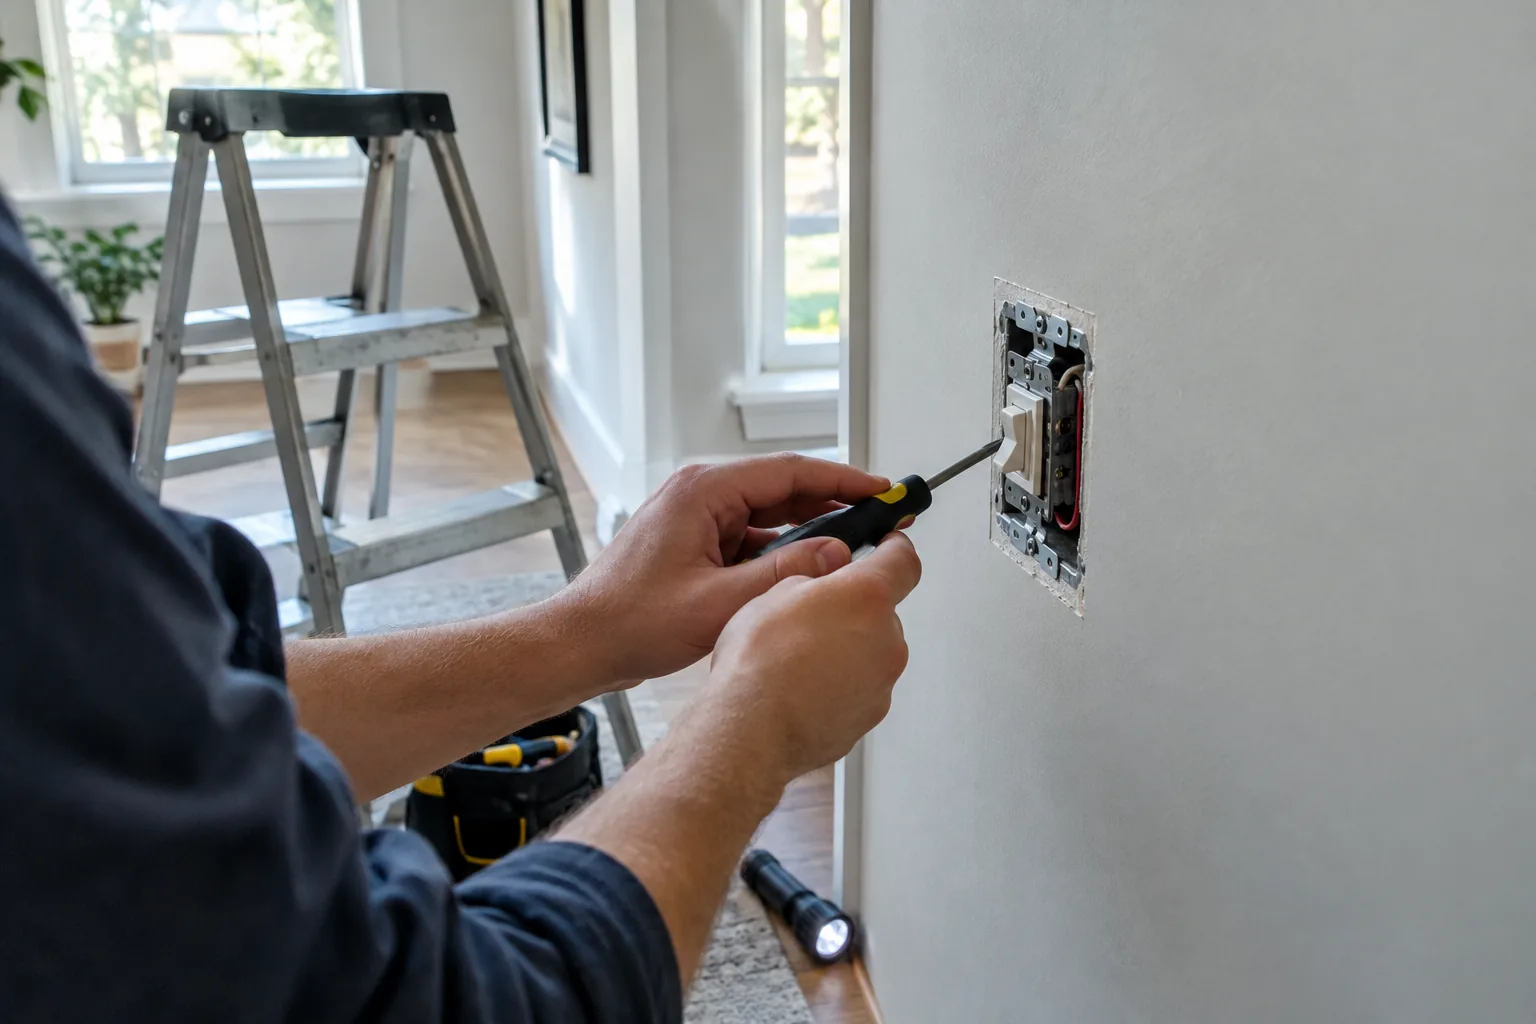
How to wire a light switch: identify the wires
Before disconnecting, photograph the box and mark each wire with tape. Standard colors are black hot wires, white neutral wires and bare copper or green ground wires. In a switch loop, a white wire is sometimes used as a hot and may be re-marked with black tape, so check it with a meter instead of trusting the color.
| Item | Single-pole switch | 3-way switch |
|---|---|---|
| Terminals | Two brass screws plus a green grounding screw | One common screw (often darker) and two brass traveler screws plus a green grounding screw |
| Wires in the box | Two black (or one black and one re-marked white) and a ground | Cable with black, red and white wires plus a ground, in a two-switch circuit |
| Does order matter? | No, either hot wire can go on either brass screw | Yes, the common wire goes on the common screw; the two travelers can swap |
| On/off markings | Marked ON and OFF; install with ON up | No ON or OFF markings |
| Neutral | Usually passes through the box with a wire connector | Usually passes through the box with a wire connector |
This answers which wires go where: ground to the green screw, hots to the brass screws (or common and travelers on a 3-way), and neutrals joined together and left off the switch. Dimmer switches follow their own manual, so read its wire list before you buy or install one.
How to wire a single-pole light switch
A single-pole switch controls one light from one location. These steps also cover how to replace a light switch that has failed or looks worn.
- Complete the dead-circuit checklist and photograph the old wiring.
- Loosen the terminal screws and pull the wires off the old switch. Straighten any bent ends with needle-nose pliers.
- If the wire ends look nicked or burned, cut them back and strip the insulation to the length shown on the strip gauge on the back of the switch or in its manual (about 3/4 inch is a typical example).
- Form a clockwise hook on the bare copper ground and tighten it under the green screw.
- Hook each black wire clockwise under a brass screw and tighten firmly. The loop should sit under the screw head, with no bare copper outside the terminal.
- Leave the white neutral wires joined together with a wire connector, tucked at the back of the box.
- Fold the wires into the box in an accordion pattern, set the switch with ON facing up, and fasten it with the mounting screws.
- Attach the cover plate, restore the breaker and operate the switch.
How to wire a switch to a light
When you are running a new circuit, power arrives at the switch box, and a cable runs from the switch to the fixture. The switch interrupts the black hot wire only. At the fixture, connect black to black, white to white and ground to ground, then follow the fixture manual for mounting.
Two wires, three wires and series
A switch with only two wires plus ground often sits at the end of the run, where the hot goes in one brass screw and out the other. With three wires, you may have a hot, a switched leg and a neutral passing through, or the black, red and white of a 3-way cable. Identify each with a meter. A light switch wired in series is not a standard method; one switch in line with the hot wire is the normal arrangement.
How to wire a 3-way light switch
Two 3-way switches control one light from two places. To wire a 3-way light switch correctly, find the common wire first, because it is the only one that cannot be swapped.
- With the power off and verified, identify the common wire. On one switch it brings power in from the breaker; on the other it carries power out to the fixture.
- Label the common wire with tape before you disconnect it. The other two wires are the travelers, often red and black in the cable between the switches.
- Attach the common wire to the common screw, the darker one on most switches.
- Attach the two travelers to the two brass screws in either order.
- Connect the ground to the green screw and join the neutrals with a connector.
- Repeat at the second switch, then restore power and operate both switches in every combination.
If the light works from one switch but not the other, the common wire is the usual suspect. Turn the breaker off and check which screw it landed on.
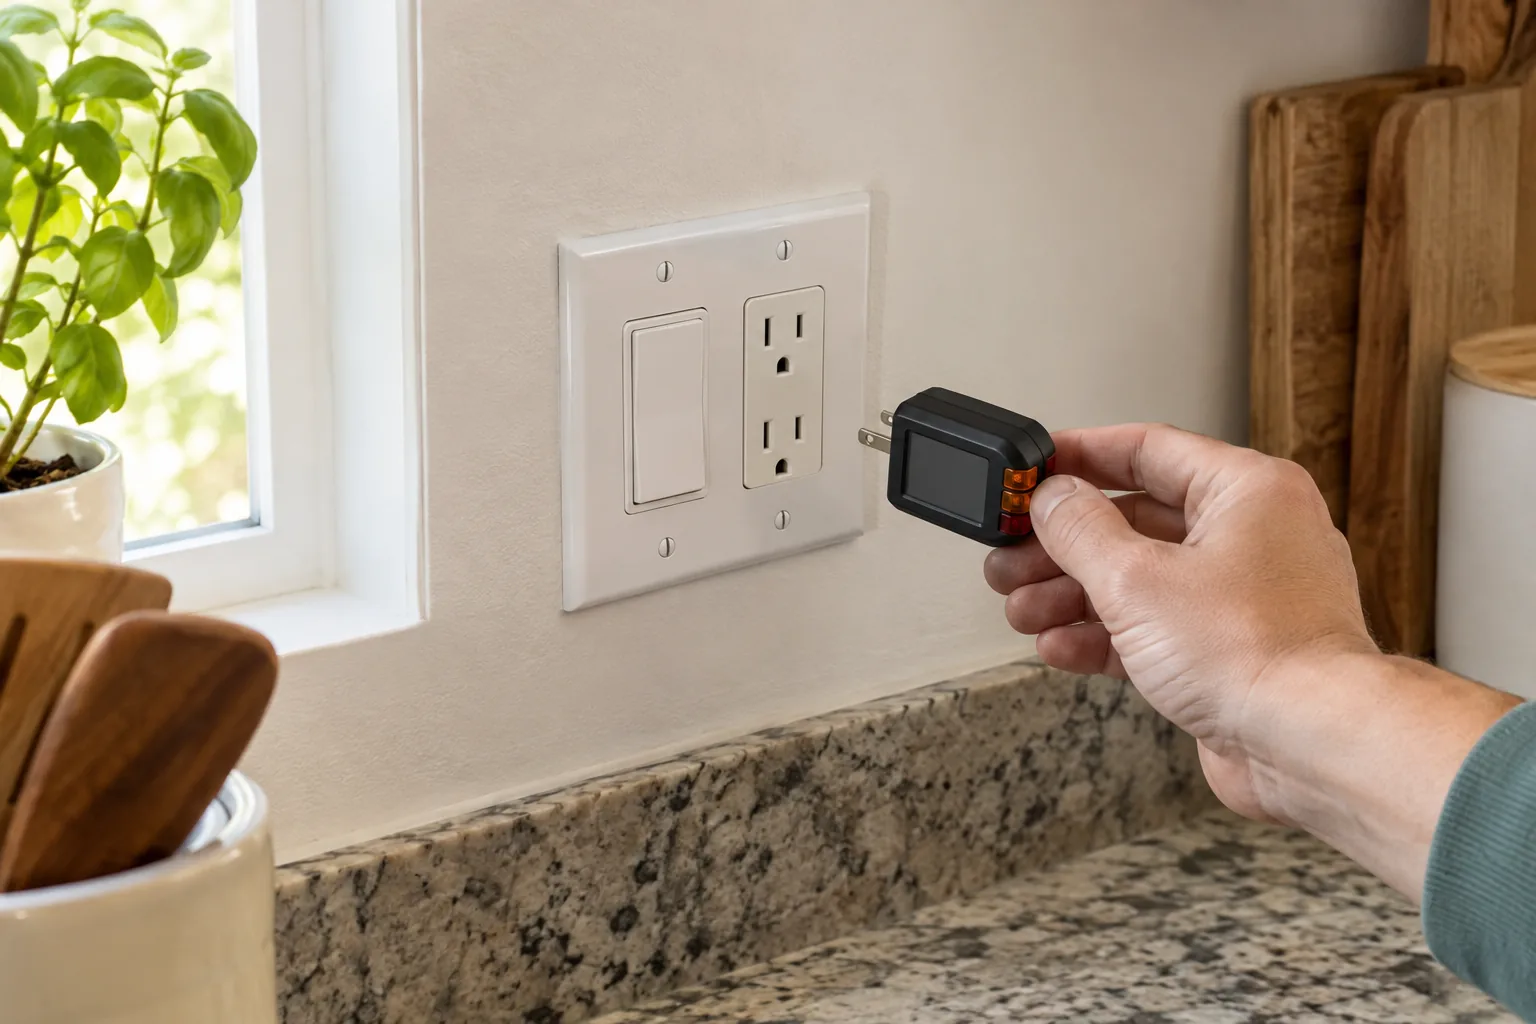
Wiring a light switch and an outlet in one box
For how to wire a light switch and outlet in the same box, think of them as two devices that share power. The outlet's hot terminal (brass) and neutral terminal (silver) carry power for whatever is plugged in, while the switch only controls the light. Use short pigtails of black wire to feed both devices from the incoming hot, rather than looping power through the switch terminals, unless the manual for your devices describes a different method.
- Join the incoming black, one pigtail to the switch and one pigtail to the outlet with a wire connector.
- Join the white neutrals with a pigtail to the outlet's silver screw.
- Join all grounds with a pigtail to each device's green screw.
Once the cover is on and the breaker is back, plug OutletIQ into the outlet. It checks the connections between hot, neutral and ground and reports conditions such as open ground and reversed polarity on its backlit display. It also reads AC voltage from 48V to 250V and has a dedicated RCD (ground-fault protection) test button; follow the tester's manual for that check. It draws power from the outlet, so it needs no batteries. It checks outlets only, so it does not confirm the switch wiring.
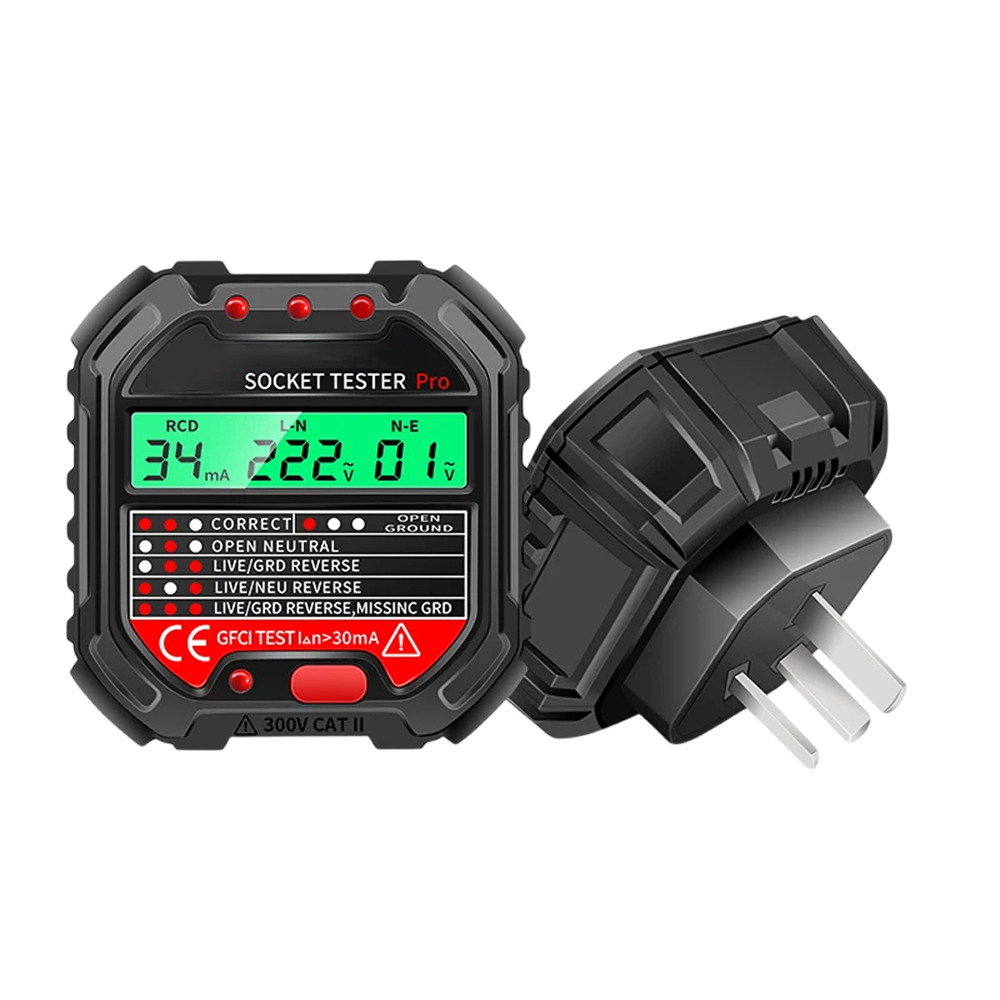 In this guideOutletIQ$69.99View
Field note
Write the circuit down: after the job, note which breaker feeds the box and which wire went on which screw. The note helps the next person who opens the box.
After-job meter checks and wiring mistakes
Once you know how to wire a light switch, the last step is confirming that nothing is loose. After restoring the breaker, run these checks.
- Operate the switch several times and watch the light.
- Listen for buzzing or crackling and switch off the breaker if you hear it.
- Check the cover plate and switch body for warmth after the light has been on a while. Noticeable warmth can point to a loose connection or another fault; turn the breaker off, recheck, and call an electrician if it persists.
- If an outlet shares the box, check its wiring status with a plug-in tester.
What happens if you wire a light switch the wrong way
Results depend on the error. A swapped hot on a single-pole switch changes nothing, since either brass screw works. A misplaced common on a 3-way gives a light that responds to only one switch. Reversing hot and neutral can leave the fixture energized when the switch is off. A loose connection can arc, overheat or trip the breaker. For any of these, turn the breaker off and recheck.
Common mistakes
- Relying on the wall switch position instead of checking the wires.
- Skipping the live-source check before and after the dead reading.
- Putting a neutral on a switch terminal.
- Leaving the ground off the green screw.
- Stuffing wires into the box so they press against the terminals.
When to call an electrician
Stop and call an electrician if the box has aluminum wiring, cloth-covered or brittle insulation, scorch marks, no ground wire, or wires you cannot identify with a meter. The same goes for a breaker that trips right after you restore power, or for circuits that stay live after you turn off the breaker. Local code may also require a permit or an inspection for new circuits, so check before you start.