How to Use a Digital Voltage Meter on 12V and Household Circuits
Set the dial to the right voltage type, plug the probes into the right jacks, touch them across the circuit and read the display. This guide shows it on a 12V battery and an outlet.
The Quindrel Team
October 24, 2026 · 8 min read
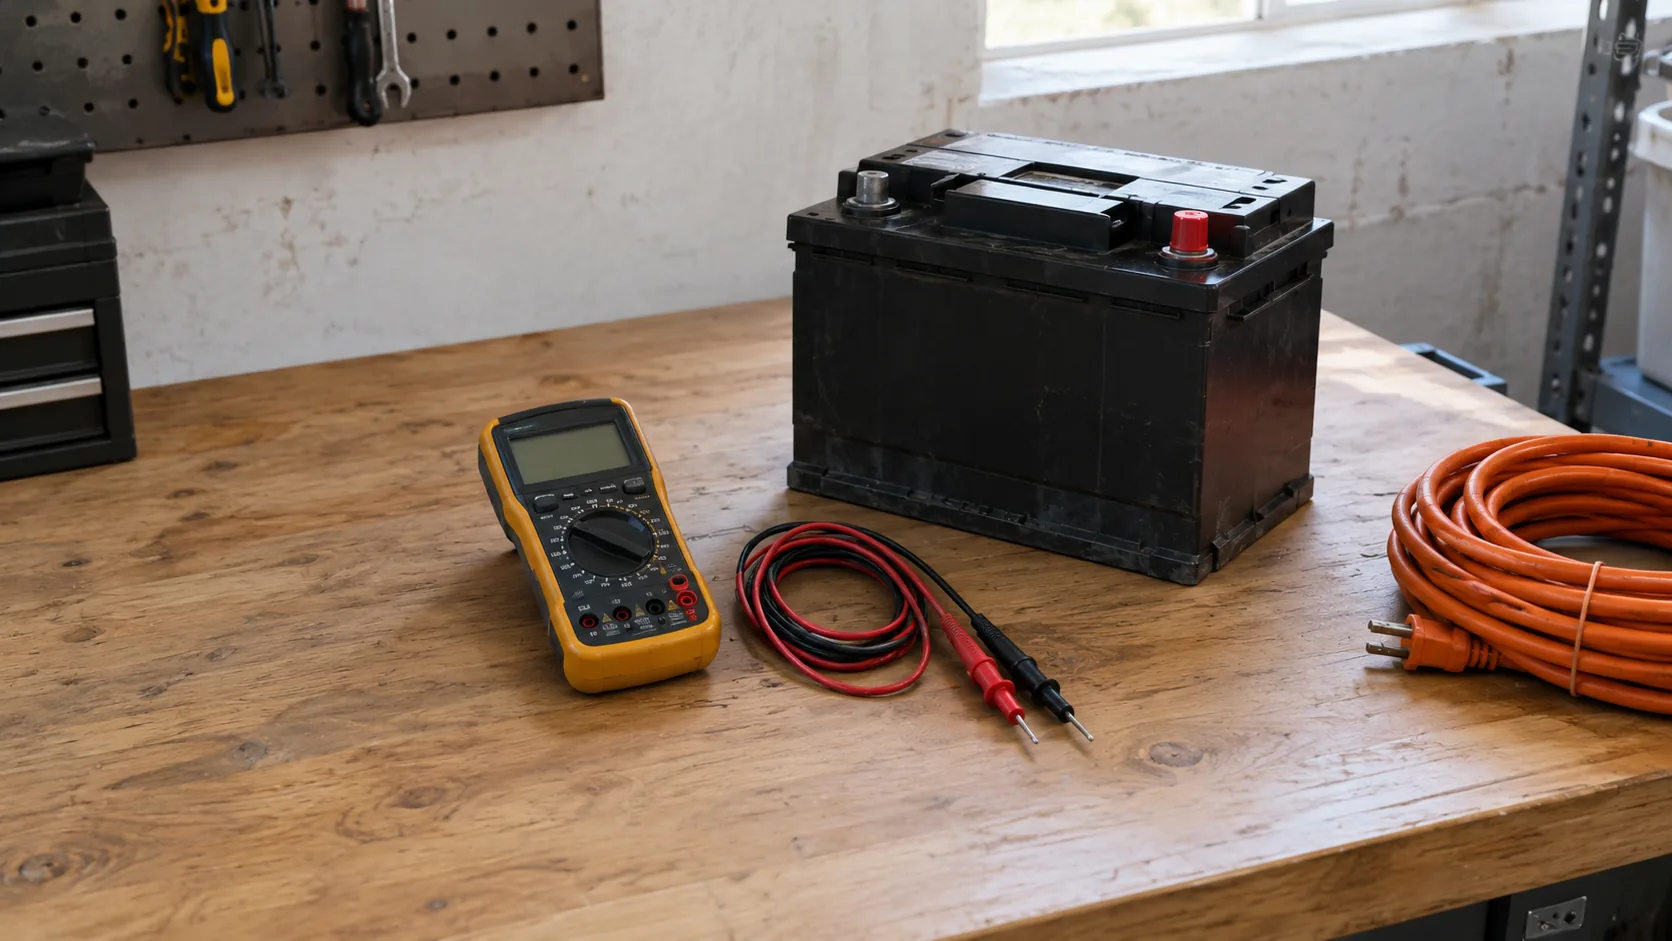
How to use a digital voltage meter comes down to three moves: set the dial to the correct voltage type (DC for a car battery, AC for an outlet), put the black probe in the COM jack and the red probe in the voltage jack, then touch the probe tips across the two points you want to measure. The number on the display is the voltage between those points. This guide covers the settings, probe placement and reading examples for a 12V battery and for household circuits.
Voltage is measured across a circuit, not in line with it like current. That one idea explains most of the steps below.
The parts of a digital meter you need to know
A multimeter looks busy, but a voltage reading uses only a few parts. Find these on your meter before you touch any circuit.
| Part | What it does for a voltage reading |
|---|---|
| Display | Shows the number, the unit and the polarity sign |
| Selector dial | Chooses the function and the voltage type |
| COM jack | Takes the black probe, always |
| Voltage jack | Takes the red probe, usually marked V with the ohm symbol |
| Current jack | Marked A or mA; leave the red probe out of it for voltage |
| Probes | The red and black leads with metal tips that touch the circuit |
| Hold button | Freezes the number on the display on meters that have one |
Beyond voltage, the dial also covers resistance, continuity, current and sometimes capacitance, diode and temperature. Ignore those positions for now and keep the black probe in the COM jack for every reading.
Choose the right voltage setting
Look at the dial for two voltage positions. A straight line with dashes marks DC voltage, which batteries and vehicle circuits use.
A wavy line marks AC voltage, which wall outlets deliver. Picking the wrong type gives a reading that is zero, unstable or meaningless. If your meter has several ranges, start on a range higher than the voltage you expect. Auto-ranging meters pick the range for you.
Check the leads before every job
- Look along the insulation for cuts, kinks or exposed wire.
- Confirm the black probe is in COM and the red probe is in the voltage jack.
- Read the meter's manual for its maximum voltage and category markings.
- Keep your fingers behind the finger guards on the probes.
A technical school's walkthrough of digital multimeter basics covers the same dial and jack layout if your meter looks different from the one described here.
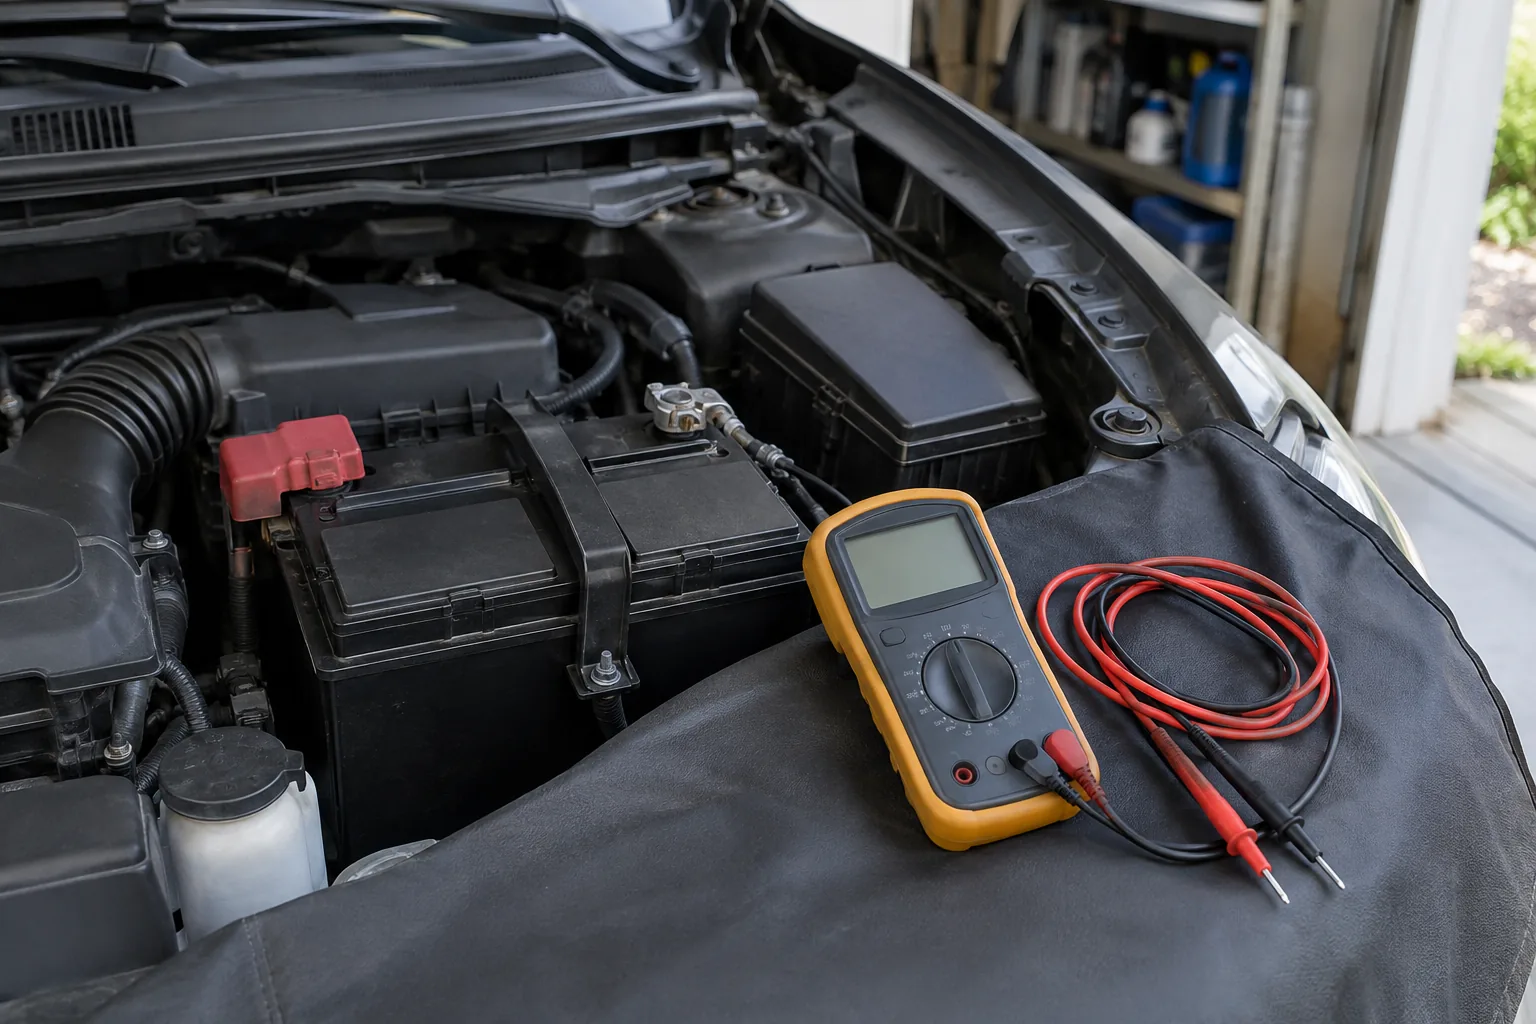
How to use a digital voltage meter on a 12V car battery
This is the simplest place to start, because a battery has two clearly marked terminals and the voltage is DC. If you also want to see what a charger does, our guide on using a battery charger for a car walks through the charging side.
Steps
- Turn the engine and all accessories off, and remove metal jewelry.
- Turn the dial to DC voltage. Pick a range above 12V, such as 20V, if the meter is not auto-ranging.
- Plug the black probe into COM and the red probe into the voltage jack.
- Touch the red probe to the positive (+) terminal and the black probe to the negative (-) terminal. Press the tips on the metal of the terminal posts, not the cable clamp insulation.
- Hold the probes steady and read the display.
- Remove the probes, then turn the meter off.
If the display shows a minus sign, the probes are reversed. The magnitude is still right; swap the probes to read a positive number.
Reading examples for a 12V battery
| Reading with engine off | What it suggests |
|---|---|
| About 12.6 V or higher | Battery is fully charged and resting |
| About 12.2 to 12.4 V | Partly charged; consider charging |
| Below about 12 V | Discharged; charge it and read again |
| 0 V | Check probe contact, the dial setting and the meter's own battery |
These figures are general guidance for a resting lead-acid battery. A battery that just came off a charger or a drive can show a high surface voltage until it settles, so let it rest before you judge it. Your vehicle's manual lists the numbers that apply to your battery type.
Field note
To read a car's charging system, take the same two-probe reading with the engine running. A noticeably higher number than the resting reading shows the alternator is supplying the circuit. Keep hands, loose clothing and the probe leads clear of belts and fans.
Using a multimeter to check house wiring and outlets
Household circuits carry enough energy to be dangerous, so this section is deliberately conservative. Follow your meter's manual, use leads in good condition, and ask a licensed electrician if you are unsure or if you are opening a panel or junction box. Do not probe inside a panel unless you are qualified to.
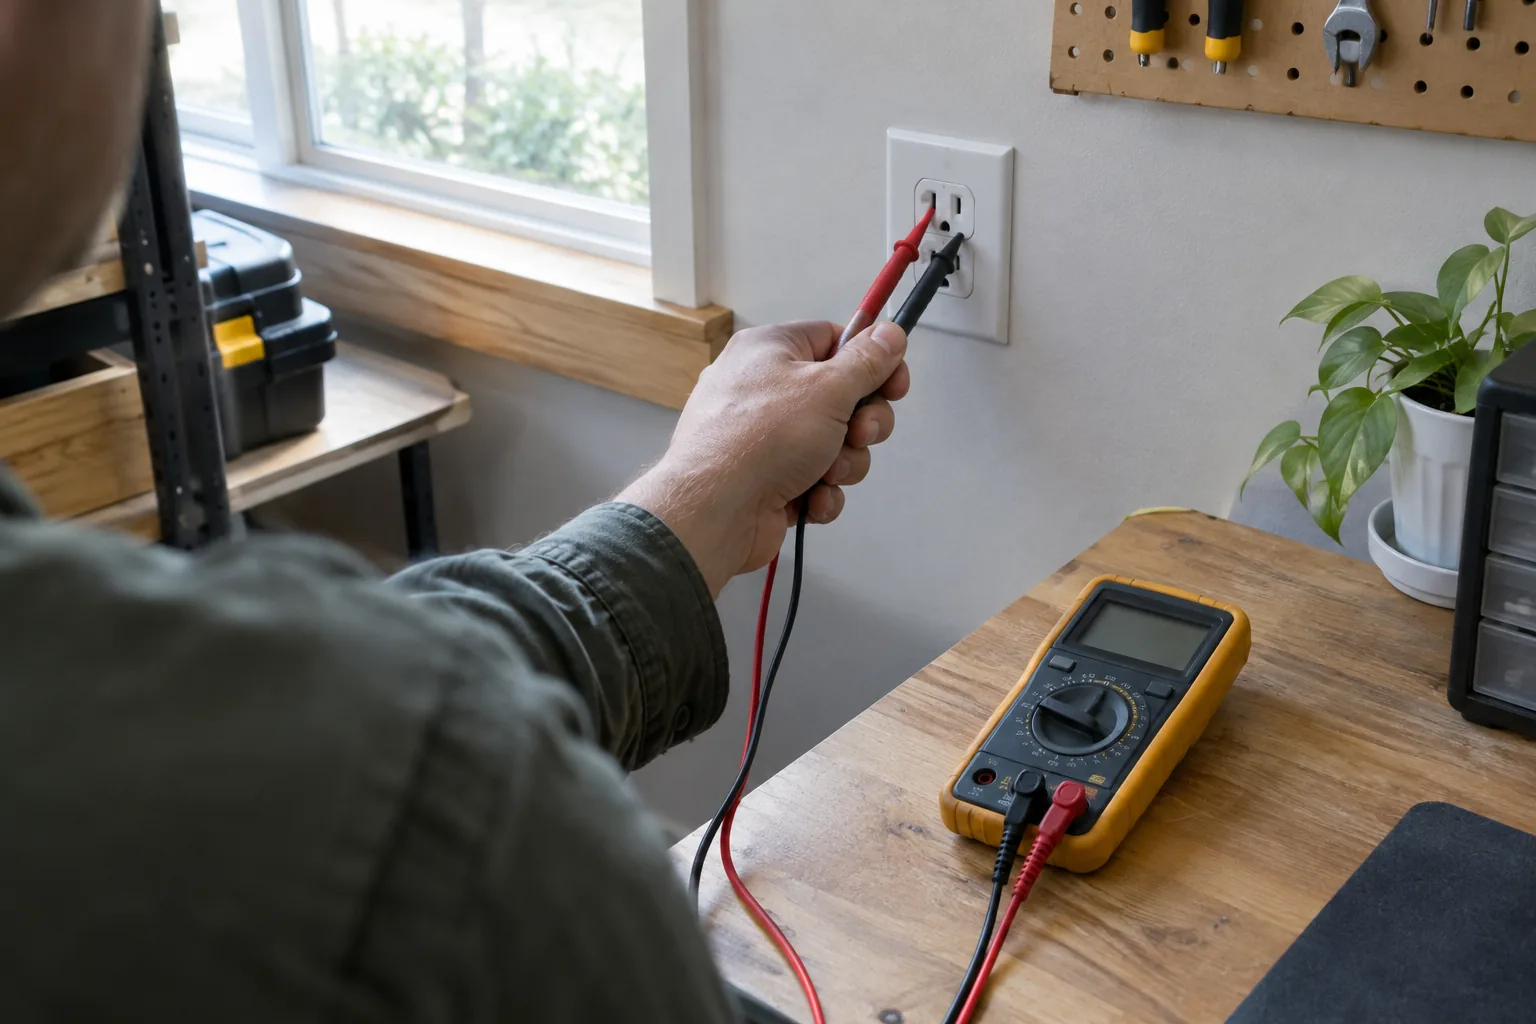
Reading a standard outlet
- Turn the dial to AC voltage (the wavy line) and choose a range above the expected household voltage.
- Check that the probes are in COM and the voltage jack.
- Hold each probe by its insulated body, with your other hand away from the outlet.
- Insert one probe tip into each vertical slot. Do not push into the round ground hole for a standard reading.
- Read the display, then withdraw the probes one at a time.
A typical US outlet reads in the neighborhood of 120 V AC. A reading far from that, a flickering number or a zero all call for a closer look at the circuit by someone qualified.
Other useful outlet comparisons
| Probe placement | What the reading shows |
|---|---|
| Hot slot to neutral slot | The normal supply voltage |
| Hot slot to ground hole | Similar to the supply voltage if the ground is connected |
| Neutral slot to ground hole | Close to zero on a normal circuit |
If the hot-to-ground reading is zero or much lower than hot-to-neutral, the ground path needs attention. Call an electrician rather than opening anything yourself.
Wires and cords
For wires on an appliance, a voltage reading shows whether power is present before you handle them. Assume the conductors are live until the meter shows otherwise. Before you trust a zero, check the meter on a known live source at the same setting: a battery for DC, or an outlet you know is working for AC. Follow the manual, and ask an electrician if the wiring is not a plain appliance cord.
Using a multimeter as a voltage detector, and a note on plug-in meters
A multimeter measures a number, while a non-contact voltage pen only signals that voltage may be near. The pen is a presence check; the multimeter tells you how much voltage is there. If the pen gives no signal near a wire, do not assume the wire is dead. Check the meter on a known live source, measure the wire, then check the meter on the known live source again.
A plug-in energy meter is a different tool. It sits between an outlet and an appliance, so there are no probes to hold, and it reports the load of one device.
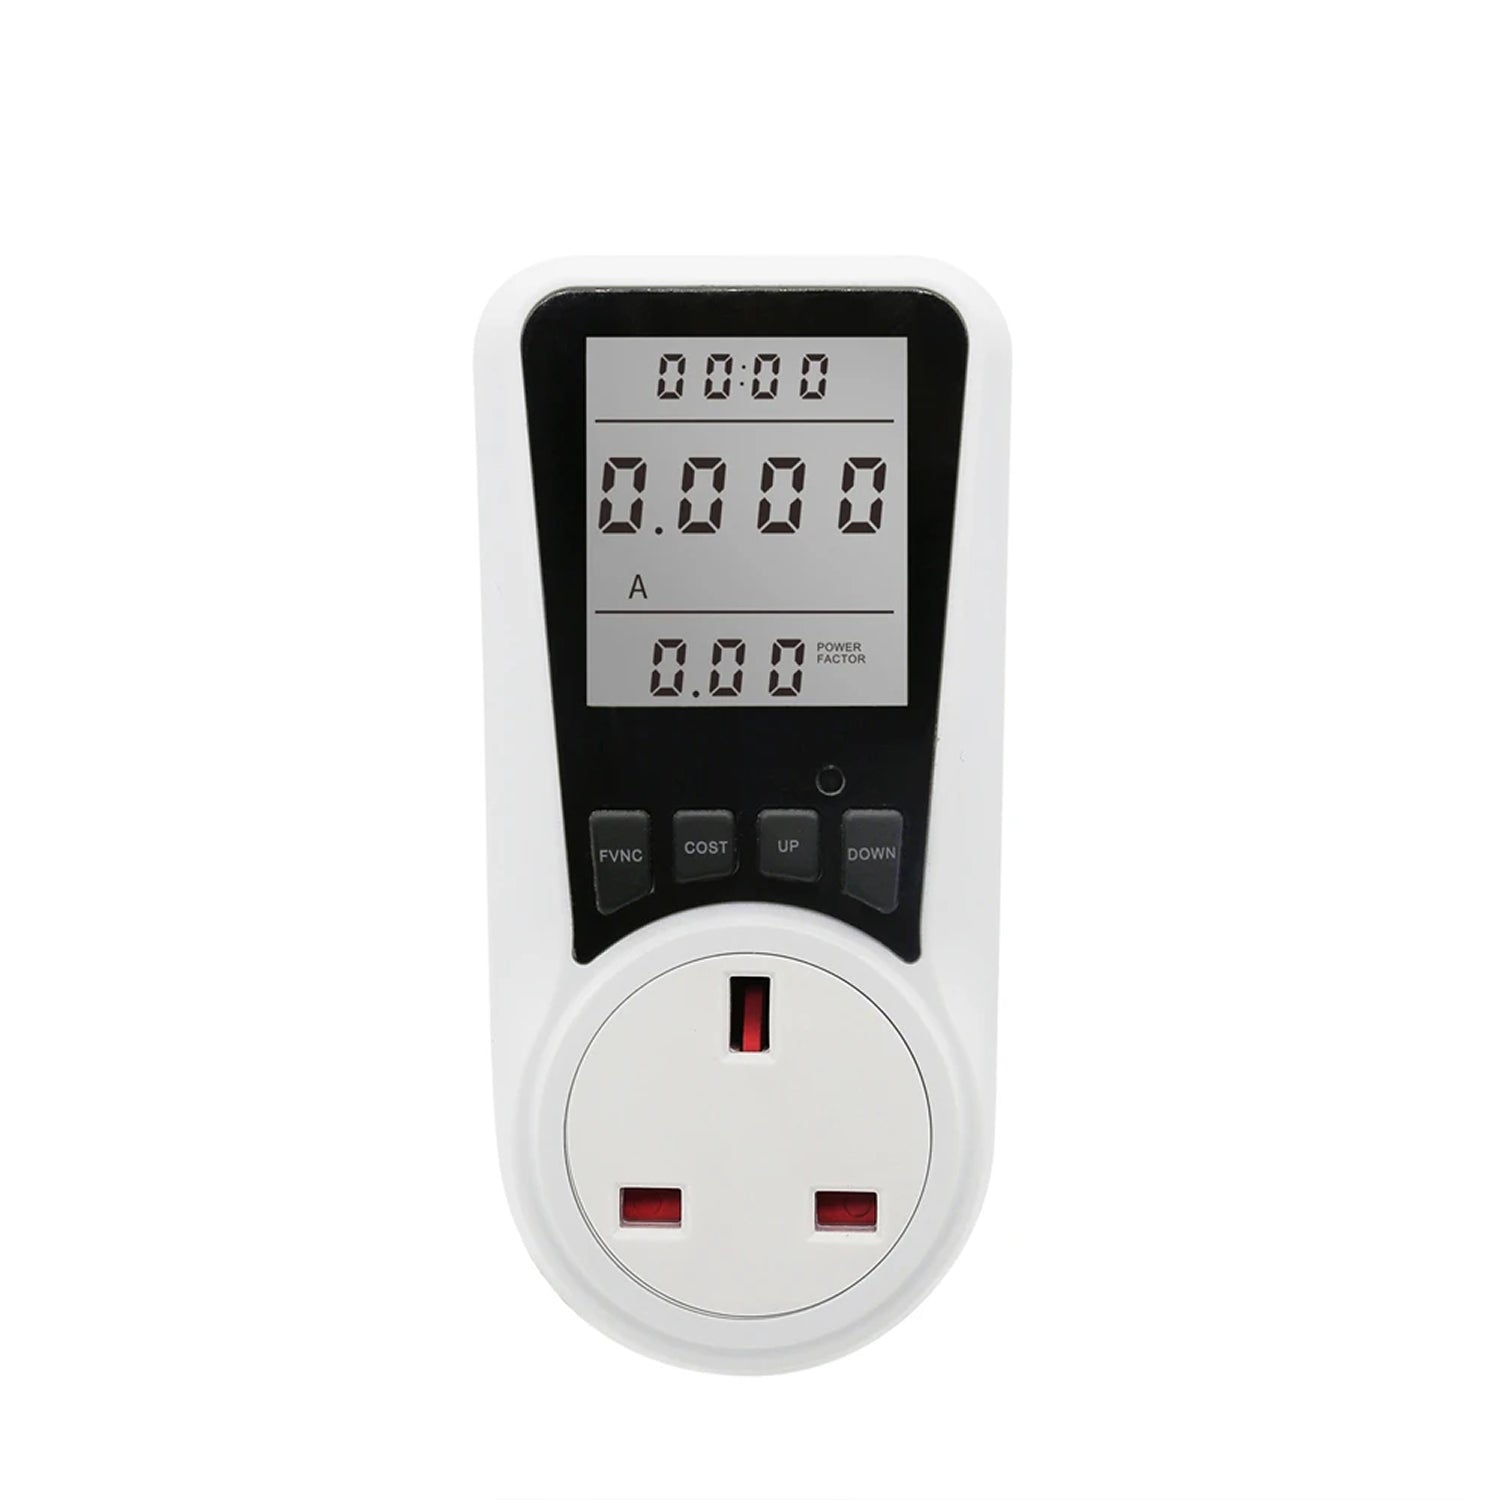 In this guideVoltSage$69.99View
VoltSage is a plug-in digital energy meter. You plug it into an outlet, plug an appliance into the meter, and press the function button to cycle through voltage, amperage, wattage and running cost. Enter your utility rate from your bill, per kWh, once, and it shows running cost for the device you check.
The product page specifies 230V and 19A input. That differs from the roughly 120 V of a standard US outlet, so read the manual and check your outlet's voltage before you plug it in. It flashes an overload warning when the connected load passes 3680 watts; if you see it, unplug the appliance and check what is drawing so much power. The LCD uses a high-contrast layout, so the numbers can be read from different viewing angles. For probe-style meters, pens and other options, browse the electrical and signal testers collection.
Common mistakes and a pre-reading checklist
Bad readings come from a few habits. Run through this table each time.
| Mistake | What happens | Fix |
|---|---|---|
| Red probe left in the current jack | Blown fuse or a dangerous short across the circuit | Move it to the voltage jack before measuring voltage |
| Dial on AC for a battery | Zero or erratic number | Switch to the DC position |
| Probe tip on paint or corrosion | Unstable or low reading | Press on clean bare metal |
| Range too low | Overload symbol such as OL | Choose a higher range |
| Reading a battery just after charging | Surface voltage looks high | Let it rest, then read again |
| Worn or cracked leads | Exposed conductor | Replace the leads |
A technical school's multimeter overview also explains the other dial positions, such as continuity and resistance, once you are comfortable with voltage.
Pre-reading checklist
Before you use a digital voltage meter on any circuit, run through this list.
- Know whether the source is DC or AC.
- Dial set to the matching voltage type and a high enough range.
- Black probe in COM, red probe in the voltage jack.
- Leads and probe tips free of damage.
- Probes placed across the circuit, not in line with it.
- Unsure about a household circuit? Ask an electrician.
Reading the display and caring for your meter
The number is the voltage, and the unit symbol beside it matters: V is volts, mV is thousandths of a volt. A reading that keeps changing can point to a poor probe contact or a fluctuating source, so reseat the probes and read again. Use the hold button if the display is hard to see while you keep the probes in place.
When you finish, return the dial to off, coil the leads loosely without sharp bends and store the meter dry. Replace the internal battery when the display dims or a low-battery symbol appears, as the manual describes. Using a digital meter for voltage comes down to the same routine each time: set the type, place the probes across the circuit, read, remove, and switch off.