How to Increase Water Pressure in Shower, Measured Each Step
Measure your shower's flow first, then clean the head, remove the restrictor, check valves and the regulator, and re-measure after each fix to see which one worked.
The Quindrel Team
November 1, 2026 · 7 min read
How to increase water pressure in shower plumbing comes down to a sequence: measure the flow first, then clean the shower head, remove the flow restrictor, straighten the hose, check the valves, and only then look at the pressure regulator, pipes or a pump. Re-measure after each step so you know which change helped and when to stop.
A clogged or restricted shower head is the first thing to rule out. This guide starts there and moves toward jobs that may call for a plumber.
Measure your shower flow before changing anything
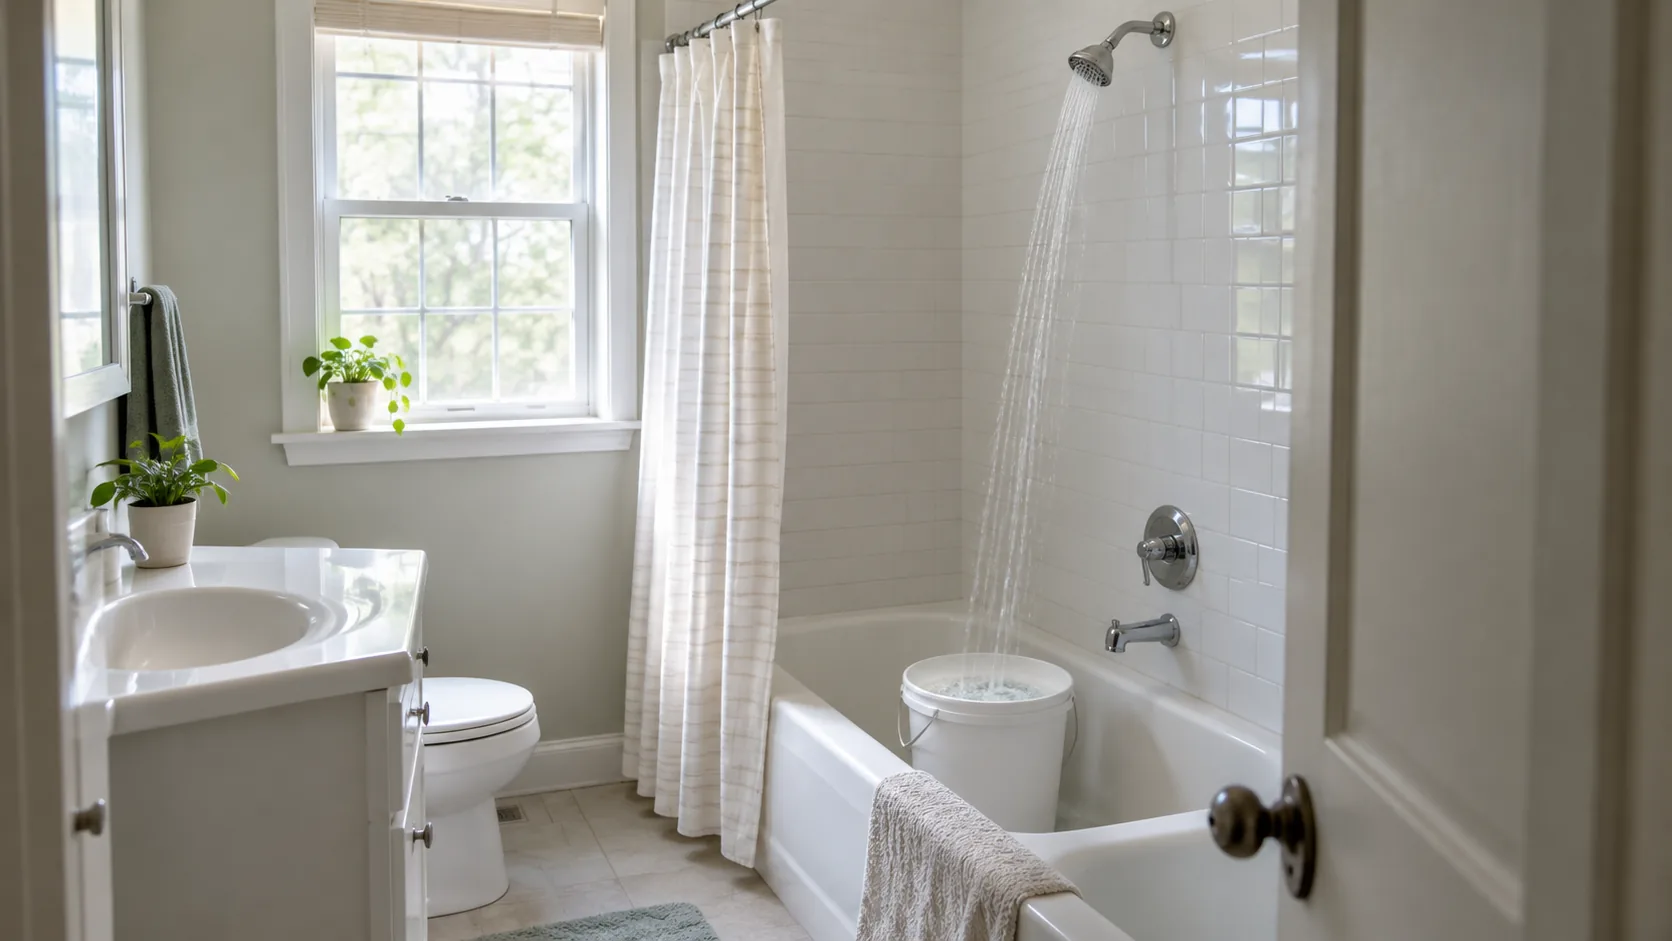
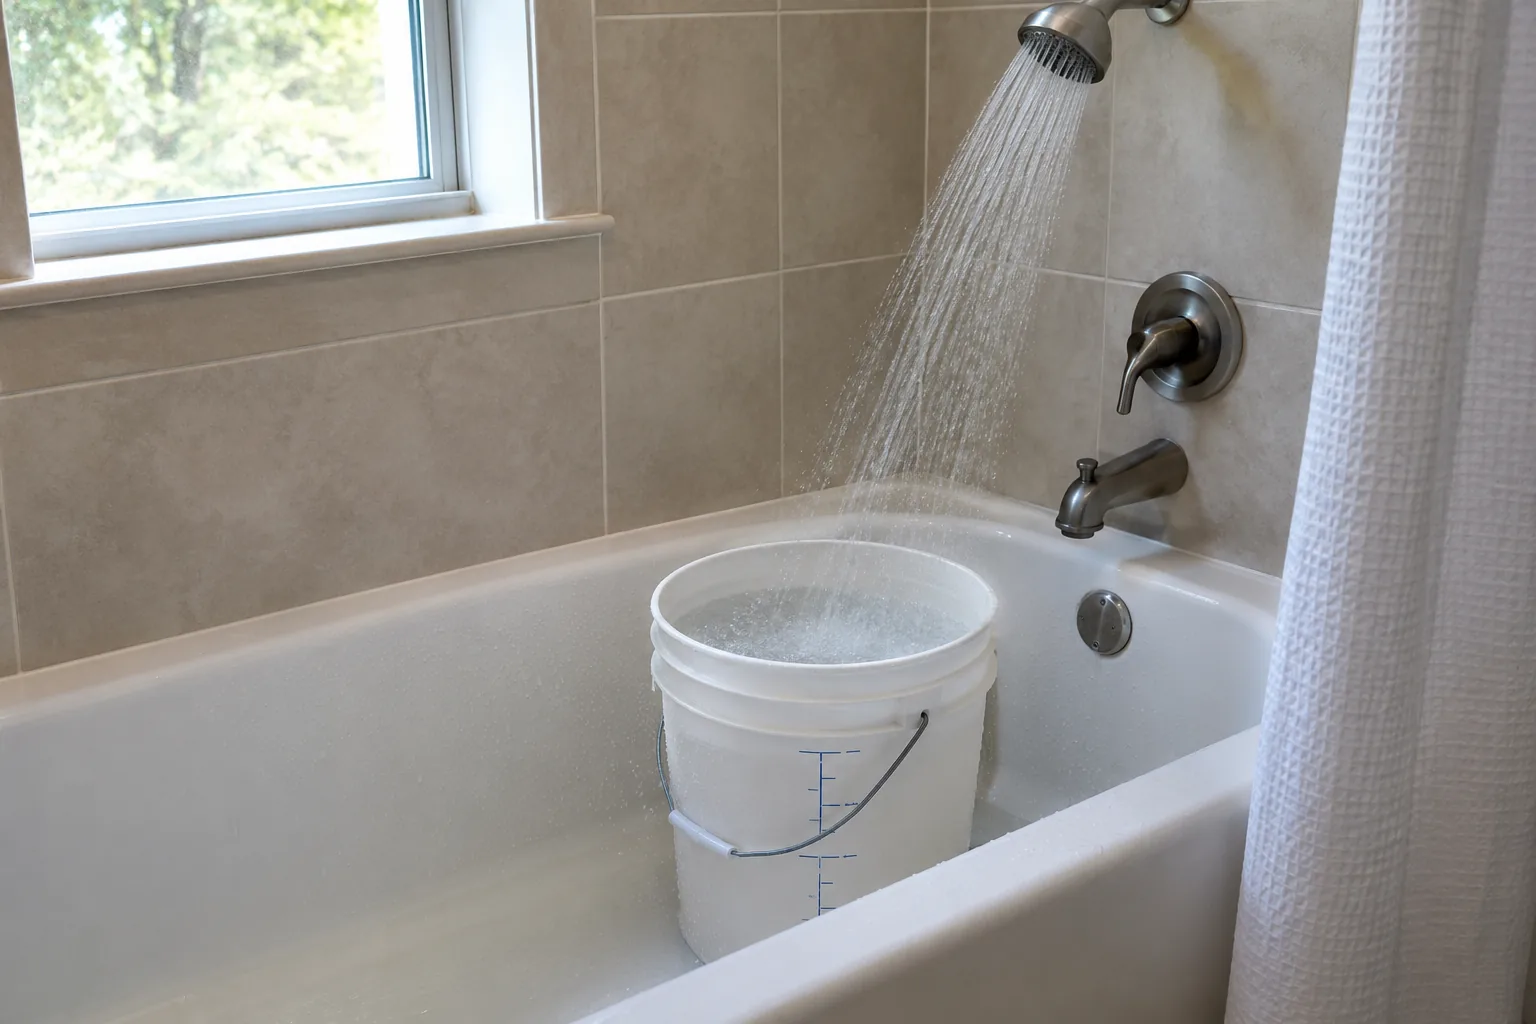
A shower that feels weak is a guess. A number lets you compare before and after. Flow is measured in gallons per minute (gpm), and the simplest way to get it at the shower is a bucket test.
Bucket test at the shower
- Set a marked bucket or a 1-gallon jug under the shower head.
- Turn the shower to full flow at your normal temperature.
- Use a stopwatch to count how many seconds the container takes to fill to the 1-gallon mark.
- Divide 60 by that number of seconds. The result is your flow in gpm.
- Write it down with the step you just finished.
Compare the result with the gpm figure stamped on the shower head or printed on its box. If your measured flow is far below that figure, something upstream of the head is restricting the water.
Check the supply flow with a digital flow meter
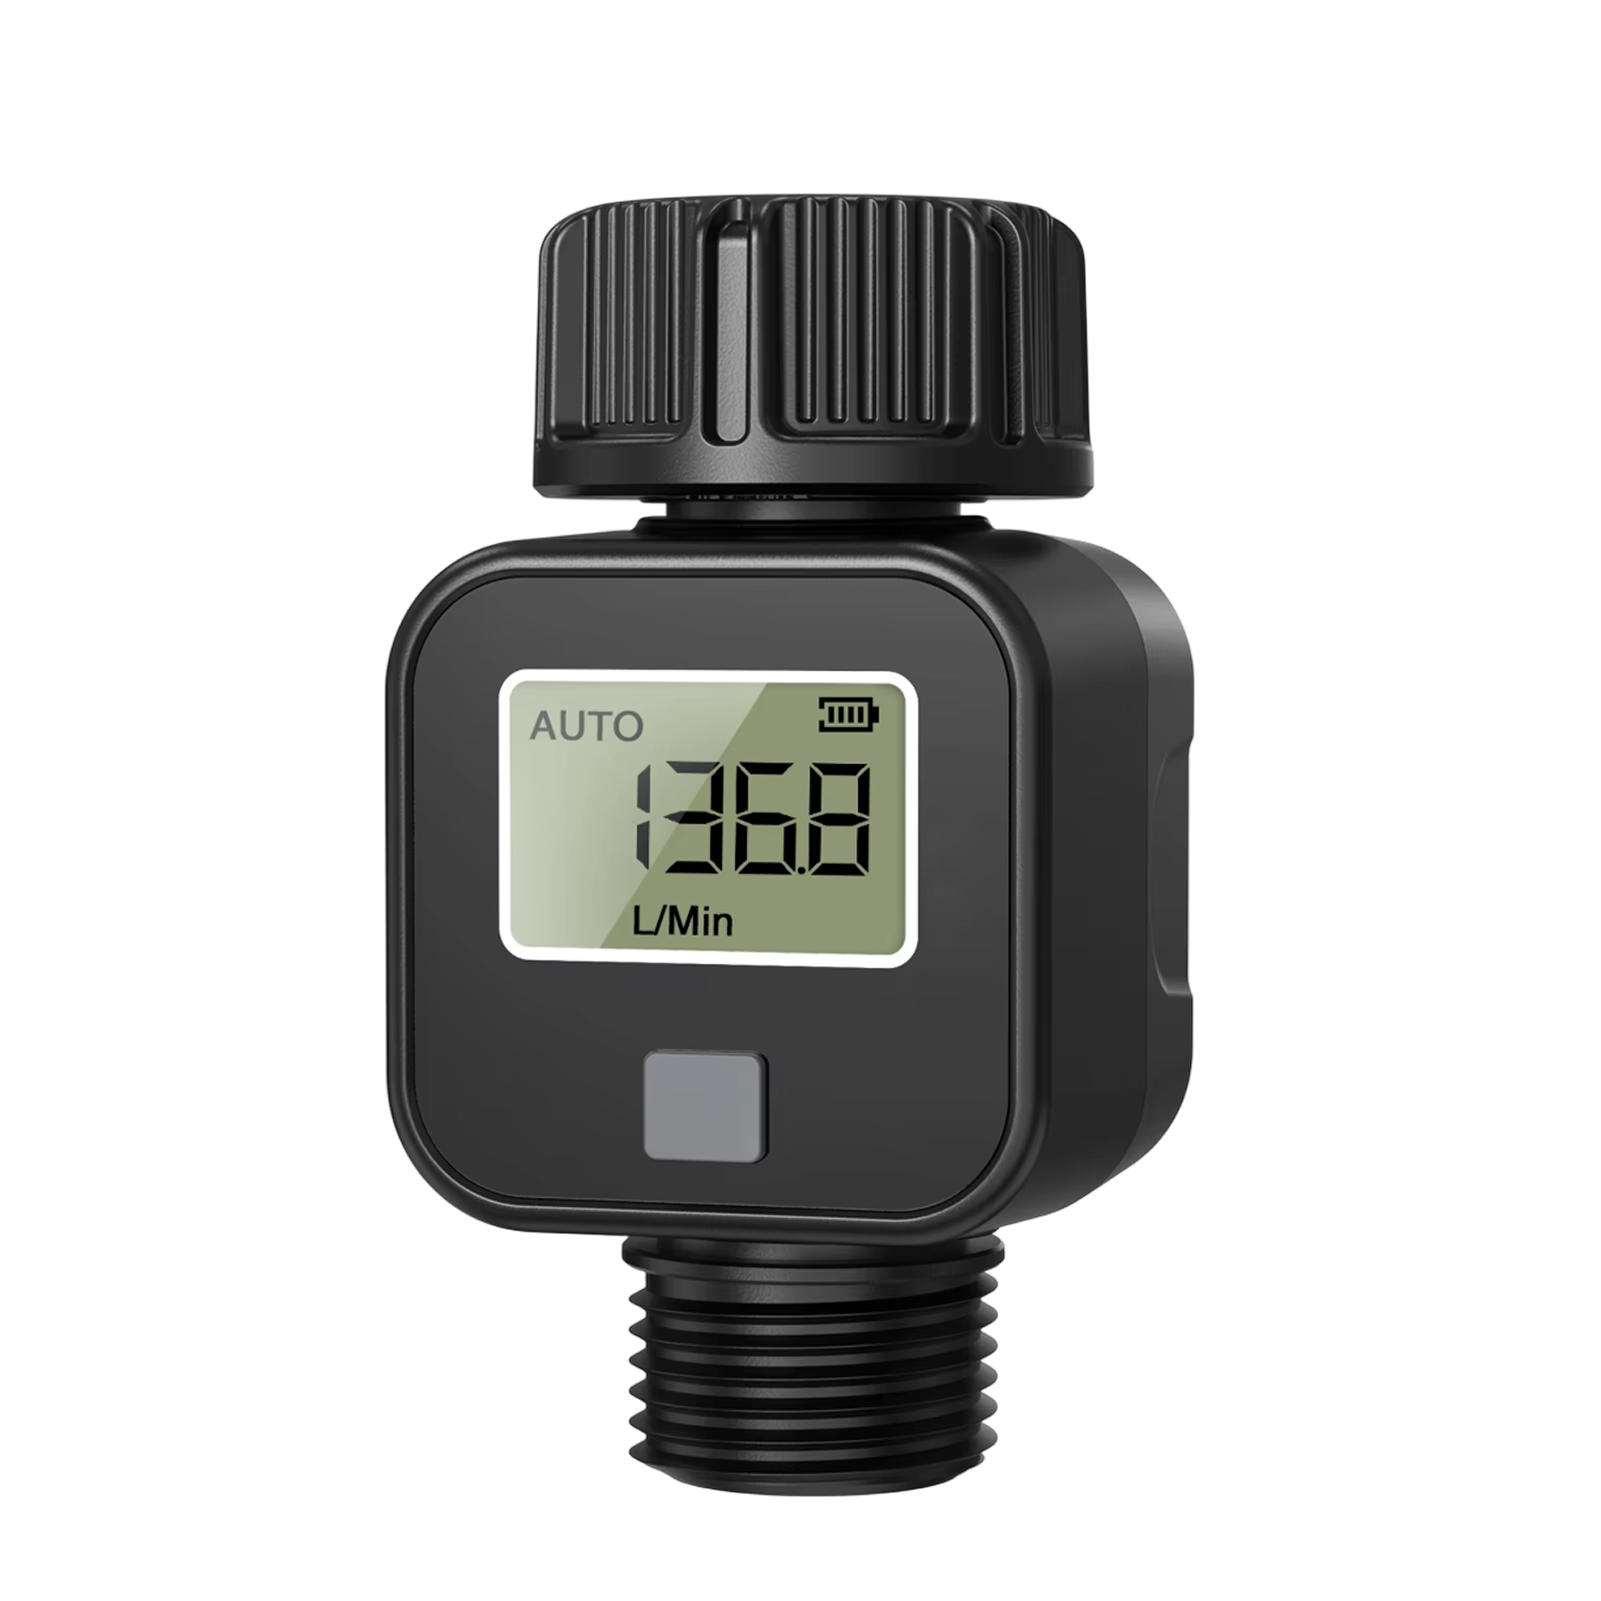
If the shower is weak, you need to know whether the problem is in the bathroom or in the supply to the house. A digital water flow meter helps you check that. Thread it onto an outdoor spigot or any faucet with a matching 3/4" hose thread, open the water, and read the flow rate on the LCD. Run the same check after any work on the main line or regulator.
HydroGauge threads onto a standard 3/4" hose or faucet by hand, with no tools. It switches between flow rate, consumption, average and total, and covers a flow range of about 1 to 12 gallons per minute. It measures flow, not static pressure, and it does not thread onto a shower arm, so use it at a hose-thread faucet. You can find similar tools in our weather, air and moisture meters collection.
 In this guideHydroGauge$99.99View
Why your shower water pressure is low
Low pressure at the shower has a handful of causes. Narrowing it down keeps you from replacing parts that were fine.
- If only the shower is weak, suspect the head, the hose or the shower valve.
- If every faucet in the house is weak, suspect the main shutoff, the pressure regulator, the supply pipe or the utility supply.
- If only hot water is weak, look at the water heater and its shutoff valve.
- If the weakness comes and goes, another fixture running at the same time may be drawing water.
Open a kitchen or utility faucet and compare. That one comparison tells you whether to work on the bathroom or the whole house.
How to increase water pressure in shower, from cheapest fix to most involved
Work down this table and repeat the bucket test after each row. Stop when you reach the flow you want.
| Step | What you do | Re-measure |
|---|---|---|
| 1. Clean the head | Soak and brush out mineral deposits | Bucket test |
| 2. Remove the restrictor | Take out the flow-limiting disc in the head | Bucket test |
| 3. Check hose and arm | Straighten kinks, clear the connection | Bucket test |
| 4. Open the valves | Fully open the main shutoff and water heater valve | Bucket test and flow meter |
| 5. Look at the regulator | Adjust or replace the pressure regulator if the house has one | Flow meter at a hose faucet |
| 6. Pipes, well system or pump | Hire a plumber or electrician | Both |
Clean the shower head and remove the flow restrictor
Clean out mineral deposits
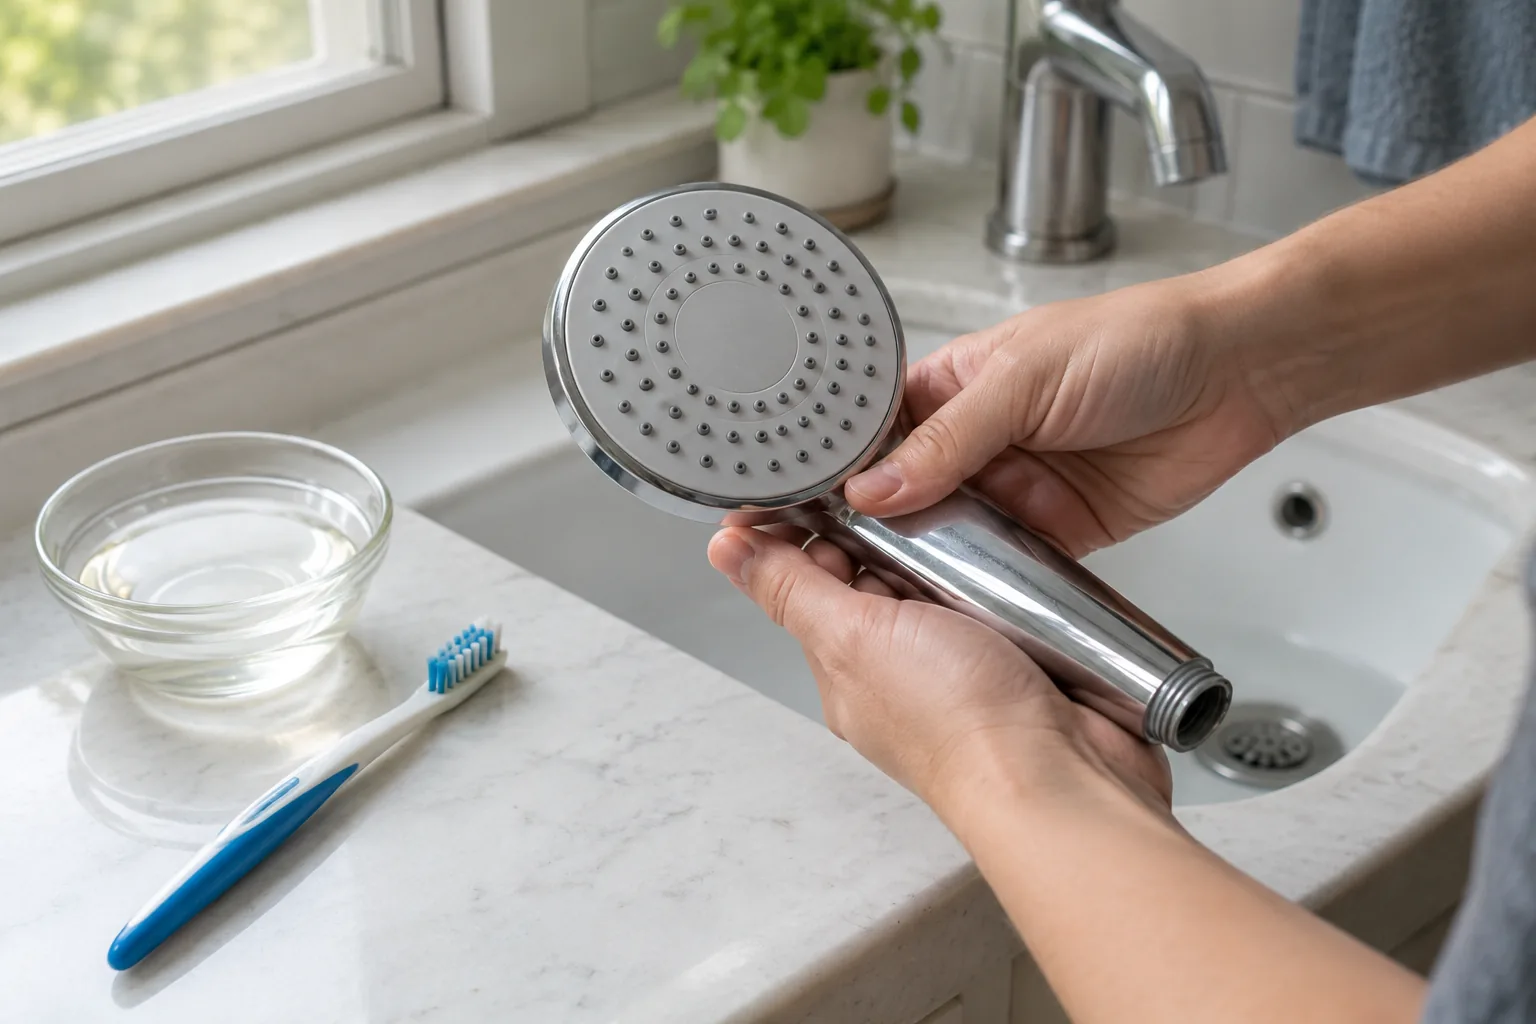
Hard water leaves mineral deposits in the nozzles and the inlet screen. Unscrew the head from the arm, then soak it in white vinegar until the deposits soften. Our guide to removing rust from tools explains how soaks work and how to rinse afterward. Use an old toothbrush on the nozzles, rinse the head, and clear the small screen at the inlet.
Do not soak finishes that the manual warns against, such as brass or coated surfaces. Reattach the head and run the bucket test.
How to remove the flow restrictor in a shower head
Some shower heads hold a small plastic or rubber disc that limits flow. It sits inside the inlet, behind the screen. Removing it can change the spray and the water use, and local rules or the manufacturer may limit what you change, so read the manual first.
- Unscrew the head from the shower arm and lay a towel in the tub.
- Look into the inlet where the arm connects. Lift out the screen or washer if one is there.
- Find the restrictor, a small disc with a center hole. Pry it out gently with a small flathead screwdriver or the tip of a pick.
- Reassemble the head, thread it onto the arm with plumber's tape on the arm threads, and hand-tighten.
- Run the bucket test again and note the change.
Some heads do not have a removable restrictor. If you cannot find one, move on rather than forcing the head apart.
Check the hose, valves and water heater
With a handheld shower, look for a kinked or twisted hose and straighten it. Check the connection points for debris, and look for drips at the arm, which can point to a leak that wastes flow.
Then check the valves. The main shutoff and the water heater shutoff should be fully open, because a valve left partly closed after repair work can cut flow. If the cold side is strong and the hot side is weak, look at the water heater valve and ask a plumber about sediment in the tank.
If the shower valve itself holds a restrictor or a clogged cartridge, the work involves shutting off the water and taking the valve apart. Follow the valve manual, or ask a plumber.
Adjust the pressure regulator if the house has one
Some homes have a pressure regulator, a bell-shaped valve near where the main line enters. It often has an adjusting screw and a locknut. Turning the screw changes the pressure delivered to the house.
- Take a flow reading at an outdoor hose faucet with the flow meter and note it.
- Loosen the locknut and turn the screw a small amount, about a quarter turn at a time. The manual lists which direction raises pressure.
- Open a faucet to let the system settle, then take another reading.
- Tighten the locknut when you are done.
If the regulator does not respond, it may be worn and need replacement. That is a job for a plumber. Do not raise pressure past what your fixtures and the manual allow.
Pumps, old pipes, apartments and well water
Without a pump
The steps above all work without a pump. They cover the head, restrictor, hose, valves and regulator. If these do not raise flow, the limit is probably in the pipes or the supply.
Pump or booster
A shower pressure booster is an electric pump on the supply line. Pick a unit built for the type of supply you have, whether that is a cold-and-hot setup or a single line, and follow its manual. Have an electrician or plumber install it, and check the flow before and after with your meter.
Old or narrow pipes
Older galvanized pipes can corrode inside and narrow the passage. If every fixture is weak and the regulator and valves are fine, ask a plumber about the pipe condition.
Apartments and well water
In an apartment, you can clean the head and remove the restrictor, but the valves, risers and regulator belong to the building. Report weak flow to the manager with your measured gpm. On well water, the pressure tank, its pressure switch and the pump control the supply, so ask a well professional to check them.
Common mistakes when you increase water pressure in a shower
- Changing several things at once, so you cannot tell what worked.
- Skipping the measurement, then judging by feel.
- Replacing the head with a high-pressure model before checking for deposits.
- Over-tightening plastic shower arm connections.
- Raising the regulator setting without checking the manual.
Keep a short log of your gpm readings. If the number stays low after the head, restrictor and valves are done, the remaining causes sit in the pipes or the supply, and the log gives a plumber a clear starting point.
Field note
Take the bucket reading at the same water temperature each time. Switching between hot and cold mixes can shift the result and hide whether your fix worked.