
How to Pick a Good Wood Moisture Meter: Pin vs Pinless
A good wood moisture meter has the right type for your wood, a way to correct for species, and a readout you understand. This guide compares pin and pinless and lists target readings by use.
The Quindrel Team
October 25, 2026 · 7 min read
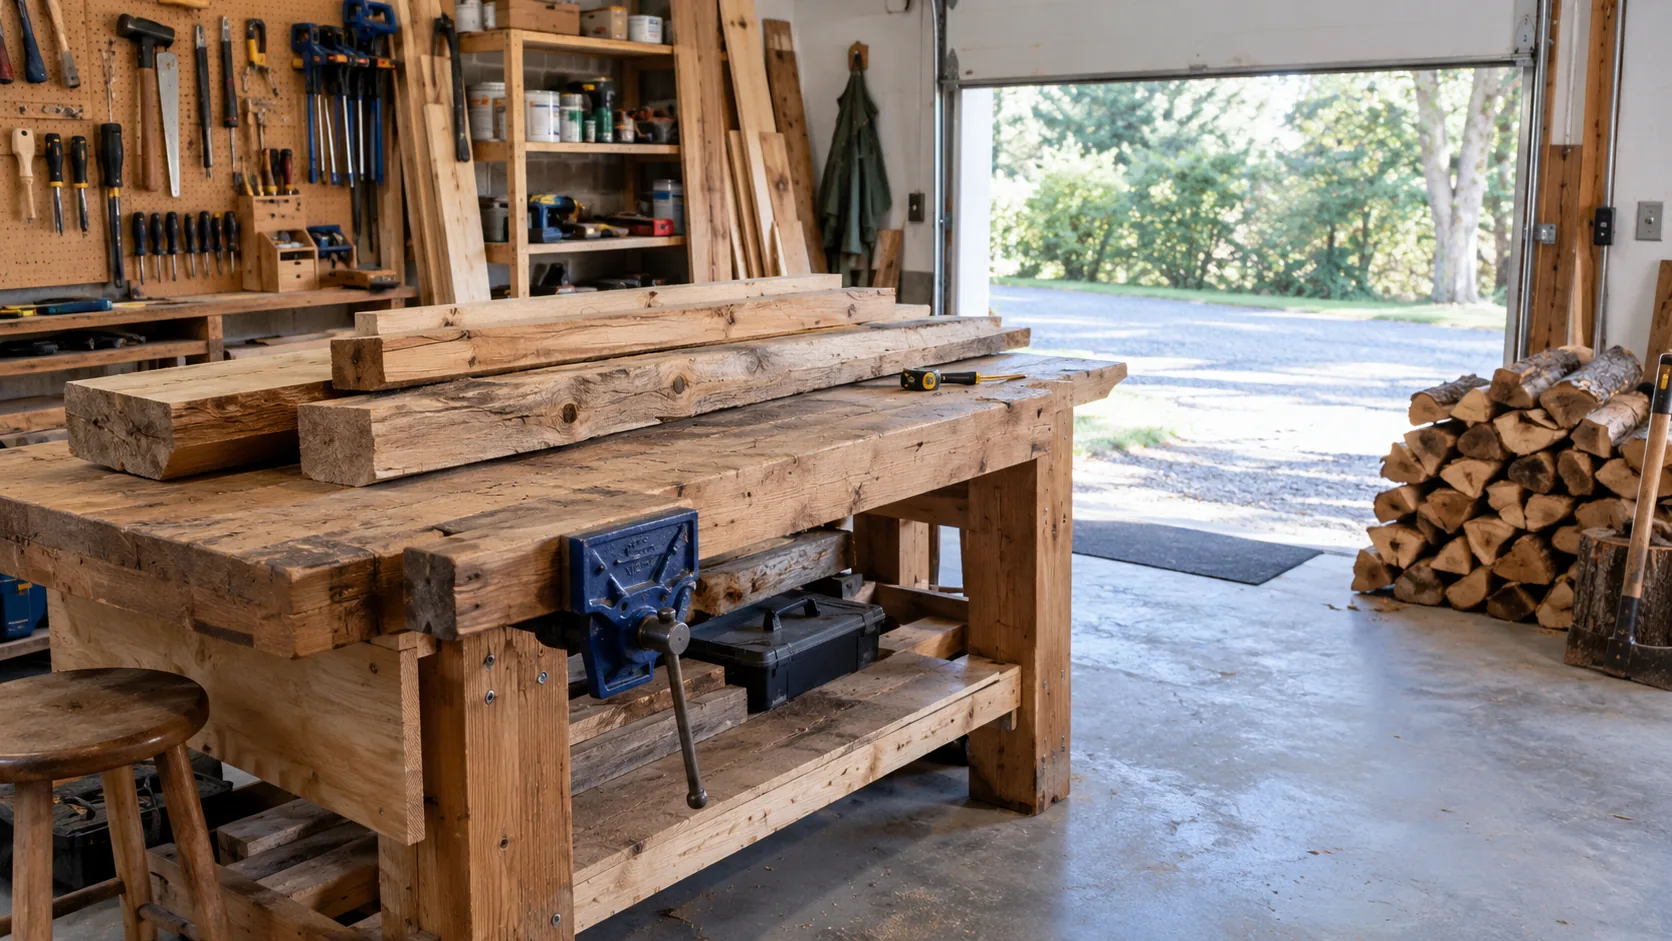
A good wood moisture meter is one that suits the wood you check: a pin meter reads at the depth the pins reach, while a pinless meter reads to a fixed depth below the surface without leaving holes. Pick the type by the job, confirm the meter can correct for species, and compare your reading with the target for firewood, lumber or flooring.
This guide walks through that choice step by step, with a comparison table, a table of target readings by use, and a short routine for taking a reading you can rely on.
What makes a good wood moisture meter
Before comparing models, decide what you will measure. A meter for a stack of firewood has different needs than one for finished flooring in a living room.
- Measurement type: pin or pinless, covered below.
- Species or material setting: the meter should let you choose a wood group or a building material.
- Readable output: a numeric moisture content readout, or a color zone display if you only need a go or no-go signal.
- Replaceable pins (for pin types): pins wear, so spares matter.
- Hold function: lets you lock the reading when the meter sits in a tight spot.
- Housing: a rugged body helps when the meter rides in a toolbox or on a jobsite.
Skip features you do not need. Wireless connectivity and app logging are optional extras, not a sign that the meter reads wood correctly.
Pin vs pinless wood moisture meters
A pin meter sends a small current between two pins pushed into the wood and converts the resistance into a moisture value, so it reads as deep as the pins go. A pinless meter presses a flat sensor plate against the surface and reads an electromagnetic signal to a fixed depth set by the sensor.
| Feature | Pin type | Pinless type |
|---|---|---|
| How it reads | Pins pressed into the wood, at the depth the pins reach | Sensor plate held flat on the surface, to a fixed depth |
| Marks on the surface | Leaves small pin holes | Leaves no marks |
| Suits | Rough lumber, firewood splits, spot checks at depth | Finished boards, flooring, furniture, scanning large areas |
| Surface condition | Surface water can affect the reading, so check dry spots | Needs a flat, smooth contact area |
| Wear item | Pins | No pins to replace |
If you work with rough lumber or split firewood, a pin meter fits because small holes do not matter. If you handle finished surfaces such as flooring or cabinet parts, a pinless meter leaves no marks.
A pin-type option
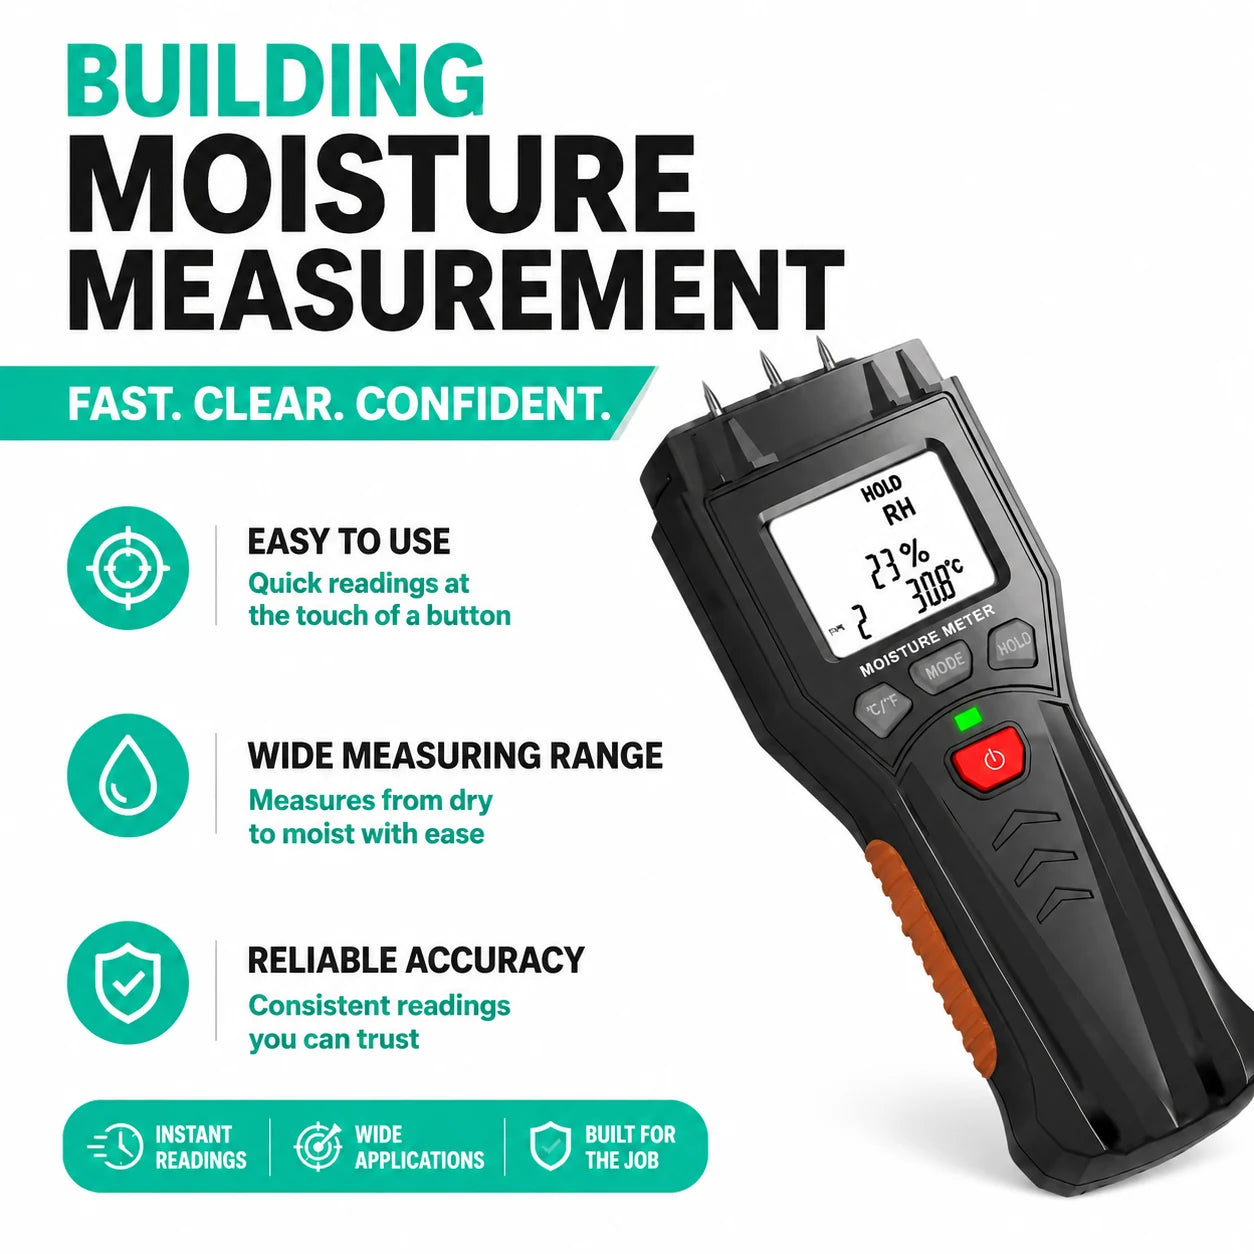
The HydroTrace Pro is a pin-type meter for wood and other building materials. You choose a mode for hardwood, softwood, concrete or drywall, press the stainless steel pins into the surface, and press one button.
The display shows results as green, yellow or red zones: green is clear, yellow means the spot needs closer monitoring, and red means act on it. The pins are replaceable, and spare pins come in the kit along with a carrying case and a user manual. If you need to match a precise numeric target, check that the meter you choose has a numeric readout.
 In this guideHydroTrace Pro$99.99View
Species correction and calibration
Wood species differ in density and in how they conduct current, so the same board can read differently depending on the species setting. A meter that lets you pick a setting for your wood, or apply a correction from a chart in the manual, gives readings you can compare from board to board.
Use these habits whenever you take readings:
- Select the mode that matches the material before you press the pins in.
- Keep the same species setting when you compare boards.
- Check the meter on a piece of wood you already know is dry, such as a board stored indoors for a long time, to see that it reads sensibly.
- Follow the manual for any temperature correction it lists, since cold or hot wood can shift a reading.
For a deeper look at how electric meters respond to species and temperature, see a federal forest products research paper on electric moisture meters for wood.
Target readings by use
Moisture content (MC) is the weight of water in the wood compared with the weight of the dry wood, shown on a percent scale. Wood settles toward the humidity of the air around it, so the right target depends on where the piece will end up. The values below are general guidance, not a result from any meter. Instructions from your flooring maker or lumber supplier take priority.
| Use | General target MC value | Meter type that fits |
|---|---|---|
| Firewood for burning | Under 20, read on a freshly split face | Pin |
| Indoor furniture and cabinet stock | About 6 to 9 for typical heated indoor air | Pinless, or pin on rough stock |
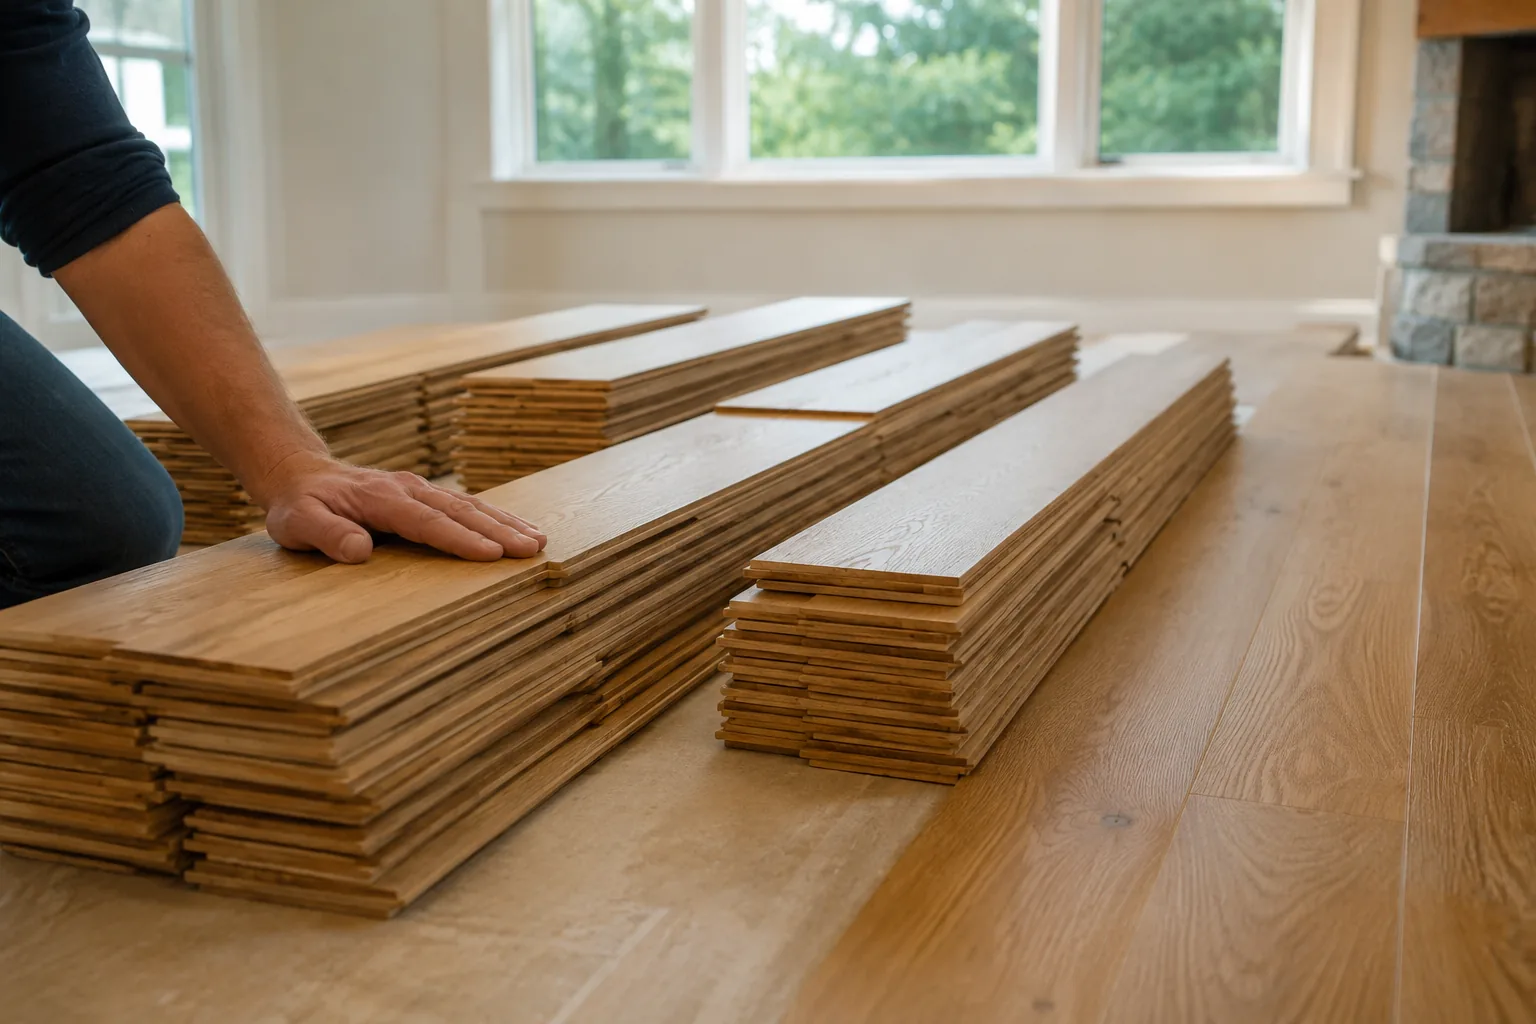
| Wood flooring before install | About 6 to 9; compare with the subfloor reading and follow the maker's allowed difference | Pinless on finished boards, pin on the subfloor |
| Outdoor framing lumber | About 12 to 15, depending on local climate | Pin |
| Wood after water exposure | An unaffected piece of the same wood | Pinless to scan, pin to confirm |
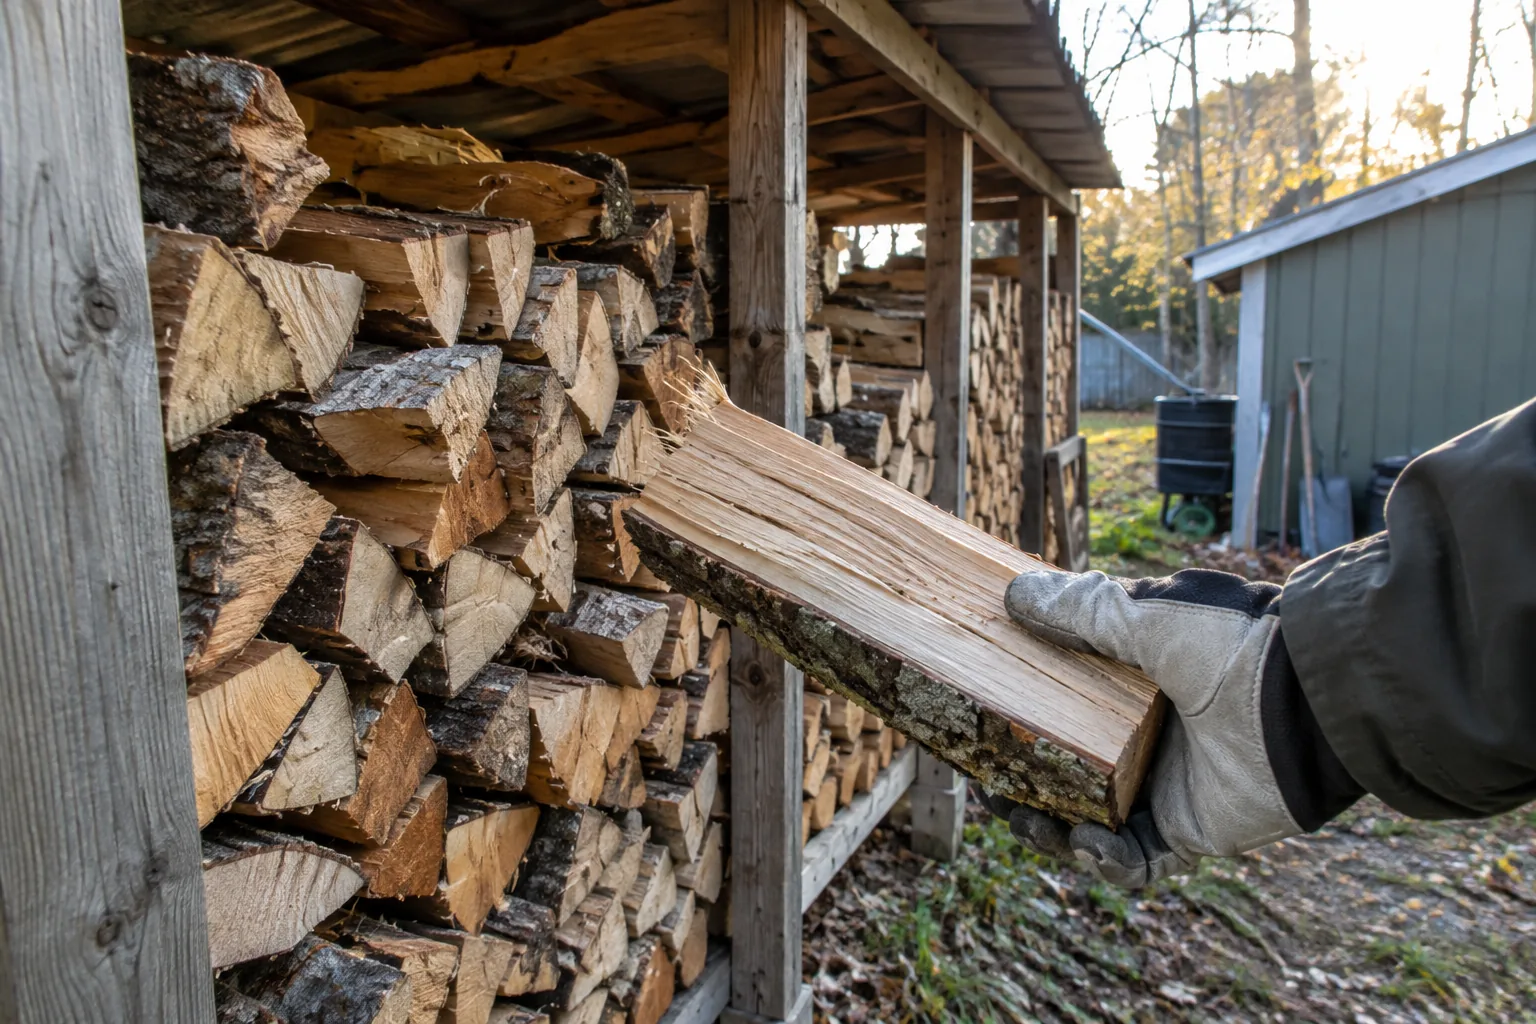
For firewood, a federal guide to checking firewood with a moisture meter explains how to split a piece and read the fresh face rather than the outside. The indoor and outdoor ranges match the general lumber guidance in the forest products paper above and the university extension overview of moisture content measurement; local climate shifts them.
How to take a reliable reading
- Bring the wood to the room or yard where it will be used, and let it sit so its temperature matches the air around it.
- Select the species group or material mode on the meter.
- For a pin meter, press the pins in along the grain, or across it if the manual says so, at several spots. Avoid knots, ends and wet surface patches.
- For a pinless meter, set the species or density setting the manual lists before you scan.
- Hold the pinless sensor plate flat on a clean, smooth area and slide it along the board.
- Take at least three readings per board and note the highest and lowest.
- Compare your numbers with the target for the use, as in the table above.
Board ends dry sooner than the middle, so take readings a few inches in from the end. Follow the manual when you change pins, and handle pin tips with care.
Field note
Record the date, board and reading on a scrap of tape or in a notebook. Repeat readings a few days apart to see whether the wood is still drying or has settled.
Common mistakes when choosing and using a meter
- Buying pinless for rough, damp or uneven wood, where the sensor plate cannot sit flat.
- Reading the bark side or the outer skin of a log instead of a freshly split face.
- Ignoring the species setting and then comparing boards of different wood.
- Pressing pins into a board that has surface water, which can distort the reading.
- Using a worn pin tip. Replace pins when they are bent or dull.
- Reading one spot and assuming the whole stack matches.
If you also want to watch room humidity while flooring or lumber acclimates, our data logger guide explains how to record temperature and humidity over time. Our weather, air and moisture meters collection lists related meters.
Checking wood moisture without a meter
A meter gives a number, but some signs help when you have none. For firewood, look for cracks radiating from the ends, gray and dull color, and light weight compared with a green log of the same size. Knocking two pieces together gives a hollow sound from dry wood and a dull thud from wet wood.
For a firm answer without a meter, weigh a sample, dry it in an oven, and weigh it again. The weight difference shows the water that was in it. Follow the published procedure in the university extension overview of oven-drying methods, use low heat, keep the oven and sample in sight, and keep the sample away from open flame.
This method suits samples you can cut up, so a meter remains the practical choice for regular checks.
Decision guide: which meter for which job
Use this list to match a good wood moisture meter to your work.
- Firewood and rough lumber: choose a pin meter with replaceable pins.
- Finished boards and flooring: choose a pinless meter, or use a pin meter only where holes will not show.
- Mixed jobs with wood, concrete or drywall: look for selectable material modes.
- Occasional go or no-go checks: a color zone display can be enough.
- Close numeric comparisons: choose a meter with a numeric readout and species setting.
Frequently asked questions
Keep reading
 Weather, Air & Moisture MetersHow Does a Moisture Detector Work? Readings and What Skews Them9 min read
 Precision Measuring & Detection ToolsWhat Is a Cord of Wood? Measure a Stack and Check Seasoning7 min read
 Hand & Power ToolsHow to Stain Wood: Moisture Check, Sanding and Even Application6 min read