
How to Stain Wood: Moisture Check, Sanding and Even Application
Check that the wood is dry, sand through a grit sequence, remove dust, then apply stain in thin coats and wipe the excess. Here is the full checklist.
The Quindrel Team
November 1, 2026 · 6 min read
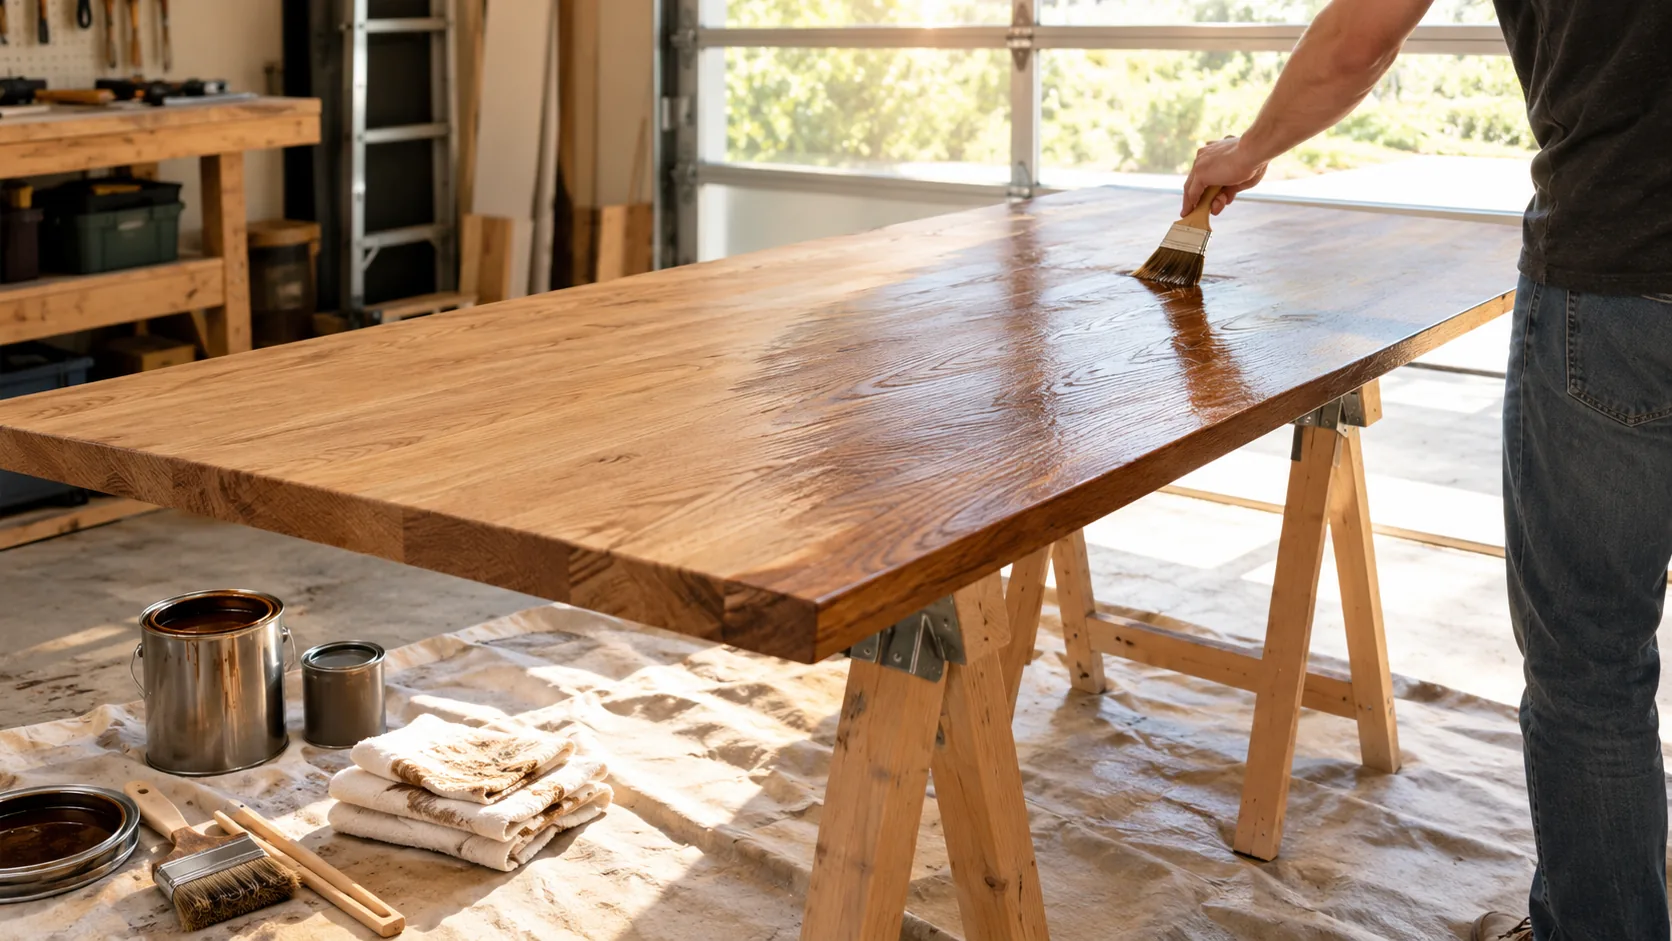
How to stain wood comes down to four steps in a fixed order: confirm the wood is dry, sand through a grit sequence, wipe off all dust, then apply stain in thin coats and wipe the excess. Blotchy results can trace back to damp wood, skipped grits or too much stain left on the surface. This guide gives you a pre-stain checklist first, then the application steps.
It works for furniture, cabinet doors, shelves and trim. Always read the label on your stain and follow the manual of any tool you use.
How to stain wood: the order of work
Each step sets up the next one. If you skip one, the stain shows it.
| Step | What you do | What it checks |
|---|---|---|
| 1 | Read the moisture level | The wood is dry enough to take stain |
| 2 | Sand coarse to fine | Old finish, mill marks and scratches are gone |
| 3 | Remove dust | No particles trapped under the stain |
| 4 | Test on a scrap or hidden spot | The color matches what you want |
| 5 | Apply in thin coats and wipe off | Even color, no puddles |
| 6 | Let it dry, then seal | The topcoat goes over fully dry stain |
Check moisture before you open the can
Wood that holds too much water resists stain and can leave pale, uneven patches. New lumber, boards stored in a garage or basement, and pieces that were recently cleaned or stripped are the ones to check. A wood moisture meter gives you a reading at the board, so you do not have to judge by touch.
A pin-type meter such as the HydroTrace Pro has a mode for hardwood and one for softwood. Pick the mode that matches your board first, then press the stainless steel pins into an accessible spot and press the single button. The display shows a green, yellow or red zone. Green is clear, yellow calls for closer monitoring, and red calls for action, so hold off on staining a board that reads red.
 In this guideHydroTrace Pro$99.99View
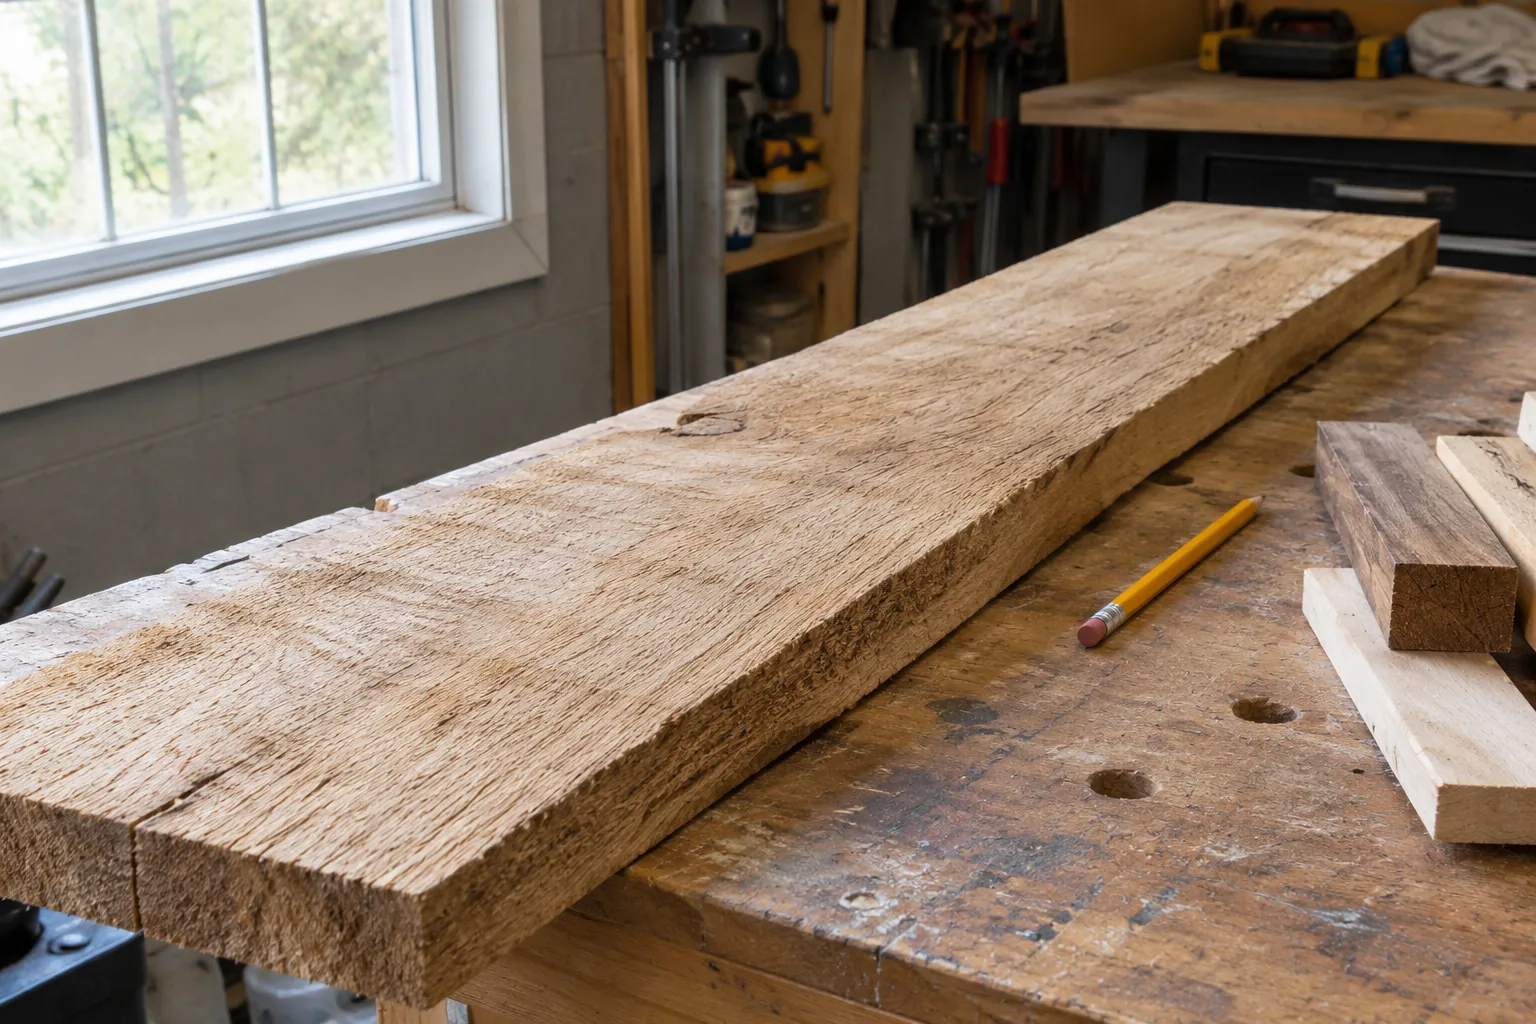
Where and how to read the board
- Choose the material mode before you press the pins in.
- Take readings near the ends, in the middle and near any knots.
- Press the pins into a spot that will be hidden or sanded, such as an underside or edge.
- If you see yellow or red, move the piece to a dry room with air around it and check again later.
For help choosing between pin and pinless designs, see How to Pick a Good Wood Moisture Meter. Browse more instruments in Weather, Air & Moisture Meters.
Sand in sequence, then clear the dust
Sanding opens the grain evenly so stain soaks in at the same rate across the surface. Start with the coarsest grit you need to remove the old finish or marks, then move up one step at a time. Jumping from a coarse grit to a fine one leaves scratches that stain highlights.
| Situation | Grit sequence |
|---|---|
| Rough or raw lumber | 80, then 120, then 150 |
| Previously finished furniture | 100 to strip the old finish, then 120, then 150 |
| Softwood such as pine | Final grit 150 to 180 |
| Hardwood such as oak or maple | Final grit 180 to 220 |
Going too fine closes the pores, and the wood then takes less stain and looks lighter. Stop at the final grit in the row for your wood.
Using a hand-held sander
For flat panels, doors and tabletops, a hand held sander lets you work the surface with light, steady pressure. The TorqGrip Pro is a cordless sander with a brushless motor that is powered by an 18V battery. A dial selects 4000, 6000 or 8000 RPM: lower settings suit delicate material, and higher settings suit coarser grits on wood. Match the setting to your paper.
The hook-and-loop pads change without tools, which helps when you step through several grits. An integrated port draws dust into the included collection bag, or you can connect a standard shop vac hose. Hand-sand the corners and edges with the same grit. More sanders and accessories are in Hand & Power Tools.
 In this guideTorqGrip Pro$139.99View
Can you stain wood without sanding first?
Sometimes. Bare, smooth wood that already has an open grain can take stain with only a light scuff and a wipe. Wood with an old finish, glue spots, or mill glaze will not absorb stain evenly, so sanding or stripping is needed. A liquid deglosser or stripper can remove old finish where you cannot sand, but follow its label and ventilate the room.
Once sanding is done, vacuum the surface, then wipe with a tack cloth or a rag dampened with the solvent named on your stain label. Dust left in the grain turns into dark specks.
Field note
Wipe the sanded board with mineral spirits or water (as your stain's label directs) and look at it in raking light. That damp look shows scratches and glue spots that will stand out once stained.
Choose the stain type
The stain family decides the working method, so pick before you buy brushes and rags.
| Type | Traits | Good fit |
|---|---|---|
| Oil-based | Slow to dry, which leaves time to wipe off excess | Furniture and trim, beginners |
| Water-based | Cleans up with water, dries quickly, can raise the grain | Indoor pieces where low odor matters |
| Gel | Thick, stays on the surface | Blotch-prone woods and vertical surfaces |
| Dye | Very thin, strong color | Color work on tight-grained wood |
| Exterior stain | Made for sun and weather exposure | Decks, fences, siding |
Check the label for the surfaces and the topcoat the stain works with. Colors vary by maker, so compare color chips and test on a scrap of the same wood.
Apply the stain step by step
- Stir the can; do not shake it, since bubbles transfer to the wood.
- Apply a pre-stain conditioner to softwood or blotch-prone wood such as pine, cherry or birch, if your stain label allows it. Stain within the window the conditioner label gives.
- Work in one section at a time, along the grain, with a brush, foam applicator or lint-free rag.
- Apply a wet, even coat and give it the time listed on the can.
- Wipe off all excess with a clean rag, again along the grain. Surface that stays wet will dry sticky and uneven.
- Let the coat dry fully as the label states. For a deeper color, add a second thin coat rather than leaving one heavy coat.
- Seal with the topcoat named on the label once the stain is fully dry.
Keep a wet edge by working one board or panel at a time. Stain two boards at once and the overlap lines show where the first one began to dry.
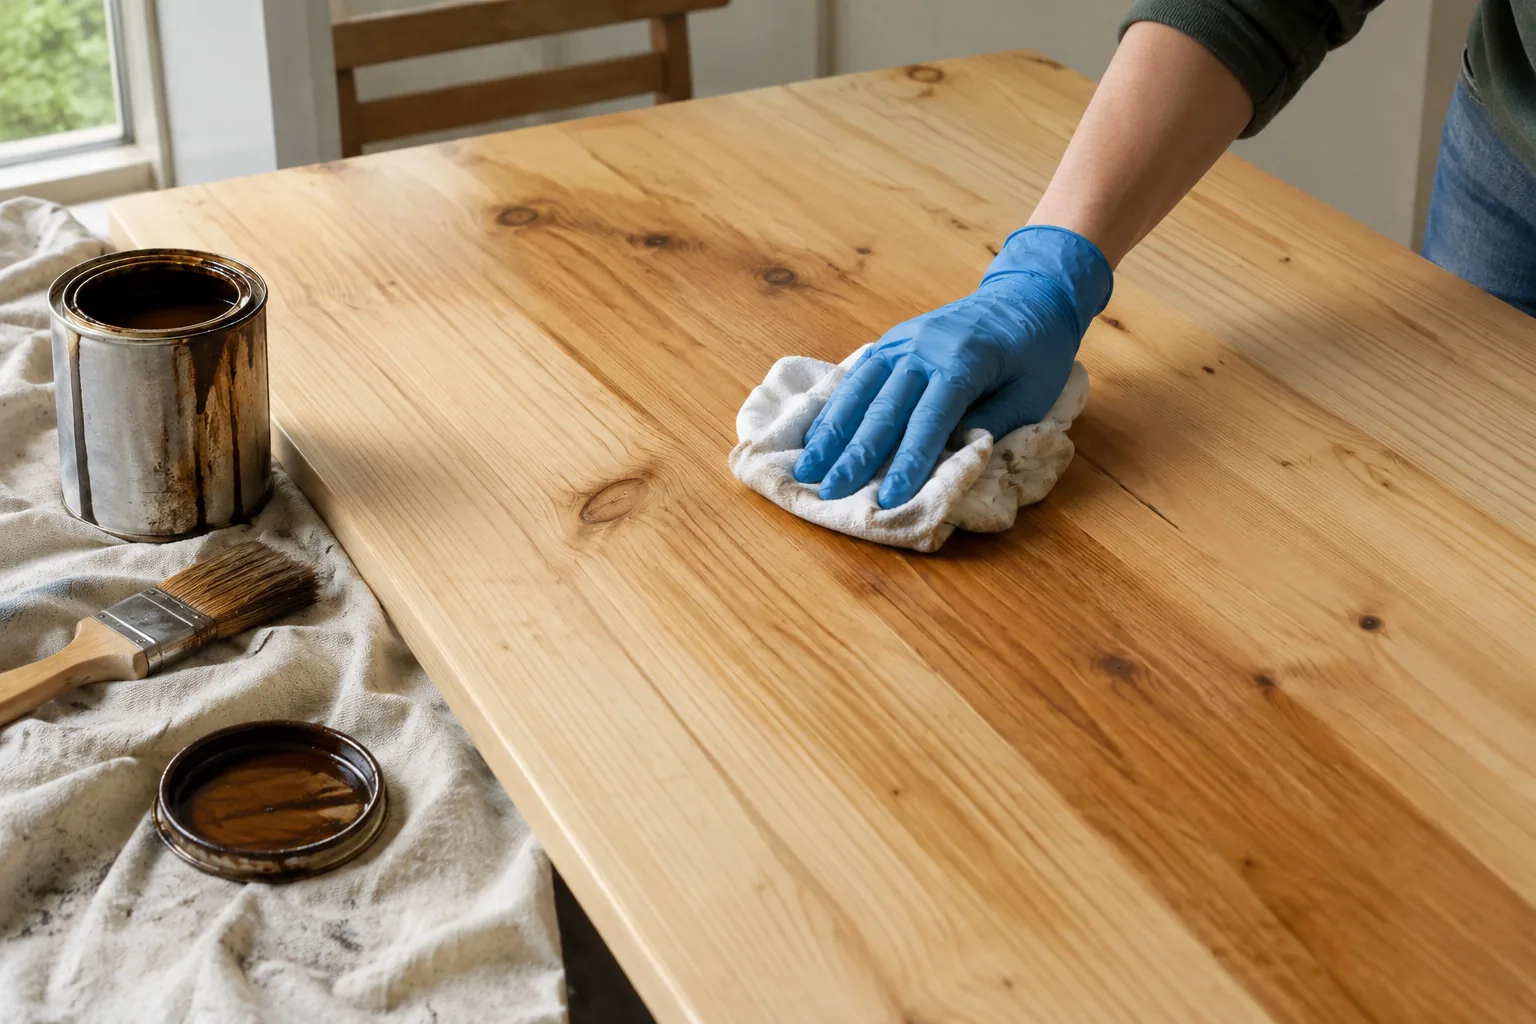
Fix blotching and other common mistakes
- Blotchy patches on pine, birch or cherry: soft and hard areas absorb at different rates. Use a conditioner or a gel stain next time. On the current piece, sand back and restart.
- Pale patches: the board may still be damp, or glue or finish residue is left. Check moisture again and sand the spot.
- Lap marks: you let an edge dry. Work in smaller sections and keep a wet edge.
- Raised, rough grain after water-based stain: lightly sand with your last grit once the stain is dry, then continue.
- Sticky surface: excess stain was left on. Wipe the surface with a rag dampened with the solvent named on the label, then let it dry fully before you continue.
Rags soaked in oil-based stain can heat up as they dry. Lay them flat outdoors or follow the disposal instructions on the can.
Cabinets and furniture
For cabinet doors, remove the hardware and lay doors flat. Label the backs so they return to the same openings. Stain edges and panels first, then the flat rails and stiles. The same moisture check and grit sequence apply, so run the meter over any cabinet parts that have been stored in a damp space.
Frequently asked questions
Keep reading
 Weather, Air & Moisture MetersHow Does a Moisture Detector Work? Readings and What Skews Them9 min read
 Precision Measuring & Detection ToolsWhat Is a Cord of Wood? Measure a Stack and Check Seasoning7 min read
 Weather, Air & Moisture MetersHow to Pick a Good Wood Moisture Meter: Pin vs Pinless7 min read