Sanding With a Belt Sander: Technique, Grit and Mistakes
Keep the sander moving with the grain, let the tool's weight and the abrasive do the cutting, and step through grits without skipping. This guide adds a grit table and fixes for common gouges.
The Quindrel Team
October 15, 2026 · 8 min read
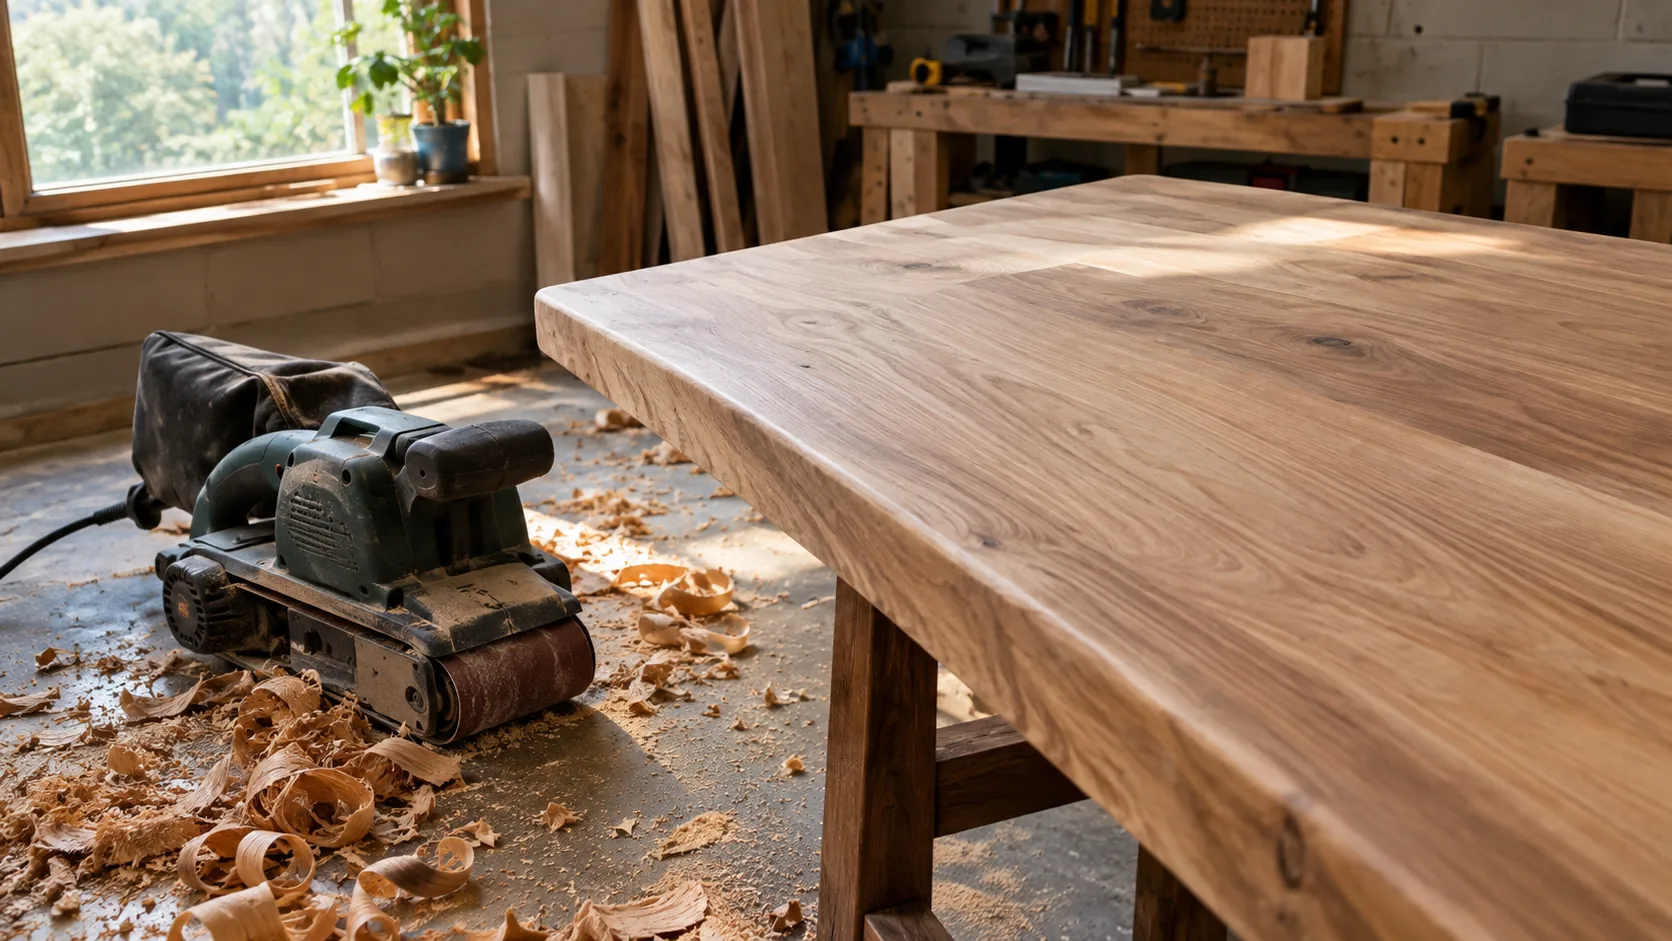
Sanding with a belt sander works when you keep the tool flat, moving, and aligned with the grain, and let the tool's weight and the abrasive do the cutting. Start with a coarse belt only if you need to remove material, then step through finer grits one at a time. Stopping in one spot or tilting the tool is what causes gouges.
This guide covers sanding belt grit choices, a step-by-step technique, the mistakes that leave dips and scratches, and how a handheld belt sander differs from a stationary or wide belt machine.
What a belt sander is good at (and its downsides)
A belt sander removes stock aggressively and flattens surfaces. That strength is also its main downside: the belt keeps cutting wherever it sits, so a moment of hesitation leaves a dip. Other downsides to plan for:
- Aggressive cutting: it is easy to remove more than you intended, especially on veneer and plywood faces.
- Cross-grain scratches: belts run in a straight line, so any sideways drift leaves scratches that show under finish.
- Dust: fine dust is created in volume. Use a dust bag or shop vacuum, and wear a dust mask and eye protection.
- Noise and weight: wear hearing protection and use both hands on a handheld unit.
- Rough final finish: a belt sander is a shaping and flattening tool. Final smoothing usually moves to a finishing sander or hand block.
What grit sandpaper does a belt sander use?
Most belt sanding happens between 40 and 120 grit. Lower numbers are coarser and remove material; higher numbers leave a smoother surface. The golden rule of sanding is to work through the grits in order and not skip any step in your sequence, because each grit's job is to remove the scratches left by the one before it.
| Grit | Typical job | Notes |
|---|---|---|
| 36-50 | Heavy stock removal, leveling glue joints, stripping old finish | Leaves deep scratches; use only when needed |
| 60-80 | General flattening and smoothing rough lumber | Common starting point for a table top |
| 100-120 | Removing coarse scratches, final pass with a belt | Usually the last belt grit for furniture work |
| 150-220 | Fine sanding before finish | Switch to a finishing sander or sanding block |
How to choose your starting grit
Selecting the appropriate grit comes down to the surface you have in front of you.
- Run your hand across the surface. If it feels flat with only light marks, start at 80 or 100.
- If there are ridges, dried glue, or old finish, start at 60 or coarser.
- Try the belt on a scrap or an inconspicuous spot before you commit to the visible face.
- Fit a fresh belt for each grit, and move up one grit at a time, for example 60, 80, 100, 120. A clogged or worn belt rubs and burns instead of cutting.
Read the belt as you go
A belt that is cutting leaves a consistent, even scratch pattern and a pile of light dust. A glazed or loaded belt feels slick, makes dark streaks, and may scorch the wood. Swap it out instead of pressing harder.
Softwoods such as pine clog belts with resin more readily than hardwoods, so check the belt more often on them. Belts used on soft metals also fill with swarf and stop cutting cleanly, so check them often too.
Sanding with a belt sander: step-by-step technique
- Secure the work. Clamp the board to a bench so it cannot shift. Use stops or a non-slip mat for small pieces.
- Check the belt. Unplug the sander, fit the belt with the arrow on its inside pointing in the direction of travel, and spin it by hand to confirm it tracks centered. Follow the manual for tracking and tension adjustments.
- Start with the tool off the wood. Hold the sander with both hands, switch it on, and let the belt reach full speed in the air.
- Lower it flat. Lower the sander so the full platen meets the surface flat and evenly.
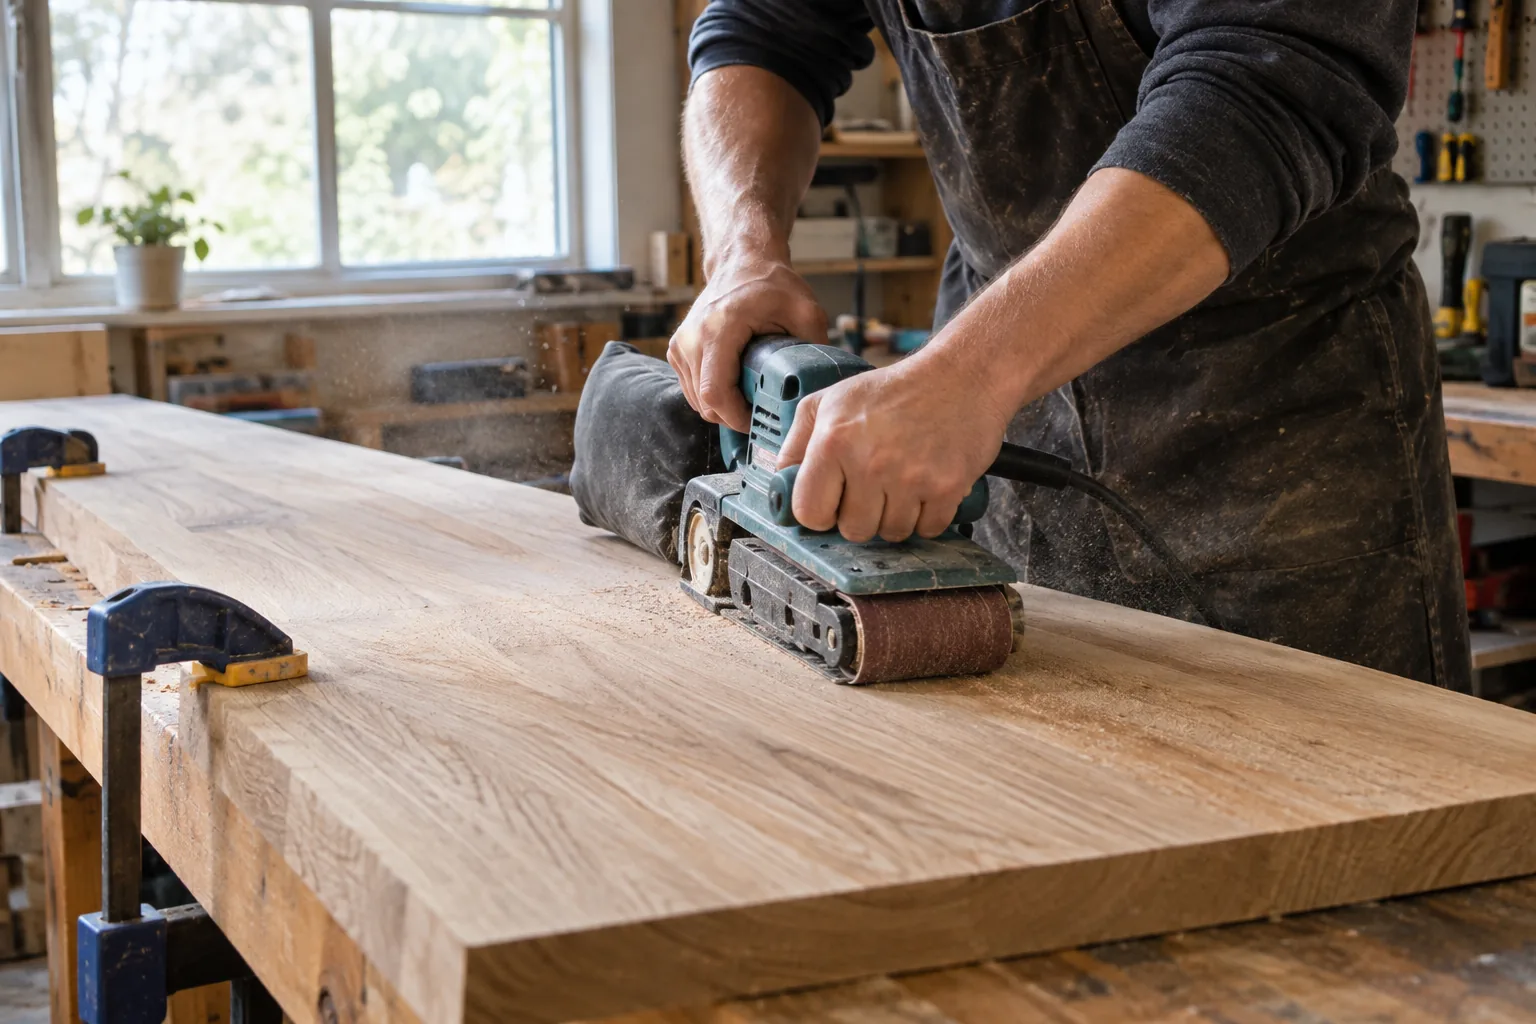
- Move with the grain. Use steady, overlapping strokes along the grain. Let the weight of the tool provide the pressure instead of leaning on it.
- Lift while it is still running. Raise the sander off the surface before switching off, so the belt does not dwell in one spot.
- Check and step up. Wipe off dust, inspect in low-angle light, then move to the next grit.
Can you go back and forth with a belt sander?
Yes, as long as the strokes run along the grain and the tool stays moving. Pull the sander forward and back in overlapping passes, but avoid pivoting or twisting at the end of a stroke. Sanding across the grain with a coarse belt leaves scratches that are hard to remove later.
Plan the passes before you start
Overlap each stroke by about half the belt width so no ridge is left between passes. Work from one end of the board to the other, then check the whole surface instead of fixating on one patch. Keep the cord behind you and clear of the belt.
Common gouging mistakes and how to fix them
Most defects trace back to a few habits. Here is what each one looks like and what to do about it.
| Mistake | What you see | Fix |
|---|---|---|
| Stopping or slowing in one spot | Dip or shallow bowl | Sand the surrounding area down gradually with long passes until level; keep the tool moving |
| Starting or stopping with the belt on the wood | Crescent-shaped gouge | Start and stop with the sander lifted clear of the surface |
| Tilting the tool | Rounded edges, angled facets | Keep the sole flat; use both hands; plane or sand back to a flat reference |
| Pressing down hard | Burn marks, clogged belt, deep scratches | Ease off and let the belt cut; replace worn belts |
| Sanding across the grain | Straight scratches that show under stain | Go back to a grit coarse enough to remove the cross-grain scratches, sand with the grain, then work forward through the grits in order |
| Skipping a grit | Swirls and lines that appear after finishing | Go back to the grit you skipped and work forward in order, one step at a time |
| Dust trapped under the belt | Random pits and scratches | Empty the dust bag often and wipe the surface between grits |
| Sharp platen transition or loose belt | Squiggle marks or chatter lines | Check belt tension and the platen edge against the manual; replace a damaged belt or seam |
On veneer or thin plywood, use a finer belt and very light passes, because there is little material to spare. Stop and check often.
Field note
Draw light pencil lines across the surface before each pass. When the lines disappear evenly, the surface is level. Lines that remain mark low spots, so you know where not to keep sanding.
Sanding wood, table tops and floors
Sanding with a belt sander on wood follows the same habits whatever the project: flat sole, steady motion, with the grain.
Wood and table tops
For a glued-up table top, level the joints first with a 60 or 80 grit belt, working diagonally only if the joints are uneven and then finishing with the grain. Then go to 100 or 120 grit along the grain. Keep most of the sole supported on the board as you reach an edge, and keep it flat. Letting the sander hang off the board tips it and rounds the edge.
Floors
Floor work uses a large drum or belt floor machine rather than a small handheld belt sander. These machines are heavy and can gouge a floor if they sit still, so rent one with instructions, read the manual, and keep it moving. Lower the drum gradually instead of dropping it. For small repairs on a floor, a handheld belt sander can level a patch, but use a finishing sander to blend it.
Stationary, tabletop and wide belt sanders
A stationary belt sander flips the technique: the belt stays put and you bring the work to it. This suits small parts, edges, knife blanks, and shaping jobs where holding a heavy handheld tool would be awkward. Light, steady contact and constant movement help avoid flat spots and burn marks.
| Question | Handheld belt sander | Stationary or tabletop |
|---|---|---|
| What moves? | The tool travels over the work | The work travels over the belt |
| Suited to | Large flat panels, table tops | Small parts, edges, shaping |
| Work holding | Clamp the workpiece | Hold the piece firmly against the table or rest |
| Main risk | Dips from pausing | Flat spots and burns from dwelling on the belt |
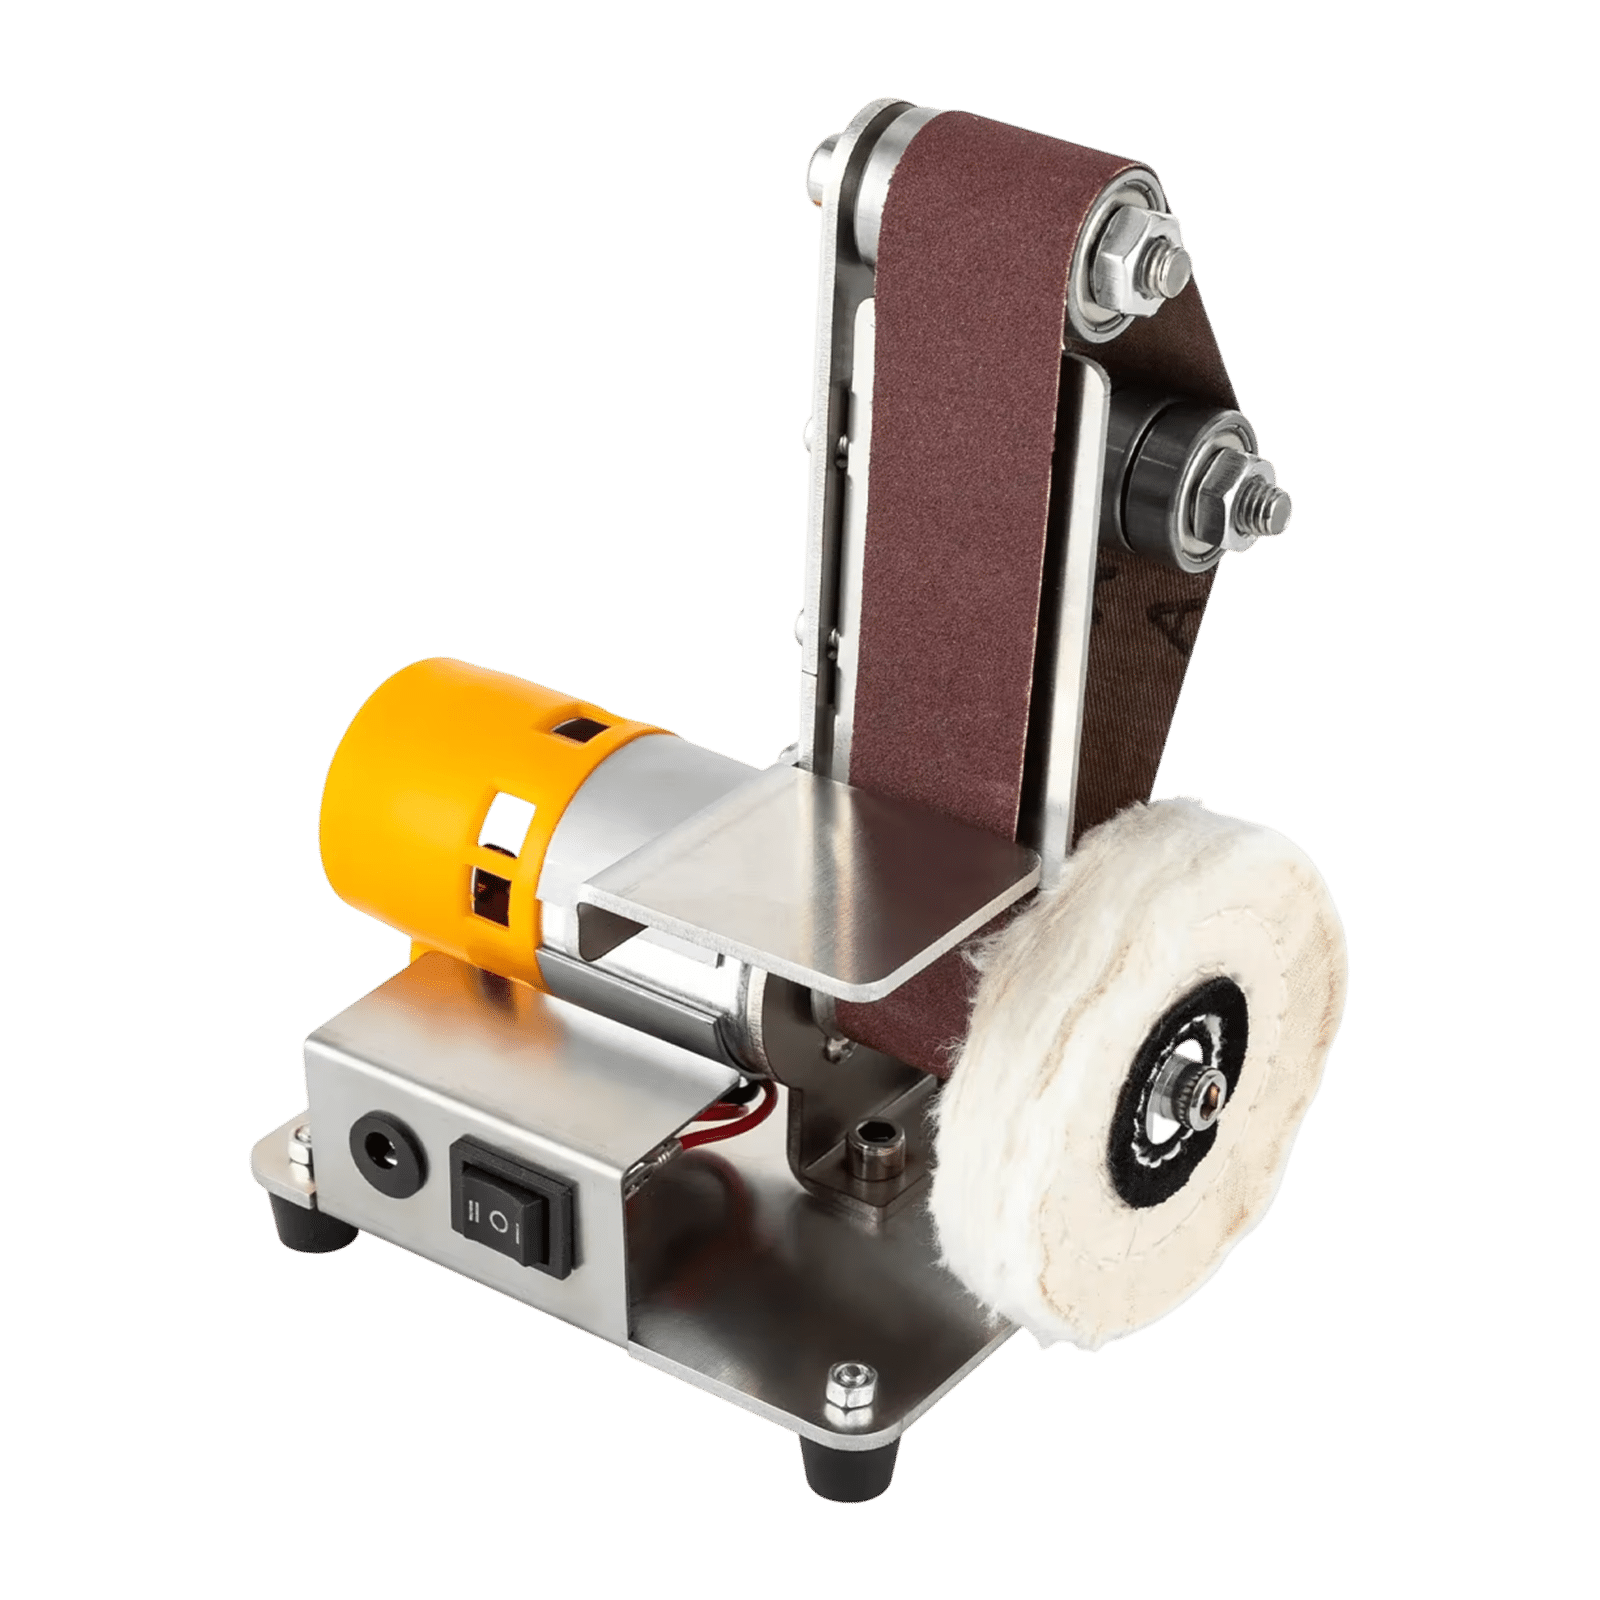
A bench-mounted option like the GritMaster Pro is a tabletop belt sander with seven speed settings on a single dial. You mount it to a workbench, fit a belt or wheel, and choose a lower or higher speed to suit wood, metal or small pieces. A roller holds the belt centered while you work. The kit includes 20 sanding belts, an aluminum grinding wheel and a woolen buffing wheel.
 In this guideGritMaster Pro$159.99View
Where a wide belt sander fits
A wide belt sander is a large, fixed shop machine that feeds boards under a wide belt, with a platen pressing the belt against the work. It is built for sizing and smoothing panels in production settings, not for a home workshop bench. The ideas still carry over: choose the grit sequence in order, keep the belt properly tensioned, and watch for chatter, the repeating ridges that a loose belt, worn part or poor platen contact can leave. Follow the machine's manual for belt tension and its dust collection system.
Finishing after the belt sander
Stop with the belt at 100 or 120 grit. A belt leaves straight-line scratches, and a random-motion or pad sander blends them as you move to 150 and 220. A cordless hand-held option such as the TorqGrip Pro uses hook-and-loop pads that change without tools, has three speed settings of 4000, 6000 and 8000 RPM, and includes a dust port with a collection bag. Lower settings suit delicate or heat-sensitive material, and higher settings suit coarser grits on wood.
 In this guideTorqGrip Pro$139.99View
Setup and safety checklist
- Read the manual for your specific sander and follow its instructions.
- Wear eye protection, hearing protection, and a dust mask suited to the material.
- Unplug the sander, or remove the battery, before changing belts or clearing jams.
- Clamp the work and keep hands, sleeves and hair clear of the belt.
- Check for nails, screws and staples before you sand reclaimed wood or old floors.
- Connect dust collection when possible, and empty the bag regularly.
- Set the sander down only after the belt has stopped.
- Ask a qualified electrician if you have concerns about cords, circuits or power supply.
If you are weighing which power tool suits a cutting job rather than a sanding one, see Reciprocating Saw Explained: Uses, Blades and Limits. For more tools that pair with this kind of work, browse the Hand & Power Tools collection.